

LED fans are a popular choice for computer enthusiasts who want to add some personality and style to their rigs. Many LED fans come equipped with built-in clocks that can display time, temperature, or other system information. However, navigating through the various settings and modes of these clocks can sometimes be confusing.
This comprehensive guide will walk you through the process of changing the clock mode on your LED fan, ensuring you can customize your setup to your liking. We’ll explore different types of LED fan controls and provide clear, step-by-step instructions.
Understanding LED Fan Clock Modes
Before diving into the how-to, it’s essential to understand the different clock modes your LED fan might offer. Common modes include:
- Time Mode: This is the most basic mode, displaying the current time.
- Temperature Mode: This mode shows the current temperature of your CPU or system.
- Custom Text: Some fans allow you to display personalized text messages or even scrolling text.
- RPM Mode: This mode displays the fan’s current rotations per minute.
- Voltage Mode: Shows the current voltage supplied to the fan.
The specific modes available vary depending on your fan’s make and model.
Methods for Changing Clock Mode
The process of changing your LED fan’s clock mode typically involves interacting with either a control button on the fan itself, a remote control, or software provided by the manufacturer.
1. Using the Control Button
Many LED fans feature a physical control button on the hub or frame. This button serves multiple functions, including cycling through the available clock modes.
To change the mode:
- Locate the control button. Consult your fan’s manual if you’re unsure of its location.
- Short press the button repeatedly. Each press should cycle the display to the next clock mode.
- Continue pressing until you reach your desired mode.
Note: Some fans may have a “long press” function on the control button to access additional settings or adjust brightness.
2. Utilizing a Remote Control
LED fans bundled with remote controls offer more convenient control over various features. These remotes typically have dedicated buttons for switching clock modes.
To change the mode:
- Identify the “Mode” or “Clock” button on the remote.
- Press the button to cycle through the available clock modes.
- Stop pressing when the desired mode is displayed on the fan.
3. Software Control for Advanced Customization
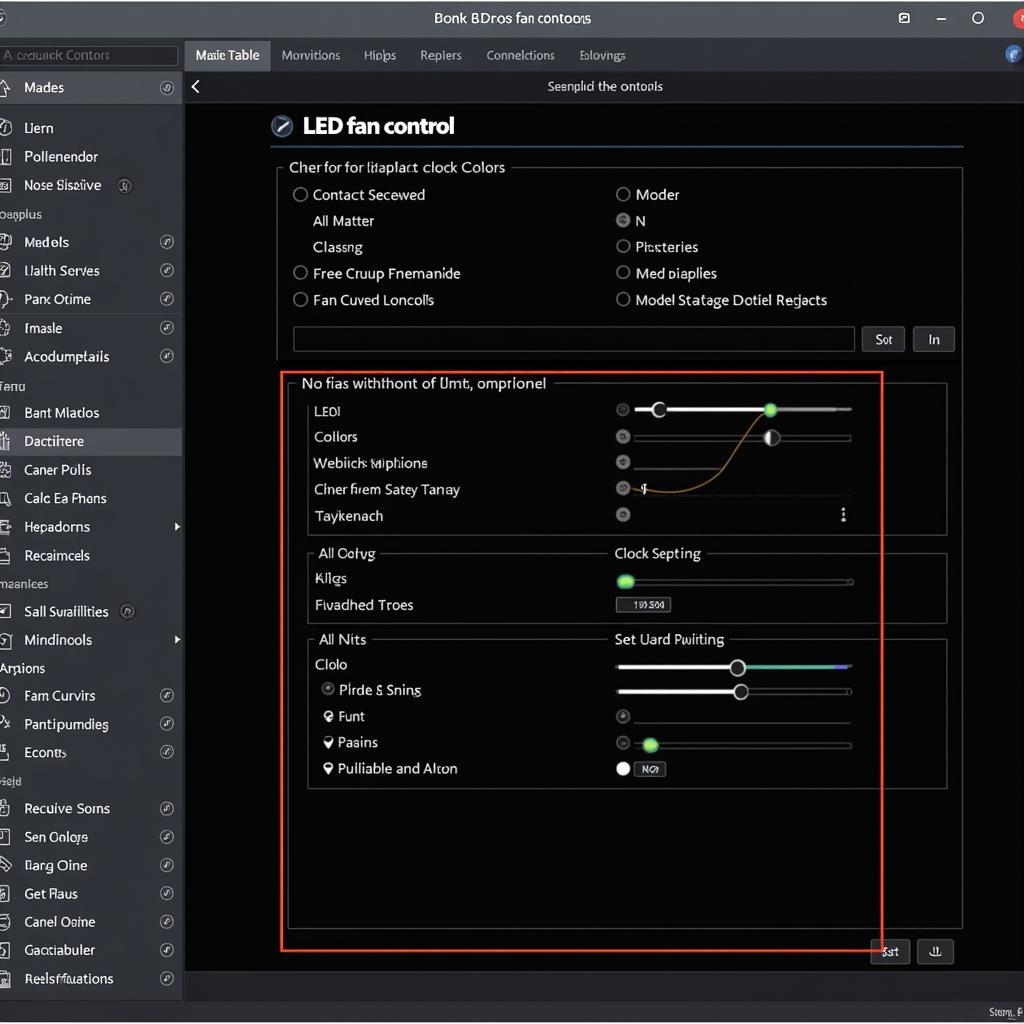 LED Fan Software Interface
Some high-end LED fans offer software control, providing the most flexibility and customization options. This software allows you to fine-tune fan speeds, create lighting effects, and often, change the clock mode.
To change the mode using software:
- Install the manufacturer’s software. This can typically be downloaded from their website.
- Connect your fan to the appropriate header on your motherboard.
- Launch the software.
- Navigate to the clock or display settings. This section may be labeled differently depending on the software.
- Select your preferred clock mode from the available options.
- Save your changes.
Troubleshooting Common Issues
If you’re experiencing problems changing the clock mode on your LED fan, consider these troubleshooting tips:
- Check the connections: Ensure your fan is securely connected to both the power supply and the motherboard if it utilizes software control.
- Consult the manual: Refer to the fan’s user manual for specific instructions and troubleshooting steps related to your model.
- Update firmware/software: Outdated firmware or software can sometimes cause unexpected behavior. Check the manufacturer’s website for updates.
- Contact support: If the issue persists, reach out to the fan manufacturer’s customer support for further assistance.
Conclusion
Changing the clock mode on your LED fan is generally a straightforward process. Whether your fan relies on a physical button, a remote control, or dedicated software, understanding the available options and following the steps outlined above allows you to personalize your setup and make the most of your LED fan’s features.
By familiarizing yourself with the different methods and troubleshooting tips, you can easily adjust your LED fan’s clock mode to display the information you find most valuable, enhancing both the aesthetics and functionality of your computer system.
FAQ
Can I set the clock on my LED fan to a different time zone?
The ability to set a specific time zone usually depends on the fan model and its software. Some advanced software might offer this feature.
Why is my LED fan’s clock not accurate?
If you’re using software control, ensure the software is pulling the correct time from your operating system. Otherwise, there may be a slight variance in the fan’s internal clock.
My LED fan doesn’t seem to have a clock mode. What can I do?
Not all LED fans have built-in clocks. If your fan’s documentation doesn’t mention a clock function, it likely doesn’t have one.
Need More Help?
For further assistance or if you have any more questions, our team is ready to help! You can reach our customer support team 24/7:
Phone: 0903426737
Email: [email protected]
Or visit us at our address:
Tổ 9, Khu 6, Phường Giếng Đáy, Thành Phố Hạ Long, Giếng Đáy, Hạ Long, Quảng Ninh, Việt Nam.
