

You’ve got your shiny new Cooler Master Hyper 212 CPU cooler, ready to tame that fiery processor. But wait, how exactly do you lock the fan into the heatsink? Don’t sweat it! This comprehensive guide walks you through the process, ensuring your fan stays securely fastened for optimal cooling performance.
Understanding the Cooler Master Hyper 212 Mounting System
Before diving into the fan installation, it’s crucial to understand the Cooler Master Hyper 212’s mounting mechanism. This popular cooler typically utilizes a combination of brackets, clips, and screws to secure both the heatsink and the fan to your motherboard.
The fan itself is attached to the heatsink using fan clips, which are designed to snap into place, holding the fan firmly against the heatsink fins. The exact design of these clips might vary slightly depending on the specific version of the Hyper 212 you have.
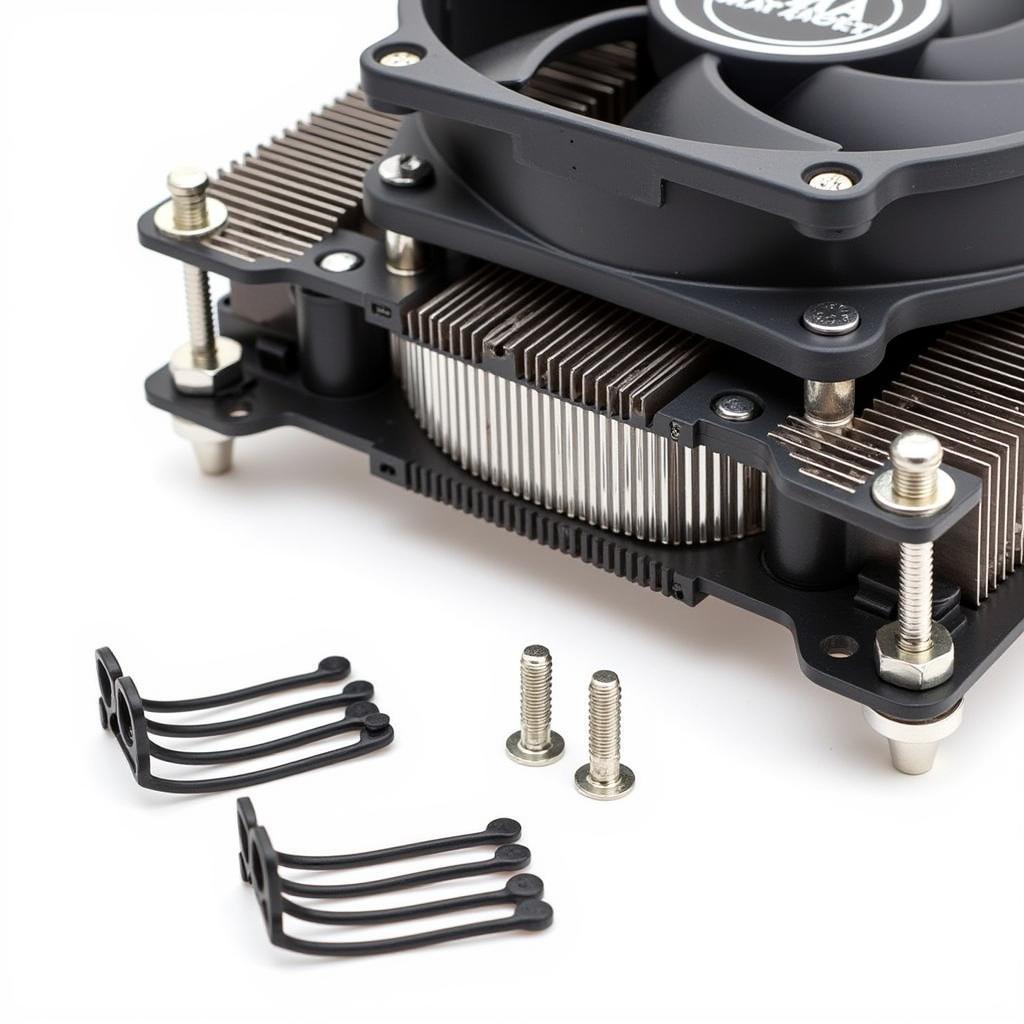 Cooler Master Hyper 212 Components
Step-by-Step Guide to Locking the Fan
Let’s get down to business and lock that fan in place:
- Prepare Your Workspace: Find a clean, spacious surface to work on. Make sure you have your Cooler Master Hyper 212, the fan, the fan clips, and any necessary tools (usually a Phillips head screwdriver) within reach.
- Align the Fan: Hold the fan over the heatsink, ensuring that the airflow direction (indicated by an arrow on the fan’s frame) aligns with the desired airflow path in your case. Typically, you’d want the fan to exhaust air towards the rear of the case where the exhaust fan is located.
- Attach the Fan Clips: This is where it gets slightly tricky. The fan clips usually have a hooked end and a side with a protrusion.
- Carefully hook the hooked end of the fan clip onto the heatsink fin. You should hear a slight click when it’s properly secured.
- Press down firmly on the other side of the fan clip (the side with the protrusion) until it snaps into place on the fan’s frame.
- Repeat for All Clips: Repeat step 3 for all four fan clips. Ensure each clip is securely fastened to both the heatsink and the fan.
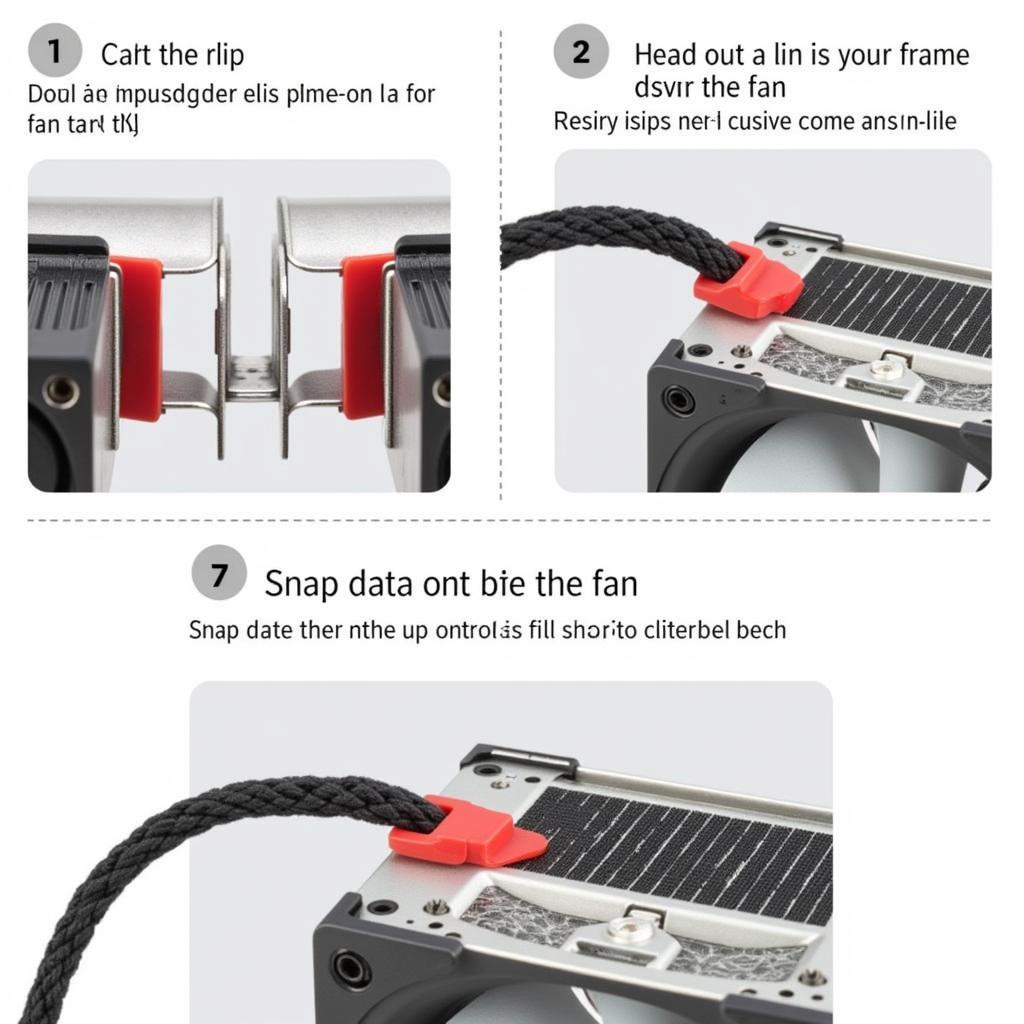 Installing Fan Clips on Hyper 212
Pro Tip: The fan clips can be a bit stiff. Don’t be afraid to apply a bit more pressure, but do so carefully and evenly to avoid damaging any components. If you encounter excessive resistance, double-check that you are attaching the clips correctly.
Troubleshooting Common Issues
Even with the best intentions, things can sometimes go a bit awry. Here are some common issues and their solutions:
1. Fan Clip Won’t Snap In: Make sure the hooked end is correctly secured to the heatsink fin. If it’s slightly off, the clip won’t snap onto the fan’s frame. Reposition the hooked end if necessary.
2. Fan Feels Loose: Double-check that all four fan clips are properly secured. Even one loose clip can cause the fan to vibrate or become misaligned.
3. Difficulty Aligning Fan Clips: In some cases, the fan clip holes on the heatsink and the fan might not align perfectly. Try slightly adjusting the fan’s position while attaching the clips.
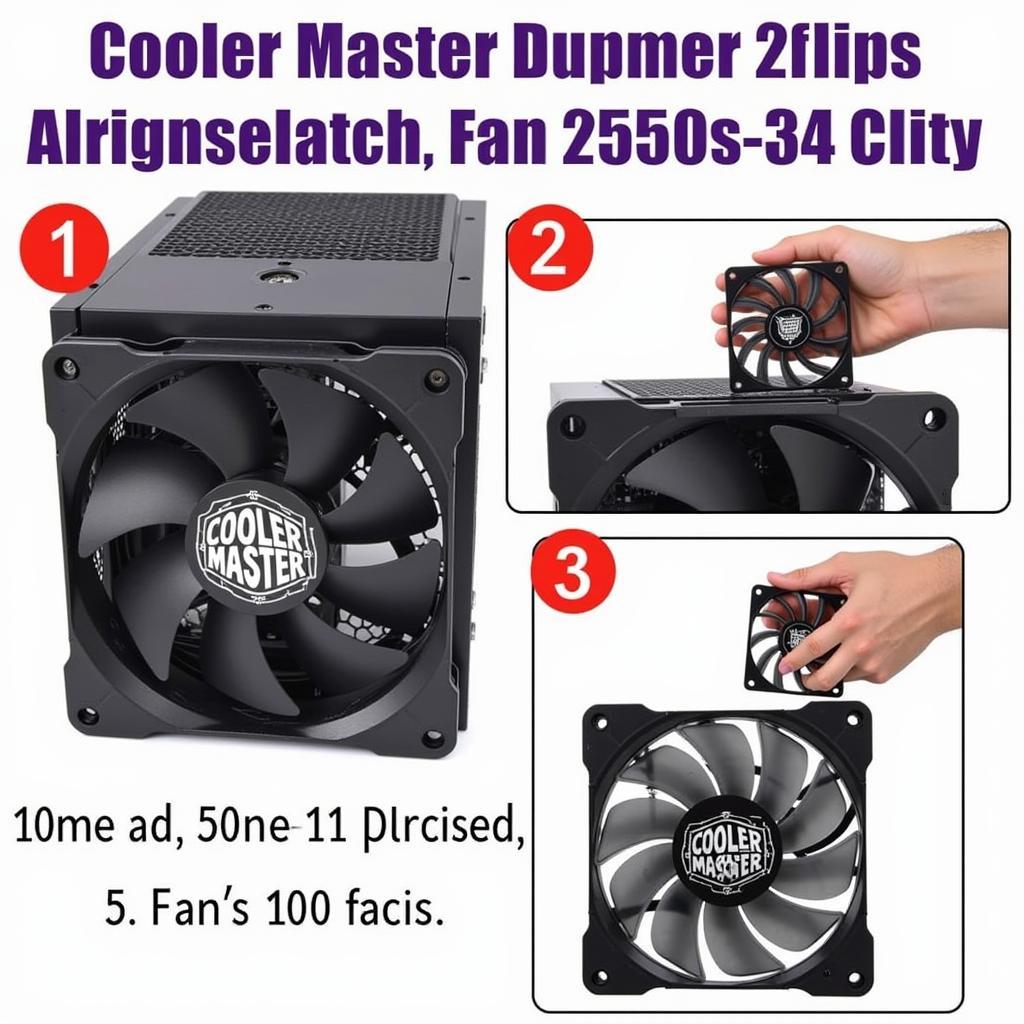 Secured Cooler Master Hyper 212 Fan
Conclusion
Locking your fan into the Cooler Master Hyper 212 might seem daunting at first, but with a bit of patience and the right guidance, it’s a manageable task. Remember to take your time, follow the steps carefully, and don’t hesitate to refer to the images provided. Soon enough, you’ll have your CPU cooler up and running, keeping your processor cool under pressure.
Need Further Assistance?
Contact us!
Phone Number: 0903426737
Email: fansbongda@gmail.com
Address: Group 9, Zone 6, Gieng Day Ward, Ha Long City, Gieng Day, Ha Long, Quang Ninh, Vietnam.
Our dedicated customer support team is available 24/7 to help you.
