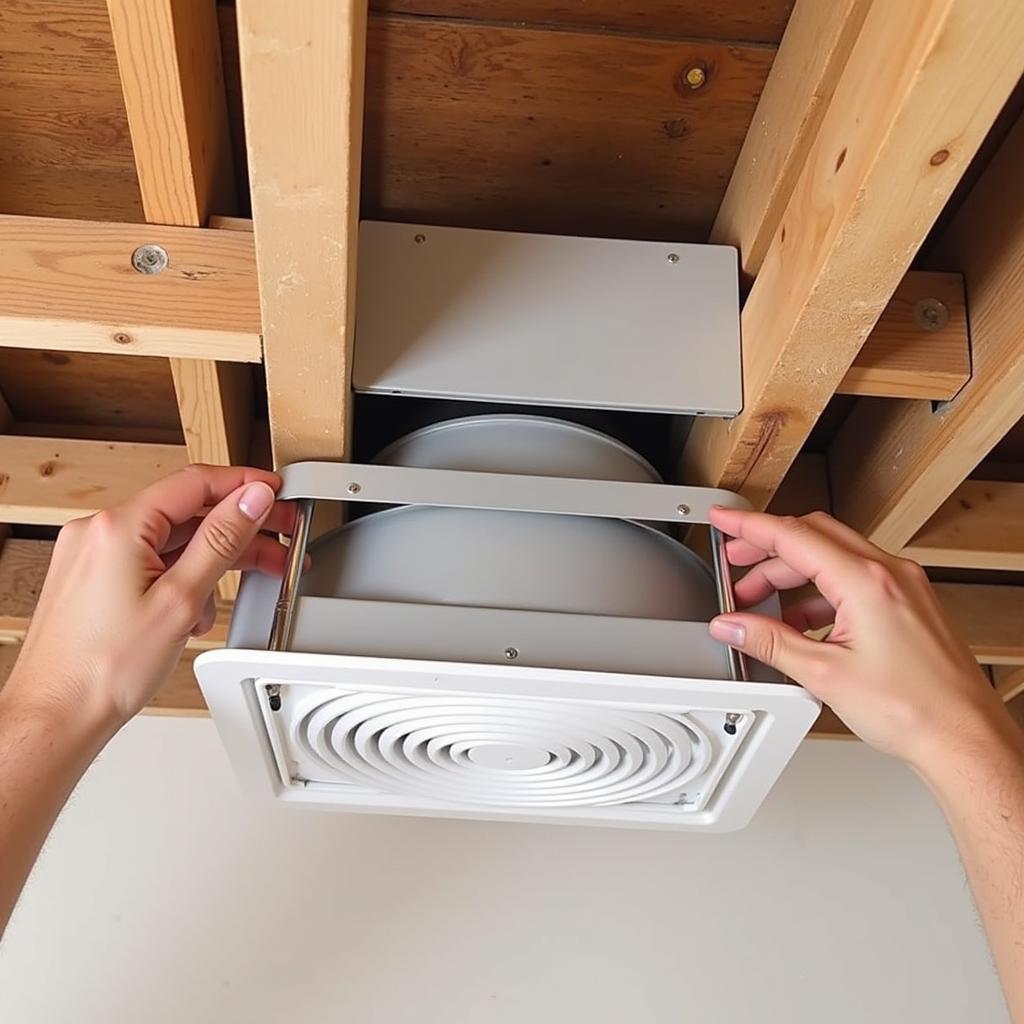
Installing a bathroom fan in your basement can significantly improve air quality and prevent moisture problems. This comprehensive guide will walk you through the process, from planning and material selection to the final installation and testing. Let’s dive in!
Planning Your Basement Bathroom Fan Installation
Before you start cutting holes in your ceiling, careful planning is essential. Consider the following:
- Location: Choose a location central to the bathroom area, ideally above the shower or toilet. Ensure there’s enough space above the ceiling for the fan housing and ducting.
- Ducting: Plan the shortest and most direct route for the exhaust duct to the outside. Avoid sharp bends and long runs, which reduce fan efficiency. A straight shot to an exterior wall is often best.
- Electrical: Determine the closest electrical source to power the fan. You may need to run new wiring, which requires some electrical know-how or the help of a qualified electrician.
- CFM (Cubic Feet per Minute): Calculate the required CFM based on your bathroom size. A general rule is 1 CFM per square foot of bathroom area.
Gathering the Necessary Materials
Having all the necessary materials on hand before you begin will save you time and frustration. Here’s what you’ll need:
- Bathroom exhaust fan: Choose a fan with the appropriate CFM rating and features like a humidity sensor. A humidity sensor extractor fan can be particularly useful in a basement.
- Ducting: Use rigid metal ducting for best performance. Flexible ducting is easier to install but can restrict airflow.
- Exterior vent cap: Prevents pests and debris from entering the ductwork.
- Electrical wiring, wire connectors, and electrical tape: For connecting the fan to the power supply.
- Mounting hardware: Screws, brackets, and supports for securing the fan and ducting.
- Drywall saw or jigsaw: For cutting the ceiling opening.
- Caulk and sealant: For sealing gaps and preventing air leaks.
Installing the Bathroom Fan
Follow these steps to install your bathroom fan:
- Prepare the Ceiling Opening: Mark the location of the fan housing on the ceiling and carefully cut the opening using a drywall saw or jigsaw.
- Install the Ducting: Connect the ducting to the fan housing and run it to the exterior vent cap, ensuring a proper slope to prevent water buildup.
- Wire the Fan: Following the manufacturer’s instructions, connect the fan’s wiring to the power supply.
- Mount the Fan: Secure the fan housing to the ceiling joists.
- Seal and Finish: Seal any gaps around the fan housing with caulk and sealant. Replace the drywall or ceiling tile and finish to match the surrounding ceiling.
 Installing a Bathroom Exhaust Fan in a Basement Ceiling
Testing and Maintenance
Once installed, test the fan to ensure it’s operating correctly and effectively venting moisture. Regular maintenance, such as cleaning the fan blades and checking the ducting for obstructions, will prolong its lifespan and ensure optimal performance. Consider a 300 cfm exhaust fan for larger basement bathrooms. An exhaust fan is a crucial part of maintaining a healthy basement environment.
Conclusion
Installing a bathroom fan in your basement is a worthwhile investment that improves air quality and protects your home from moisture damage. By following this guide and taking the necessary precautions, you can successfully complete this project and enjoy a healthier, more comfortable basement. Installing a bathroom fan in your basement will greatly enhance your home’s overall environment.
FAQ
- Do I need a permit to install a bathroom fan? Check local building codes.
- Can I vent the bathroom fan into the attic? No, always vent directly outside.
- How often should I clean my bathroom fan? Every 3-6 months.
- What is the best type of ducting to use? Rigid metal ducting.
- Can I install a bathroom fan myself? Yes, but if you are not comfortable with electrical work, consult a professional.
- How do I choose the right CFM for my bathroom? 1 CFM per square foot is a good rule of thumb.
- How much does it typically cost to install a bathroom exhaust fan? This depends on the fan and the complexity of the installation but can range from $200 to $500.
Common Scenarios
- Dealing with limited ceiling space: If you have limited space above the ceiling, consider a low-profile bathroom fan.
- Venting through a brick wall: You will need a special masonry drill bit to create the vent hole.
- Connecting to existing ducting: If possible, connect to existing ducting to simplify the installation.
Further Reading
For more information on related topics, check out these resources:
Need help with your bathroom fan installation? Contact us at Phone Number: 0903426737, Email: fansbongda@gmail.com or visit us at Address: Group 9, Area 6, Gieng Day Ward, Ha Long City, Gieng Day, Ha Long, Quang Ninh, Vietnam. We have a 24/7 customer service team ready to assist you.


