

Sharing your Wi-Fi connection on Windows XP allows multiple devices to access the internet simultaneously. This guide provides a comprehensive approach to setting up Wi-Fi sharing, enabling you to connect devices like laptops, smartphones, and gaming consoles with ease.
Understanding Wi-Fi Sharing on Windows XP
Before diving into the setup process, it’s crucial to understand the basic concepts of Wi-Fi sharing on Windows XP. Essentially, you’ll be transforming your computer into a virtual Wi-Fi hotspot, broadcasting its internet connection to nearby devices. This process, also known as creating an ad-hoc network, allows devices to connect directly to your computer’s Wi-Fi adapter.
Prerequisites for Wi-Fi Sharing
To successfully share your Wi-Fi on Windows XP, ensure you have the following:
- Active Internet Connection: Your Windows XP computer must be connected to the internet via Wi-Fi.
- Wireless Network Adapter: Verify that your computer has a functioning wireless network adapter.
- Administrative Privileges: You’ll need administrative access to configure network settings.
Steps to Share Wi-Fi on Windows XP
Follow these steps meticulously to share your Wi-Fi connection:
- Access Network Connections: Navigate to “Start” -> “Control Panel” -> “Network and Internet Connections” -> “Network Connections”.
- Identify Your Wireless Connection: Locate your wireless network connection, typically labeled as “Wireless Network Connection”.
- Properties Window: Right-click on your wireless connection and select “Properties” from the context menu.
- Advanced Tab: In the “Properties” window, click on the “Advanced” tab.
- Internet Connection Sharing: Under the “Internet Connection Sharing” section, check the box that says “Allow other network users to connect through this computer’s Internet connection”.
- Select Home Networking Connection: Choose the network connection you want to share your internet connection over. This is usually your “Local Area Connection”.
- Confirm Settings: Click “OK” to apply the changes.
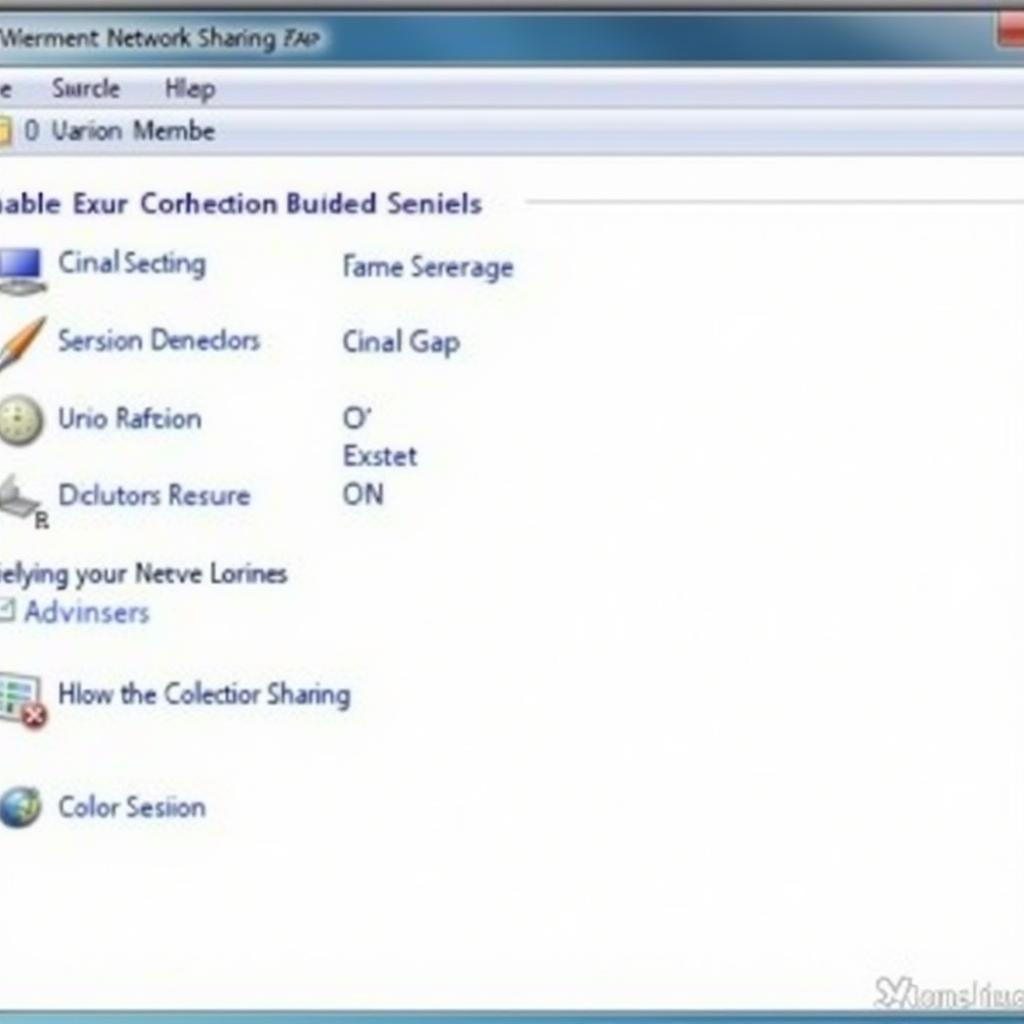 Setting up Wi-Fi sharing on Windows XP
Configuring the Shared Connection
Once you’ve enabled sharing, you need to configure the shared connection for other devices to connect:
- Open Network Connections: Go back to “Network Connections” (refer to Step 1 above).
- Local Area Connection Properties: Right-click on “Local Area Connection” and select “Properties”.
- Internet Protocol (TCP/IP): Select “Internet Protocol (TCP/IP)” and click on “Properties”.
- IP Address Assignment: Choose “Use the following IP address” and enter the following:
- IP address: 192.168.0.1
- Subnet mask: 255.255.255.0
- Confirm Settings: Click “OK” to save the changes.
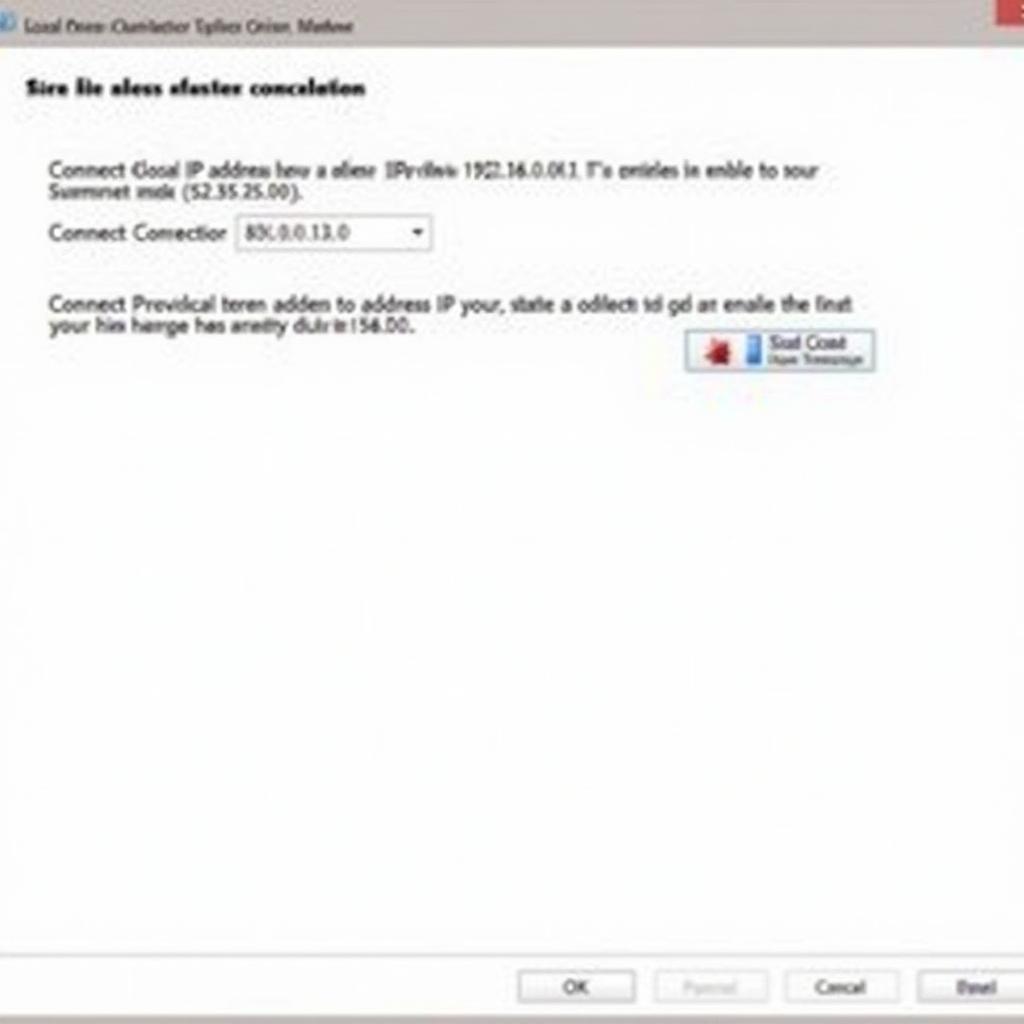 Configuring the shared network connection on Windows XP
Connecting Devices to Your Shared Wi-Fi
Now that your Windows XP computer is broadcasting a Wi-Fi signal, follow these steps to connect your devices:
- Enable Wi-Fi: On your device (laptop, smartphone, etc.), turn on Wi-Fi and scan for available networks.
- Select Your Network: Choose the network name that matches your Windows XP computer’s name.
- Enter Password (if applicable): If prompted, enter the network security key (password) you set up for your shared connection.
- Test Connectivity: Once connected, test the internet connection on your device by browsing the web or using an online application.
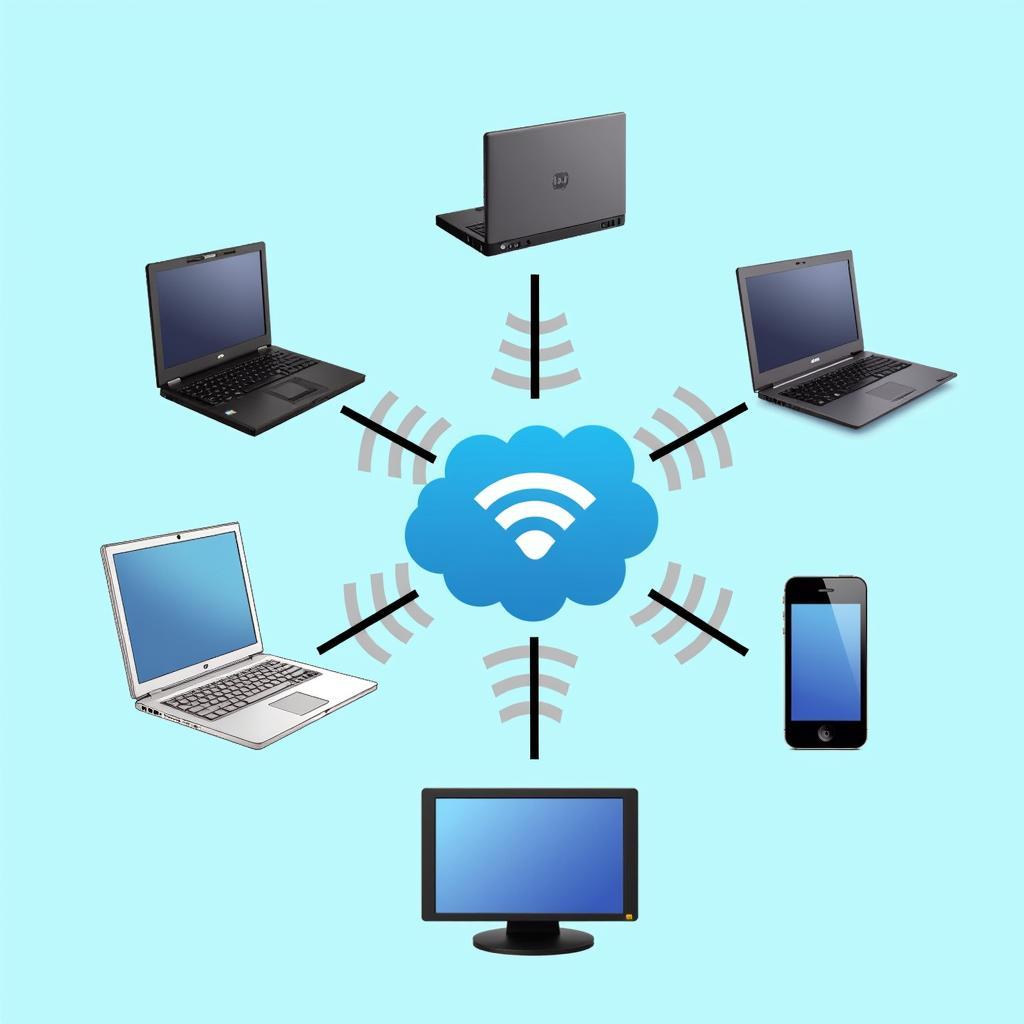 Devices connecting to a Wi-Fi network broadcasted by a Windows XP computer.
Conclusion
Sharing your Wi-Fi on Windows XP provides a convenient way to connect multiple devices to the internet. By following these steps, you can transform your computer into a virtual Wi-Fi hotspot, allowing you to work and play online seamlessly across multiple devices.
Remember to keep your Windows XP system updated and use strong passwords for your shared network to ensure optimal security.
