

Replacing your Power Supply Unit (PSU) fan might seem like a daunting task, but with the right guidance and a little patience, it’s a manageable upgrade that can significantly improve your computer’s performance and lifespan. This guide will walk you through the entire process, from understanding the why and when to replace your PSU fan to providing detailed instructions and addressing common questions.
Why Consider a PSU Fan Replacement?
Your PSU fan plays a crucial role in keeping your computer’s power supply cool and operating efficiently. Over time, dust accumulation, wear and tear, or even a faulty bearing can cause the fan to malfunction, leading to several issues:
- Overheating: A malfunctioning fan can lead to PSU overheating, potentially causing system instability, crashes, and even permanent damage to your components.
- Noise: A worn-out fan often produces a loud, grating noise that can be extremely distracting.
- Reduced Lifespan: Continuous operation at high temperatures can drastically reduce the lifespan of your PSU, leading to premature failure.
When to Replace Your PSU Fan
Recognizing the signs of a failing PSU fan is crucial for preventing potential problems:
- Excessive Noise: Grinding, clicking, or whining sounds coming from the PSU are often the first indicators of fan issues.
- High Temperatures: Monitoring your PSU temperature using software can reveal if it’s running hotter than usual.
- System Instability: Frequent crashes, blue screens, or unexpected shutdowns can point towards an overheating PSU.
Gathering the Necessary Tools and Precautions
Before you begin the replacement process, ensure you have the following:
- Replacement Fan: Choose a fan specifically designed for your PSU model. Check the manufacturer’s website or contact their support for compatibility information.
- Screwdriver: A Phillips head screwdriver is typically required to open the PSU casing and remove the fan.
- Anti-Static Wrist Strap: Ground yourself to prevent electrostatic discharge (ESD) from damaging sensitive components.
- Compressed Air: Use this to clean dust and debris from your PSU before and after the fan replacement.
- Well-Lit Workspace: A clean, well-lit area will provide better visibility and reduce the risk of mistakes.
Important Safety Precautions:
- Disconnect Power: Always unplug your computer from the power outlet before opening the PSU or handling any internal components.
- Do Not Open the PSU Itself: PSUs contain high-voltage capacitors that can cause serious harm even when unplugged. Only replace the fan, not internal components.
- Consult a Professional: If you are unsure about any step of the process or uncomfortable working with computer hardware, seek assistance from a qualified technician.
Step-by-Step Guide to PSU Fan Replacement
Follow these steps carefully to replace your PSU fan:
-
Power Down and Disconnect: Shut down your computer, unplug it from the power outlet, and disconnect all cables.
-
Open the Computer Case: Remove the side panel of your computer case to access the PSU.
-
Locate and Disconnect the PSU: The PSU is usually located at the top or bottom rear of the case. Unscrew and disconnect it from the motherboard and other components.
-
Remove the PSU Fan: Carefully open the PSU casing (only the fan side, not the internal components). Unscrew the existing fan from the heatsink.
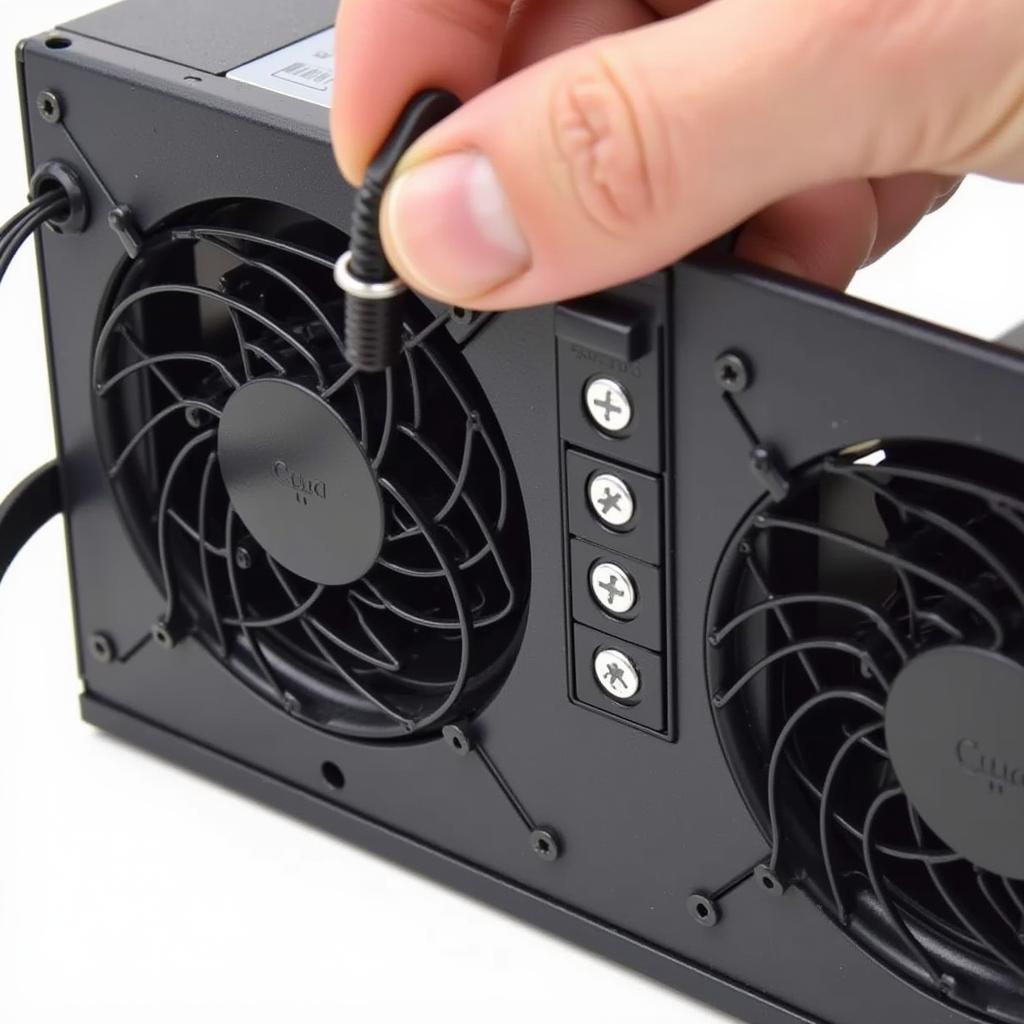 Removing the PSU Fan
 -
Connect the New Fan: Connect the new fan to the PSU, ensuring the cables are securely fastened.
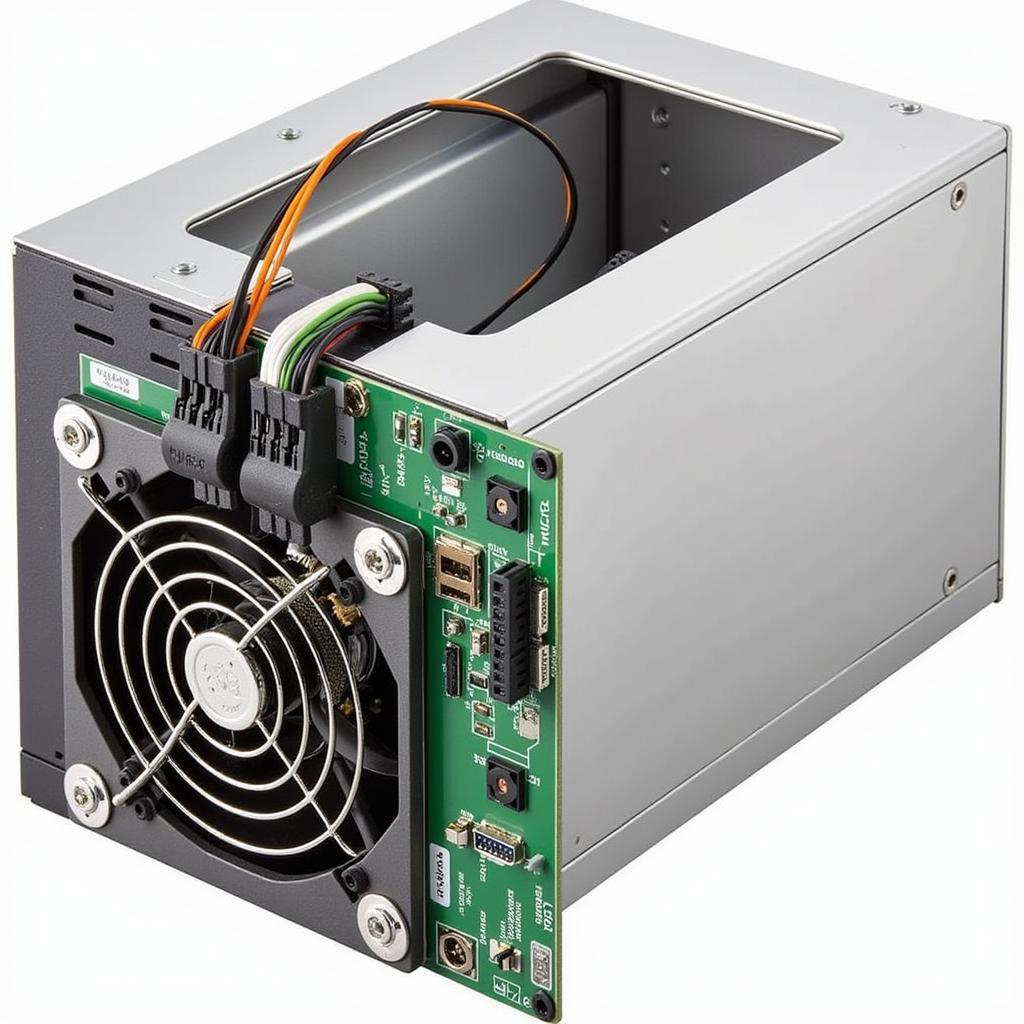 Connecting the New Fan
 -
Secure the Fan: Screw the new fan onto the heatsink, ensuring it’s tightly secured.
-
Reassemble the PSU: Carefully close the PSU casing and tighten the screws.
-
Reinstall the PSU: Place the PSU back in its slot in the computer case and reconnect all the cables to the motherboard and other components.
-
Close the Computer Case: Put the side panel back on and secure it with screws.
-
Power On and Test: Plug in your computer and power it on. Listen for any unusual noises and monitor the system’s temperature to ensure the new fan is working correctly.
Troubleshooting Common Issues
If you encounter problems after replacing the PSU fan, consider these troubleshooting tips:
- Fan Not Spinning: Double-check the fan’s power connection to the PSU. Ensure the fan is properly seated and the screws are tightened.
- Increased Noise: Make sure the fan blades are not obstructed by cables or other components. Verify the fan is compatible with your PSU model.
- System Still Overheating: The new fan might not be powerful enough, or there could be another issue with your PSU. Consider seeking professional help.
Conclusion
Replacing your PSU fan is a cost-effective way to improve your computer’s cooling, reduce noise, and potentially extend the life of your components. By following these steps and taking necessary precautions, you can complete this upgrade with confidence. Remember to always prioritize safety and seek professional assistance if needed.
