Building or upgrading a PC is an exciting endeavor, and ensuring optimal airflow is crucial for its performance and longevity. While the processor and graphics card often steal the limelight, the unsung heroes of a well-cooled system are the case fans. These often overlooked components play a vital role in maintaining a stable temperature inside your PC, preventing overheating and potential damage.
One way to elevate your PC’s aesthetics and cooling efficiency is by installing LED fans. These fans not only provide much-needed airflow but also add a touch of personalization to your build with their vibrant colors and mesmerizing lighting effects.
This comprehensive guide will walk you through the step-by-step process of installing LED fans in your PC case. Whether you’re a seasoned builder or a first-timer, our detailed instructions and helpful tips will make the process seamless and enjoyable. Let’s get started!
Planning Your LED Fan Setup
Before you even open the box of your new LED fans, taking some time to plan your setup is crucial. This step will ensure that you have all the necessary components and that the installation process goes smoothly.
1. Determine the Number of Fans
Consider the size of your PC case and the number of fan mounts available. A typical setup includes at least two fans—one intake fan to draw in cool air and one exhaust fan to expel hot air.
2. Choose the Right Fan Size
PC cases accommodate different fan sizes, commonly 120mm and 140mm. Measure the fan mounts in your case to determine the correct size for your build. Larger fans tend to move more air at lower noise levels.
3. Decide on Fan Orientation
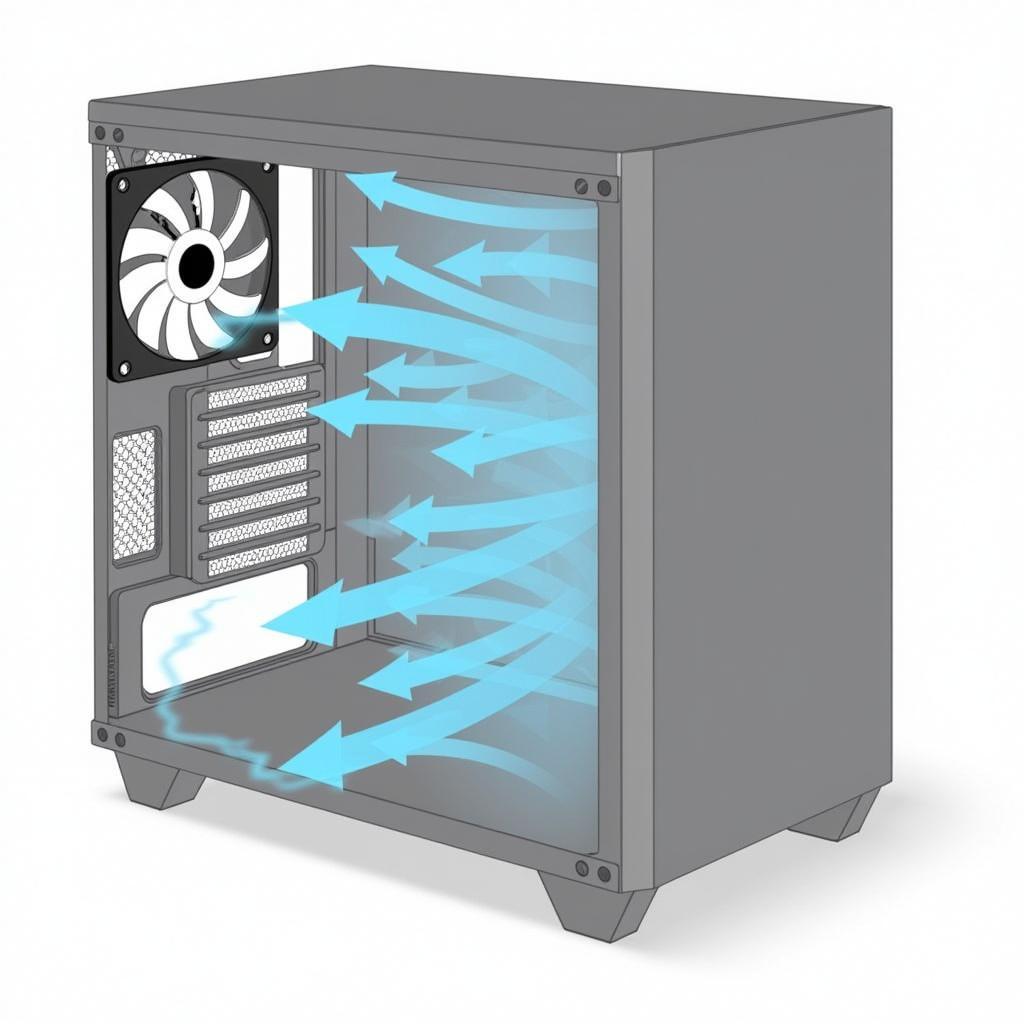
The orientation of your fans dictates the airflow direction. As mentioned earlier, intake fans bring in cool air, while exhaust fans expel hot air. Generally, it’s recommended to have intake fans at the front and bottom, while exhaust fans are placed at the rear and top.
 PC Fan Orientation Diagram
4. Consider Fan Control
Some LED fans come with built-in controllers, allowing you to adjust fan speed and lighting effects. If your motherboard has limited fan headers, a fan controller can be a worthwhile investment to manage multiple fans effectively.
Installing the LED Fans
Now that you’ve meticulously planned your LED fan setup, it’s time for the actual installation. Let’s dive into the step-by-step process:
1. Gather Your Tools and Materials
Before you begin, gather the following tools and materials:
- Phillips head screwdriver: Most PC cases use Phillips head screws.
- Anti-static wrist strap: Protects your components from static electricity.
- Zip ties or Velcro straps: For cable management.
- Your new LED fans: Ensure they are the correct size and have all the necessary accessories.
2. Prepare Your PC Case
Power down your PC, unplug it from the wall outlet, and disconnect all peripherals. Place your PC case on a clean, flat surface.
3. Access the Fan Mounts
Open your PC case by removing the side panels. Most cases have thumbscrews or regular screws holding the panels in place.
4. Install the Fans
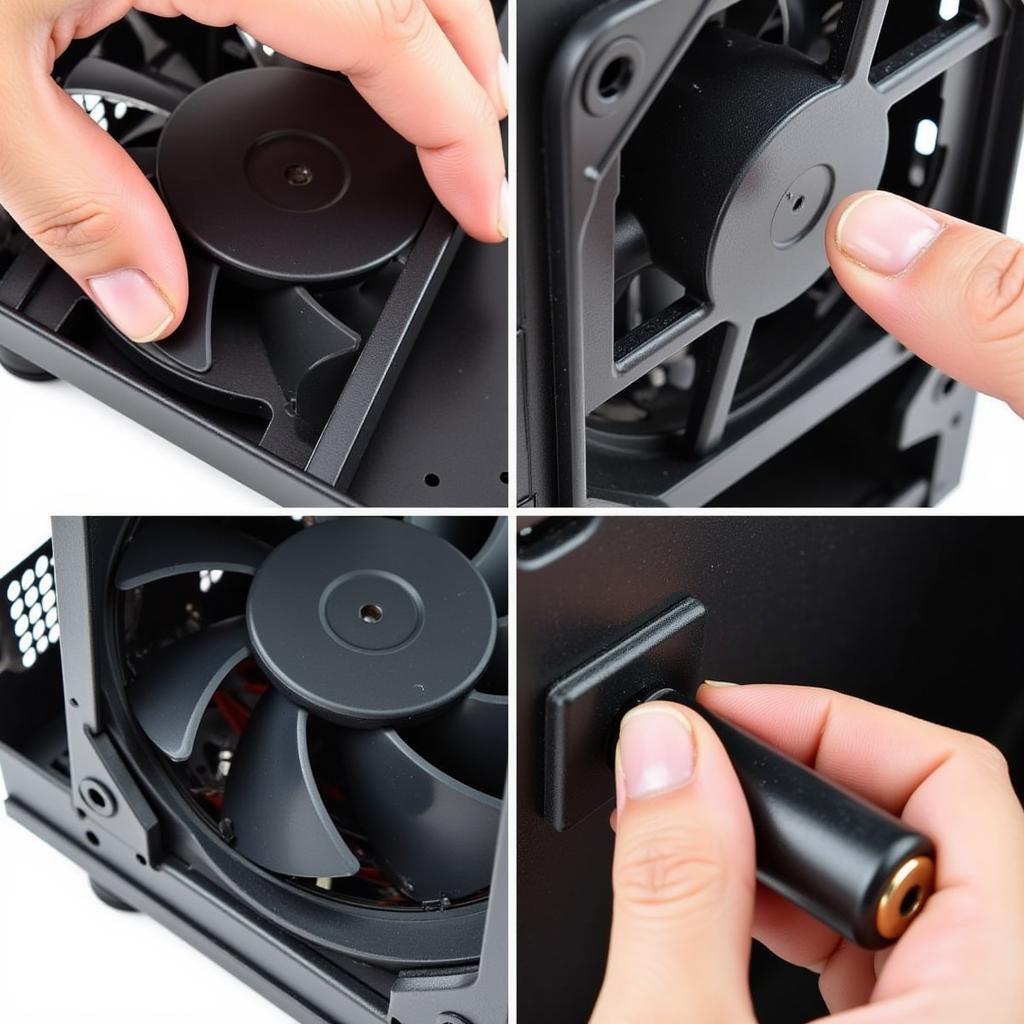
- Align the Fan: Carefully align the fan with the mounting holes on your PC case. Ensure that the fan’s airflow direction (indicated by an arrow on the fan frame) aligns with your planned intake or exhaust configuration.
- Secure the Fan: Insert the screws through the fan’s mounting holes and into the corresponding holes on the PC case. Tighten the screws gently, ensuring the fan is securely mounted without over-tightening.
 Installing a PC Fan
5. Connect the Fan Cables
- Identify the Connectors: LED fans typically have two cables: a 3-pin or 4-pin connector for power and a separate connector for RGB lighting.
- Connect to Fan Headers: Connect the fan’s power connector to an available fan header on your motherboard. If your motherboard has limited headers, you can use a fan splitter or a fan hub.
- Connect RGB Lighting (if applicable): If your fans have RGB lighting, connect the RGB cable to the appropriate header on your motherboard or RGB controller.
6. Cable Management
Neatly route and secure any loose cables using zip ties or Velcro straps. Proper cable management not only improves aesthetics but also enhances airflow within the case.
Testing and Final Touches
Once you’ve installed all the fans and managed the cables, it’s time to test your handiwork and add any final touches.
1. Power On and Check
Power on your PC and check if all the fans are spinning correctly and the RGB lighting (if applicable) is functioning as expected. Monitor the fan speeds and temperatures using monitoring software to ensure everything is working within optimal parameters.
2. Adjust Fan Curves
If you have a fan controller or your motherboard offers fan control options, consider adjusting the fan curves to find a balance between cooling performance and noise levels.
3. Enjoy Your Upgraded PC
With your newly installed LED fans, your PC is not only cooler but also visually appealing. Enjoy the improved performance, enhanced aesthetics, and the satisfaction of a job well done!
FAQs
Q: Can I mix and match different LED fan brands in my build?
A: Yes, you can generally mix and match different brands as long as they use the same type of connectors for power and RGB lighting. However, it’s recommended to stick with the same brand for a more cohesive aesthetic.
Q: My PC case doesn’t have many fan mounts. What are my options?
A: You can consider using a fan hub or splitter to connect multiple fans to a single motherboard header. Alternatively, you can explore high-airflow fans that can effectively cool your components with fewer fans.
Q: How often should I clean my PC fans?
A: It’s generally recommended to clean your PC fans every 3-6 months. Dust accumulation can hinder airflow and reduce cooling efficiency. Use compressed air or a soft brush to gently remove dust from the fan blades and heatsinks.
If you’re looking for more detailed information about specific fan models or want to explore other PC building topics, check out our other helpful articles:
- [install a fan case](https://fansbongda.com/install-a fan-case/)
- case vitra full fan
- fan fix
Need Assistance with Your PC Build?
We’re here to help! Contact our dedicated support team at 0903426737, email us at fansbongda@gmail.com, or visit us at our workshop located at Tổ 9, Khu 6, Phường Giếng Đáy, Thành Phố Hạ Long, Giếng Đáy, Hạ Long, Quảng Ninh, Việt Nam. Our team is available 24/7 to assist you with all your PC building needs.


