

Dealing with an oily exhaust fan? It’s a common problem, especially in kitchens where cooking grease and grime inevitably end up coating surfaces. A greasy exhaust fan isn’t just unsightly; it can also reduce the fan’s efficiency and even pose a fire hazard. But don’t worry, removing oil buildup is a manageable task with the right approach. Let’s explore some effective methods to get your exhaust fan clean and working optimally again.
Understanding the Importance of a Clean Exhaust Fan
Before we dive into the cleaning process, it’s important to understand why a clean exhaust fan is crucial.
- Improved Air Quality: Your exhaust fan works hard to remove smoke, odors, and airborne grease particles from your kitchen. A clean fan ensures it can effectively perform this task, promoting a healthier and more pleasant cooking environment.
- Fire Prevention: Grease buildup on an exhaust fan is highly flammable. Regularly cleaning your fan significantly reduces the risk of a grease fire starting in your kitchen.
- Enhanced Fan Efficiency: Over time, accumulated oil and grime can hinder the fan’s motor and blades, reducing its efficiency. A clean fan operates smoothly and quietly, effectively ventilating your kitchen.
 Removing Oil from Exhaust Fan
Essential Tools and Materials
Gather the following items before you start the cleaning process:
- Cleaning Gloves: Protect your hands from grease and cleaning solutions.
- Degreaser: Choose a heavy-duty degreaser specifically designed to break down tough grease.
- Baking Soda: A natural alternative for cutting through grease.
- Vinegar: Effective for removing mineral deposits and deodorizing.
- Hot Water
- Spray Bottles: For easy application of cleaning solutions.
- Sponges, Cloths, or Paper Towels: For wiping and drying surfaces.
- Scrub Brush or Old Toothbrush: For tackling stubborn grime in crevices.
- Screwdriver (if necessary): To remove the fan cover and/or blades.
Step-by-Step Guide to Remove Oil From Exhaust Fan
-
Safety First: Always turn off the power to the exhaust fan at the breaker box before cleaning. This prevents any accidental electrical shocks.
-
Prepare the Area: Spread old newspapers or a drop cloth beneath the exhaust fan to catch any drips.
-
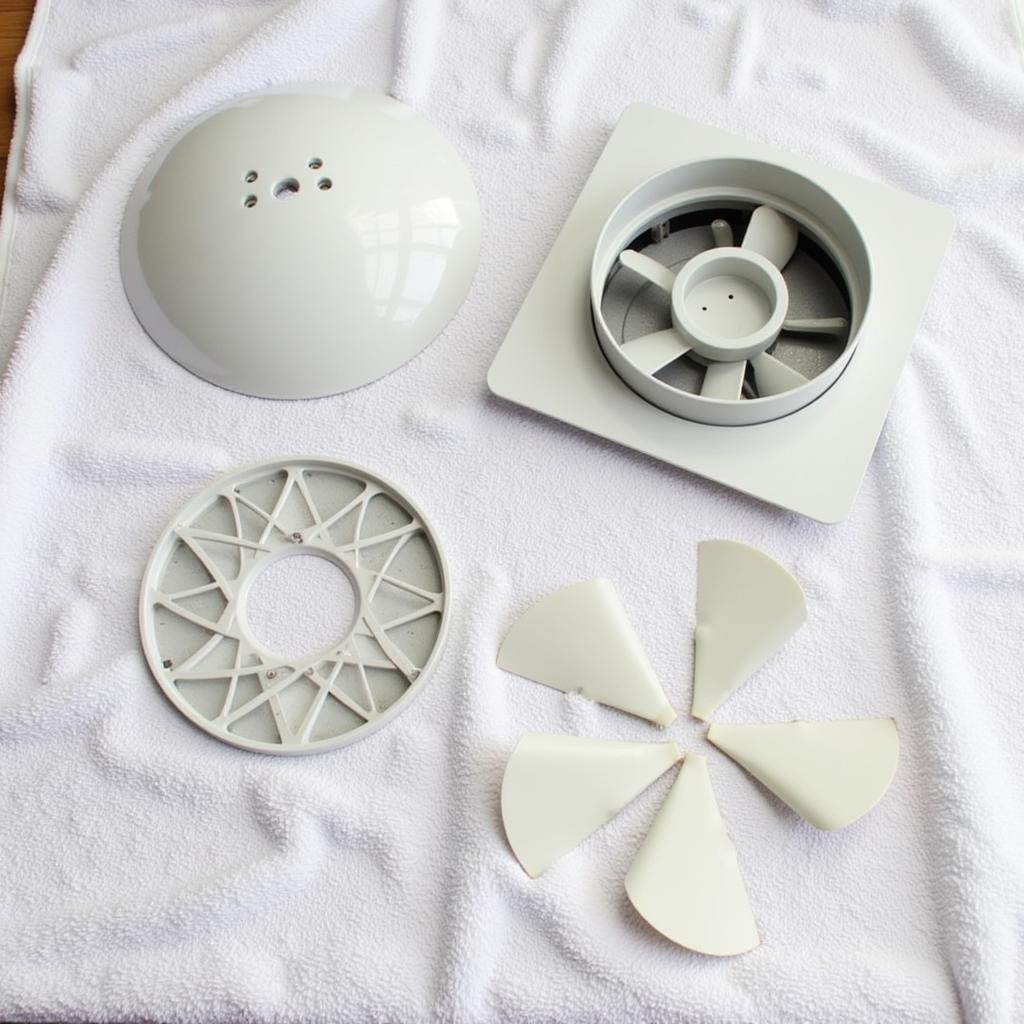
Remove the Fan Cover and Filter: Consult your fan’s manual for specific instructions on removing the cover and filter. Usually, this involves releasing clips or unscrewing a few screws.
 Cleaning Exhaust Fan Components
-
Clean the Filter: If your fan has a metal mesh filter, soak it in a sink filled with hot, soapy water. Add a cup of vinegar to help cut through grease. After soaking, scrub away any remaining residue, rinse thoroughly, and allow it to dry completely.
-
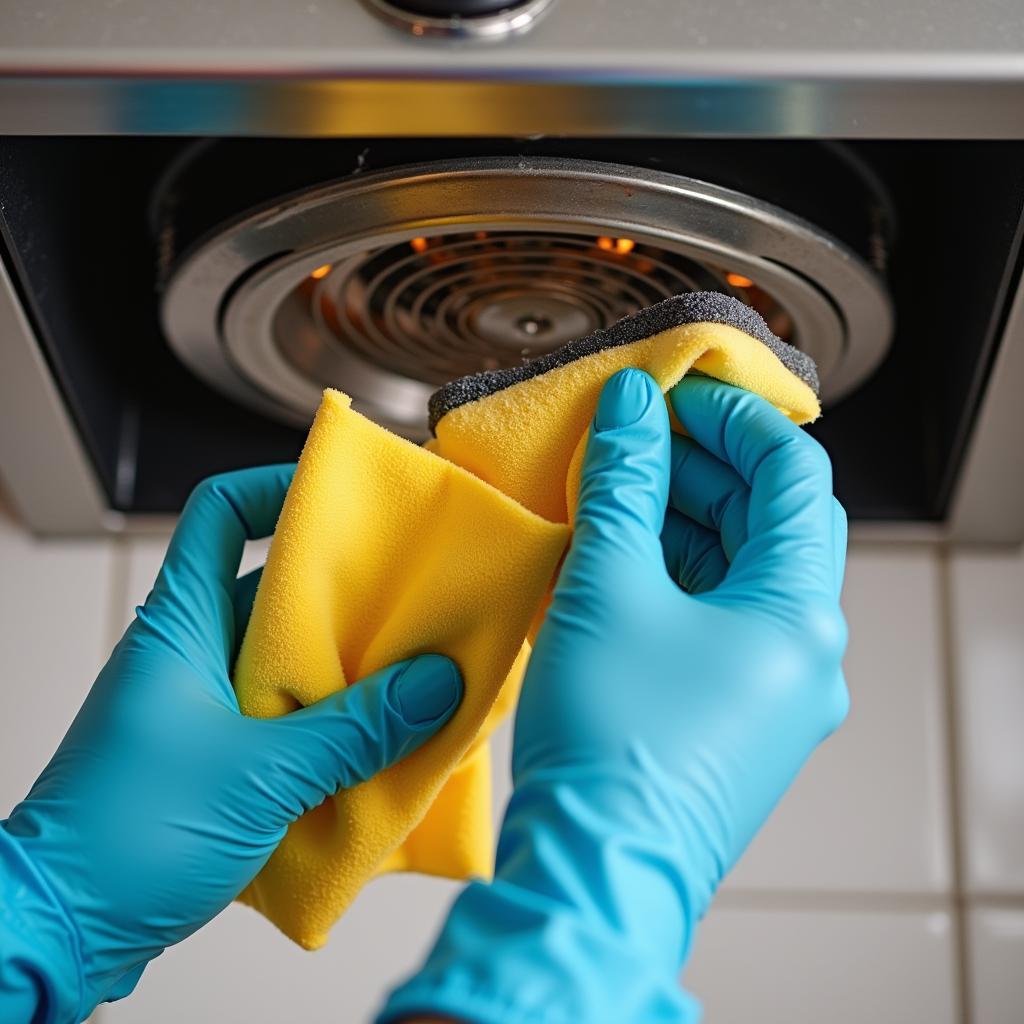
Degrease the Fan Blades and Cover: Spray the greasy fan blades and cover with your chosen degreaser. Let it sit for a few minutes to loosen the grime. Then, use a sponge or cloth to wipe away the dissolved grease. For stubborn areas, use a scrub brush or old toothbrush. Rinse thoroughly with hot water.
-
Baking Soda Power: For extra cleaning power, create a paste using baking soda and water. Apply this paste to the fan blades and cover, let it sit for 15 minutes, then scrub and rinse.
-
Dry All Parts Thoroughly: Ensure all parts are completely dry before reassembling the fan. This prevents any water damage and ensures the fan operates safely.
-
Reassemble and Restore Power: Once everything is dry, reassemble the fan by reversing the disassembly steps. Restore power at the breaker box.
Tips for Maintaining a Clean Exhaust Fan
- Regular Cleaning: Aim to clean your exhaust fan every 3-6 months, depending on your cooking frequency.
- Wipe Down After Use: After each cooking session, wipe down the exterior of the fan and surrounding area with a damp cloth to prevent grease buildup.
- Run the Fan Longer: After cooking, allow the exhaust fan to run for an extra 15-20 minutes to help remove lingering moisture and grease particles.
- Consider a Professional Cleaning: For heavily soiled fans or if you’re uncomfortable with DIY cleaning, consider hiring a professional fan repair service.
FAQs: Addressing Common Exhaust Fan Cleaning Queries
Can I use dish soap to clean my exhaust fan?
While dish soap can cut through grease, it might not be strong enough to remove stubborn buildup on exhaust fans. It’s best to use a heavy-duty degreaser designed for this purpose.
How often should I replace my exhaust fan filter?
The frequency of filter replacement depends on the type of filter and cooking habits. Check your fan’s manual for specific recommendations. Generally, consider replacing disposable filters every 3-6 months, while metal mesh filters can be cleaned and reused.
 Cleaning a Kitchen Range Hood
Need More Help?
Maintaining a clean exhaust fan is essential for a healthy and safe kitchen. By following these cleaning tips and addressing potential issues promptly, you can ensure your fan operates efficiently for years to come.
If you’re looking for additional resources on fan maintenance, check out our articles on how to clean extractor fan filter and information about kitchen range hood fan options. For those in need of industrial-grade solutions, explore our range of commercial utility exhaust fans. And if you require expert assistance, connect with our trusted network of centrifugal fan suppliers.
Get in touch with us!
Phone Number: 0903426737
Email: fansbongda@gmail.com
Address: Group 9, Area 6, Gieng Day Ward, Ha Long City, Gieng Day, Ha Long, Quang Ninh, Vietnam
Our dedicated customer support team is available 24/7 to help.
