

Creating a vibrant rainbow fan paper is a fun and engaging activity that’s perfect for all ages. Whether you’re looking for a creative craft project for a rainy day, need colorful decorations for a party, or simply want to brighten up someone’s day, this guide will teach you how to make your own stunning rainbow fan. Let’s dive into the colorful world of paper crafting and create something beautiful!
Gathering Your Materials: What You’ll Need to Get Started
Before we embark on our rainbow fan-making journey, let’s gather all the necessary supplies. You’ll need:
- Construction paper: Choose a variety of bright and cheerful colors to represent the rainbow. Red, orange, yellow, green, blue, indigo, and violet are the classic choices.
- Scissors: Opt for sharp scissors to ensure clean and precise cuts.
- Ruler: A ruler will help you measure and cut the paper strips accurately, resulting in a more polished final product.
- Pencil: Use a pencil for light marking on the paper before cutting.
- Glue stick or tape: You’ll need an adhesive to secure the paper strips together. A glue stick provides a clean finish, while tape offers a faster option.
Creating the Rainbow Strips: The Building Blocks of Your Fan
Now that you have your materials ready, let’s begin crafting the individual strips that will form our vibrant rainbow fan.
- Cutting the Paper: Take your first sheet of construction paper and lay it flat on your work surface. Using the ruler and pencil, carefully mark and cut a straight strip along the length of the paper. Aim for a strip that’s about 1 inch wide.
- Repeating the Process: Repeat the previous step for each color of the rainbow, creating a total of seven colorful strips.
- Adjusting Strip Length: If you prefer a larger fan, simply increase the width of your paper strips. For a smaller fan, cut narrower strips.
Assembling the Rainbow: Bringing Your Fan to Life
With your colorful strips ready, it’s time to assemble them into the iconic fan shape.
- Arranging the Strips: Arrange your rainbow strips side by side in the correct color order: red, orange, yellow, green, blue, indigo, violet.
- Securing the Top: Once you’re happy with the arrangement, apply glue or tape to the top edge of all the strips, holding them together securely.
- Creating the Fan Folds: Carefully fold the strips back and forth like an accordion or fan, creating even folds approximately 1 inch wide.
- Securing the Bottom: Once you reach the end of the strips, apply glue or tape to the bottom edge, securing the folds in place.
Finishing Touches: Adding a Personal Flair
Your rainbow fan is almost complete! Now it’s time to add your own personal touch.
- Creating a Handle: Cut a small strip of construction paper, approximately 6 inches long and 1 inch wide. Fold this strip in half lengthwise to create a sturdy handle.
- Attaching the Handle: Apply glue or tape to one side of the folded handle and attach it securely to the bottom of the fan, covering the glued edges of the rainbow strips.
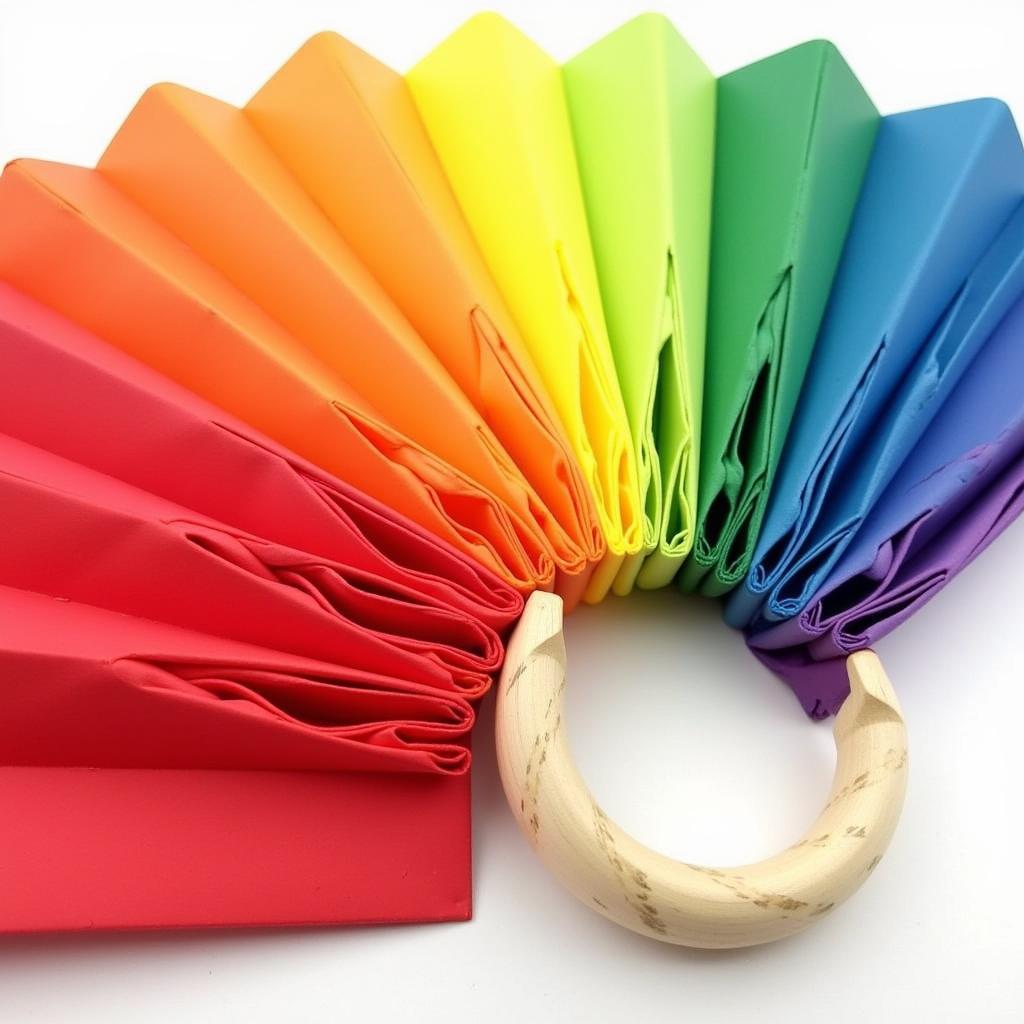 Vibrant Handmade Rainbow Fan
Tips and Tricks for Rainbow Fan Success
Here are a few extra tips to help you achieve rainbow fan perfection:
- Experiment with Textures: Try using different types of paper, such as patterned scrapbook paper or metallic cardstock, to add texture and visual interest to your fan.
- Get Creative with Embellishments: Personalize your fan further by adding embellishments like glitter, stickers, or even small drawings on the individual strips.
- Make it a Group Activity: Gather friends or family and have everyone create their own unique rainbow fan. It’s a wonderful way to bond and unleash creativity together.
Creating a rainbow fan paper is a delightful and fulfilling craft project that allows you to express your creativity while crafting a beautiful and cheerful decoration. So, gather your materials, unleash your inner artist, and let the rainbow fan-making fun begin!
