

Installing a fan to your Infinity Amor multi-function cooker might seem daunting at first, but it’s actually a straightforward process. Whether you’re a seasoned DIY enthusiast or a kitchen novice, this guide will provide a step-by-step approach to help you successfully install your fan and unlock the full potential of your Infinity Amor.
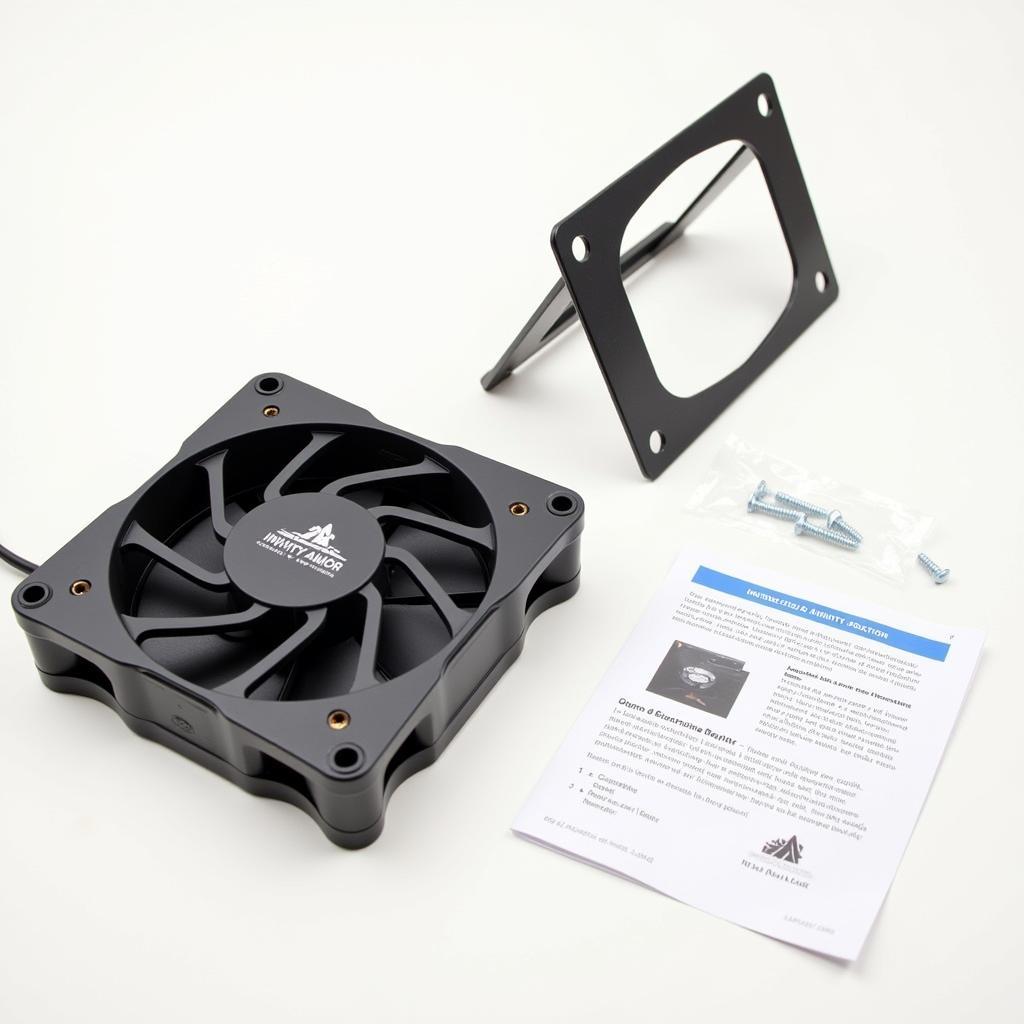 Infinity Amor Fan Installation Kit
Understanding Your Infinity Amor and Fan
Before diving into the installation, it’s crucial to familiarize yourself with the components involved. The Infinity Amor, renowned for its versatility in the kitchen, often utilizes a specialized fan for enhanced cooking capabilities. This fan, usually installed at the back of the unit, aids in heat dissipation, steam extraction, and even specific cooking functions like air frying.
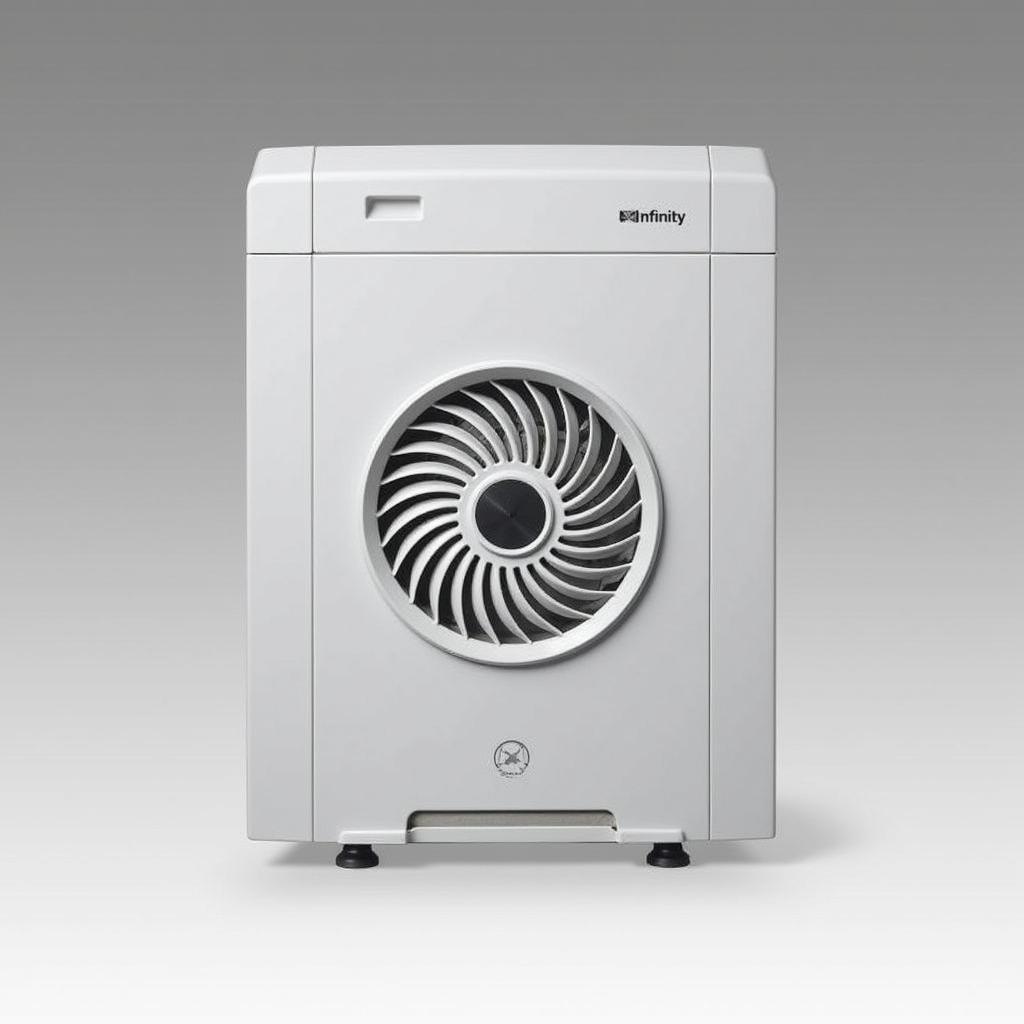 Infinity Amor Rear View with Fan Slot
Gather Your Tools and Materials
Having the right tools and materials at hand ensures a smooth and efficient installation process. Typically, you’ll need:
- Screwdriver: Choose the correct type and size to match the screws provided in your fan installation kit.
- Installation Kit: This usually comes with your Infinity Amor fan and includes the fan unit, mounting bracket, and necessary screws.
- Instruction Manual: While this guide provides comprehensive instructions, it’s always best to refer to your specific model’s manual for any variations.
Step-by-Step Fan Installation Guide
Let’s proceed with the installation process. Follow these steps carefully for optimal results:
- Safety First: Unplug your Infinity Amor from the power outlet before beginning the installation.
- Locate the Fan Slot: At the back of your Infinity Amor, you’ll find a designated slot or area for fan installation.
- Attach the Mounting Bracket (if applicable): Some fan models come with a mounting bracket. If your kit includes one, align it with the fan slot and secure it using the provided screws.
- Connect the Fan Unit: Carefully align the fan unit with the mounting bracket or the slot (if no bracket is used). Gently push it in until it’s securely in place.
- Secure the Fan: Most fan units will have screws on the sides or edges to secure them to the unit. Tighten these screws to ensure the fan is firmly attached.
- Double-Check Connections: Before plugging your Infinity Amor back in, visually inspect all connections to ensure the fan is properly installed and secured.
 Infinity Amor Fan Secured In Place
Testing Your Newly Installed Fan
Once you’ve completed the installation, it’s essential to test the fan to ensure it’s functioning correctly.
- Power On: Plug your Infinity Amor back into the power outlet.
- Activate Fan Function: Select a cooking function that utilizes the fan, such as air frying or a setting with high heat.
- Observe and Listen: The fan should start automatically when required. You should feel airflow from the fan vent and hear a gentle whirring sound indicating it’s operational.
Conclusion
Installing a fan to your Infinity Amor is a rewarding task that significantly enhances its cooking prowess. By following these steps, you can easily complete the installation process and unlock a new level of culinary creativity in your kitchen. If you encounter any issues, don’t hesitate to consult your Infinity Amor’s instruction manual or reach out to their customer service for expert assistance.
