

Assembling an electric fan might seem daunting, but with a little patience and this comprehensive guide, you’ll be enjoying a cool breeze in no time. This guide will walk you through each step, from unpacking your new fan to plugging it in and feeling the refreshing airflow.
Gathering Your Tools and Parts
Before you begin, lay out all the necessary tools and parts. This usually includes:
- Fan base
- Fan motor
- Fan blades
- Blade guards (front and rear)
- Assembly rod
- Washers, screws, and nuts
- Instructions manual
- Screwdriver (usually Phillips head)
Assembling the Fan Base
-
Start by attaching the fan base to the motor. The method may vary depending on the model, so refer to your instruction manual for specific guidance. Some fans have a threaded rod on the motor that screws into the base, while others might use a clamping mechanism.
-
Ensure the base is securely fastened to the motor before proceeding. A wobbly base can lead to noise and instability later.
Attaching the Fan Blades
-
Now it’s time to attach the fan blades to the motor. Most fans utilize a single screw to hold each blade in place. Align the holes on the blade with the corresponding ones on the motor shaft.
-
Insert the screw through the blade and motor shaft, securing it tightly with a nut on the other side. Repeat this step for all the fan blades, ensuring they’re evenly spaced.
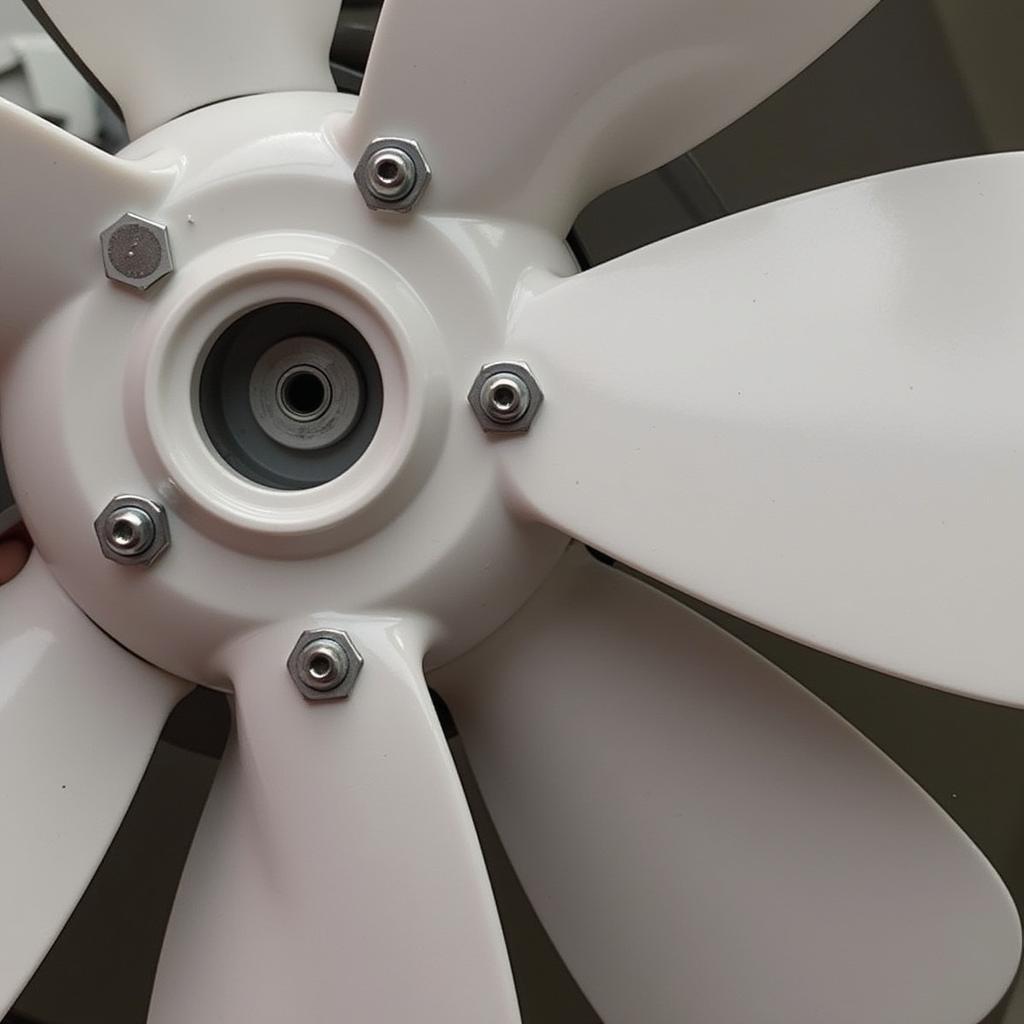 Attaching fan blades to the motor shaft
Installing the Blade Guards
-
With the blades attached, place the rear blade guard onto the motor shaft, aligning it with the designated slots or grooves.
-
Secure the rear guard using the provided screws or clips. Next, position the front guard over the rear guard, ensuring they fit snugly together.
-
Fasten the front guard to the rear guard using the appropriate screws or clips. The blade guards are crucial for safety, preventing accidental contact with the rotating blades.
Final Steps and Safety Check
-
Once the guards are secure, your fan is almost ready. Give it a final check to ensure all screws and connections are tight.
-
Before plugging in your newly assembled fan, perform a visual inspection to make sure no loose wires or components are present.
-
Finally, plug in your fan and switch it on to test its operation. It should run smoothly and quietly. If you notice any unusual noise or vibration, immediately turn off and unplug the fan, then recheck the assembly for any errors.
Frequently Asked Questions (FAQs)
Q: What if my fan came with different parts than the ones listed?
A: Fan models can vary. Always refer to your specific fan’s instruction manual for the correct parts list and assembly instructions.
Q: My fan is making a humming noise. What should I do?
A: Several factors, such as loose screws or a faulty motor, could cause humming. Double-check the assembly and consult a professional if the problem persists.
Q: Can I use my fan outdoors?
A: Unless specifically designed for outdoor use, most electric fans are for indoor use only. Exposure to moisture or rain can damage the fan and pose electrical hazards.
Need More Help?
For further assistance with your fan assembly, troubleshooting tips, or to explore a wide range of fan options, visit our website. You can find additional resources like our fantastic fan installation instructions or learn about licensed electrician ceiling fan installation.
If you have questions about a specific model, like the “Famous Brand Fan Model 1258,” we have a detailed guide on how to use the Famous Brand Fan Model 1258.
Don’t hesitate to contact our customer support team at 0903426737 or email us at fansbongda@gmail.com. We’re available 24/7 to assist you. You can also visit us at our office located at Tổ 9, Khu 6, Phường Giếng Đáy, Thành Phố Hạ Long, Giếng Đáy, Hạ Long, Quảng Ninh, Việt Nam.
