

The Gigabyte B75M D3H motherboard is a popular choice for budget-conscious PC builders. It offers a good balance of features and performance, making it suitable for a wide range of systems. One important aspect of building a PC is ensuring adequate cooling, and installing system fans plays a crucial role in achieving that. This comprehensive guide will walk you through the process of installing system fans on your Gigabyte B75M D3H motherboard, enabling you to keep your components cool and maximize their lifespan.
Understanding Your Motherboard’s Fan Headers
Before we dive into the installation process, it’s essential to familiarize yourself with the fan headers on your Gigabyte B75M D3H motherboard. Fan headers are the connectors where you plug in your system fans.
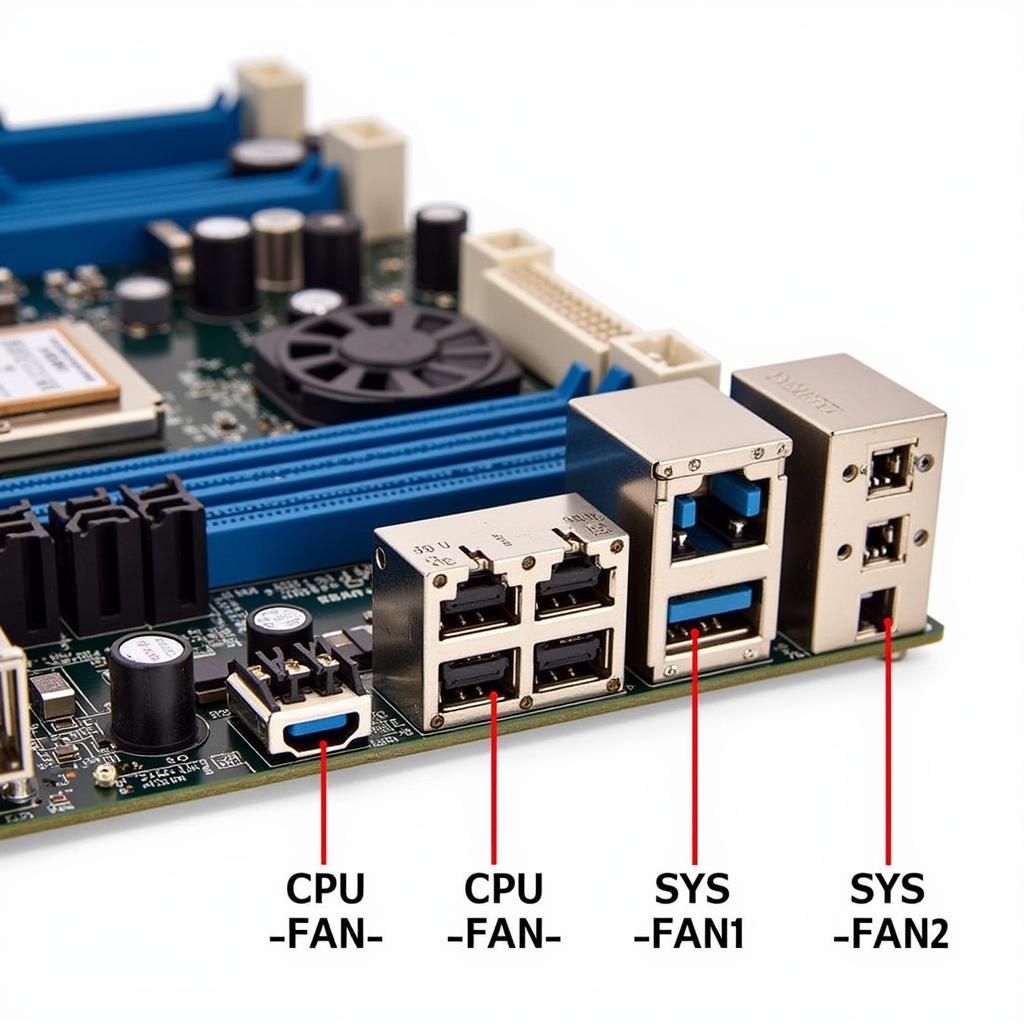 Gigabyte B75M D3H Fan Headers
The Gigabyte B75M D3H motherboard typically features the following fan headers:
- CPU_FAN: This header is dedicated to the CPU cooler fan. It is usually located near the CPU socket.
- SYS_FAN1, SYS_FAN2: These headers are for connecting system fans. They are typically located along the edges of the motherboard.
Each fan header is a 4-pin connector, but it can also accommodate 3-pin fans. The fourth pin on a 4-pin fan header is used for PWM (Pulse Width Modulation) control, which allows for more precise fan speed adjustments based on temperature readings.
Gathering the Necessary Tools and Components
Before you begin the installation process, make sure you have the following tools and components:
- System fans: Determine the number and size of fans you need based on your case’s airflow requirements.
- Screws: Most system fans come with mounting screws. Ensure you have the correct size and type for your case and fans.
- Phillips head screwdriver: This is the most common type of screwdriver used for installing PC components.
- Anti-static wrist strap (optional): This helps prevent electrostatic discharge (ESD) from damaging your components.
Step-by-Step Installation Guide
Now that you have a good understanding of the fan headers and have gathered the necessary tools, let’s proceed with the installation process.
-
Power down your PC and unplug it from the power outlet.
-
Open your PC case. The method for opening your case will vary depending on the model. Refer to your case’s manual for instructions.
-
Identify the fan headers on your Gigabyte B75M D3H motherboard. Refer to the motherboard’s manual if needed.
-
Connect the system fans to the SYS_FAN headers. Ensure that the fan’s cable notch aligns with the pin on the header to ensure correct polarity.
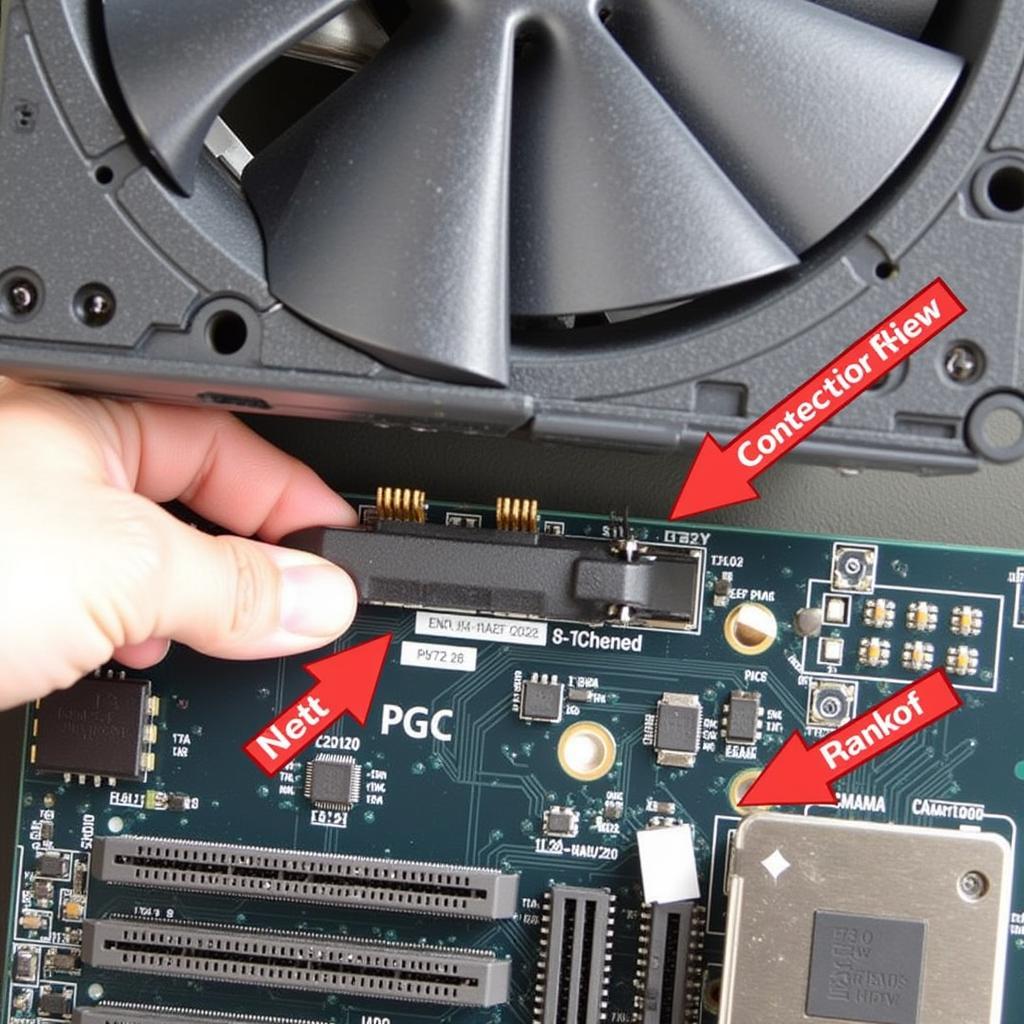 Connecting System Fan to Header
-
Mount the system fans to your case using the provided screws. Ensure that the fans are oriented correctly for optimal airflow. Generally, you’ll want intake fans at the front and exhaust fans at the rear or top of the case.
-
Close your PC case and plug it back into the power outlet.
-
Boot up your PC and enter the BIOS setup. This is usually done by pressing the DEL key repeatedly during startup.
-
Navigate to the BIOS section that controls fan speeds. This section is often labeled as “Hardware Monitoring” or “PC Health Status.”
-
Configure the fan speed settings based on your preferences and cooling needs. You can typically choose from preset profiles or manually adjust the fan curves.
 BIOS Fan Settings
- Save the BIOS settings and exit.
Testing Your Fans
Once you’ve installed and configured your system fans, it’s crucial to test them to ensure they are functioning correctly.
-
Observe the fans: Power on your PC and check if all the installed fans are spinning. You can usually hear and see them running.
-
Monitor temperatures: Use hardware monitoring software to check the temperatures of your CPU and other components under load. If the fans are working correctly, you should see stable and acceptable temperature readings.
Conclusion
Installing system fans on your Gigabyte B75M D3H motherboard is a straightforward process that can significantly improve your PC’s cooling performance. By following the steps outlined in this guide, you can ensure that your components stay cool, even under demanding workloads, extending their lifespan and enhancing the overall stability of your system. Remember to consult your motherboard’s manual for specific instructions and always prioritize safety by working on a grounded surface and using an anti-static wrist strap.
