

Experiencing issues with your GA-B85M-D3H motherboard’s system fan PWM control? You’re not alone. This frustrating problem can lead to overheating, system instability, and even hardware damage if left unaddressed. This comprehensive guide delves into the common causes behind a malfunctioning GA-B85M-D3H system fan PWM and provides effective troubleshooting steps to get your fans back up and running at optimal speeds.
Understanding PWM Fan Control and Its Importance
Pulse Width Modulation (PWM) is a dynamic fan control mechanism that allows your motherboard to precisely regulate fan speed based on system temperature. Unlike traditional voltage-based control, PWM delivers power in pulses, enabling a wider range of speed adjustments and quieter operation. A properly functioning PWM system ensures efficient cooling, prolongs fan lifespan, and minimizes noise levels.
Common Causes of GA-B85M-D3H System Fan PWM Issues
Several factors can contribute to PWM fan control problems on your GA-B85M-D3H motherboard. These include:
- BIOS Settings: Incorrect BIOS configurations, outdated versions, or corrupted settings can interfere with PWM functionality.
- Driver Conflicts: Outdated or incompatible chipset drivers can disrupt communication between the motherboard and the system fan, affecting PWM control.
- Hardware Issues: Faulty fan headers, damaged fan cables, or even a failing fan motor can lead to PWM malfunctions.
- Software Conflicts: Certain software applications or monitoring utilities might override the motherboard’s PWM settings, causing unexpected fan behavior.
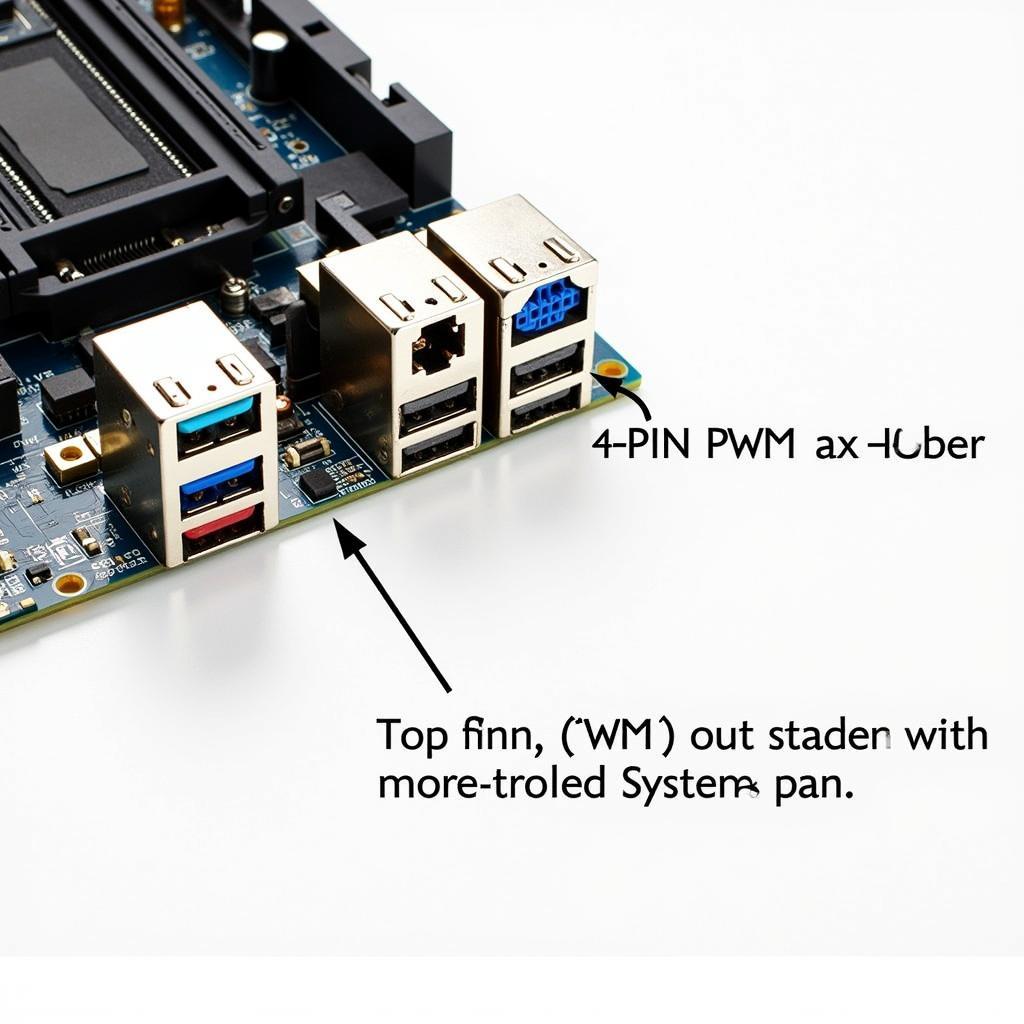 GA-B85M-D3H PWM Header
Troubleshooting Steps: GA-B85M-D3H System Fan PWM Not Working
Follow these steps to diagnose and resolve the issue of your GA-B85M-D3H system fan PWM not working:
-
Check Fan Connection and Type: Ensure the system fan is securely connected to the correct 4-pin CPU_FAN header on the motherboard. Verify that the fan itself is a 4-pin PWM fan, as 3-pin fans lack the PWM control circuitry.
-
Inspect Fan Header and Cable: Examine the fan header for any bent or damaged pins. Inspect the fan cable for any cuts or fraying. A damaged header or cable can disrupt the PWM signal.
-
Update BIOS and Chipset Drivers: Download the latest BIOS version and chipset drivers for your GA-B85M-D3H motherboard from the official Gigabyte support website. Ensure you are downloading the correct versions for your operating system.
-
Configure BIOS Settings: Access the BIOS settings by pressing the designated key during startup (usually Delete or F2). Navigate to the “PC Health Status” or “Hardware Monitor” section. Verify that “CPU Fan Control” or a similar setting is enabled and set to “PWM.”
-
Disable Third-Party Fan Control Software: Temporarily disable any third-party applications that might interfere with fan control, such as monitoring tools or overclocking utilities. Restart your system to see if the PWM functionality is restored.
-
Test with a Different Fan: If possible, connect a known-working 4-pin PWM fan to the CPU_FAN header to determine if the issue lies with the fan itself or the motherboard.
-
Reset BIOS to Default Settings: As a last resort, try resetting your BIOS to default settings. This can often resolve issues caused by incorrect configurations. However, note that you might need to reconfigure some BIOS settings afterward.
Conclusion
Troubleshooting a GA-B85M-D3H system fan PWM issue requires a systematic approach, but with careful diagnosis and the right solutions, you can restore proper fan control and ensure optimal system cooling. If the problem persists after trying these steps, it’s recommended to seek professional assistance or contact Gigabyte support for further guidance.
Remember, a well-cooled system not only performs better but also enjoys a longer lifespan.
