

Controlling your home’s climate with your fingertips is no longer a futuristic fantasy. With Apple HomeKit and a compatible smart fan, you can experience unparalleled comfort and convenience. This guide will explore everything you need to know about Fan Apple Homekit integration, from the benefits to choosing the right fan and maximizing your experience.
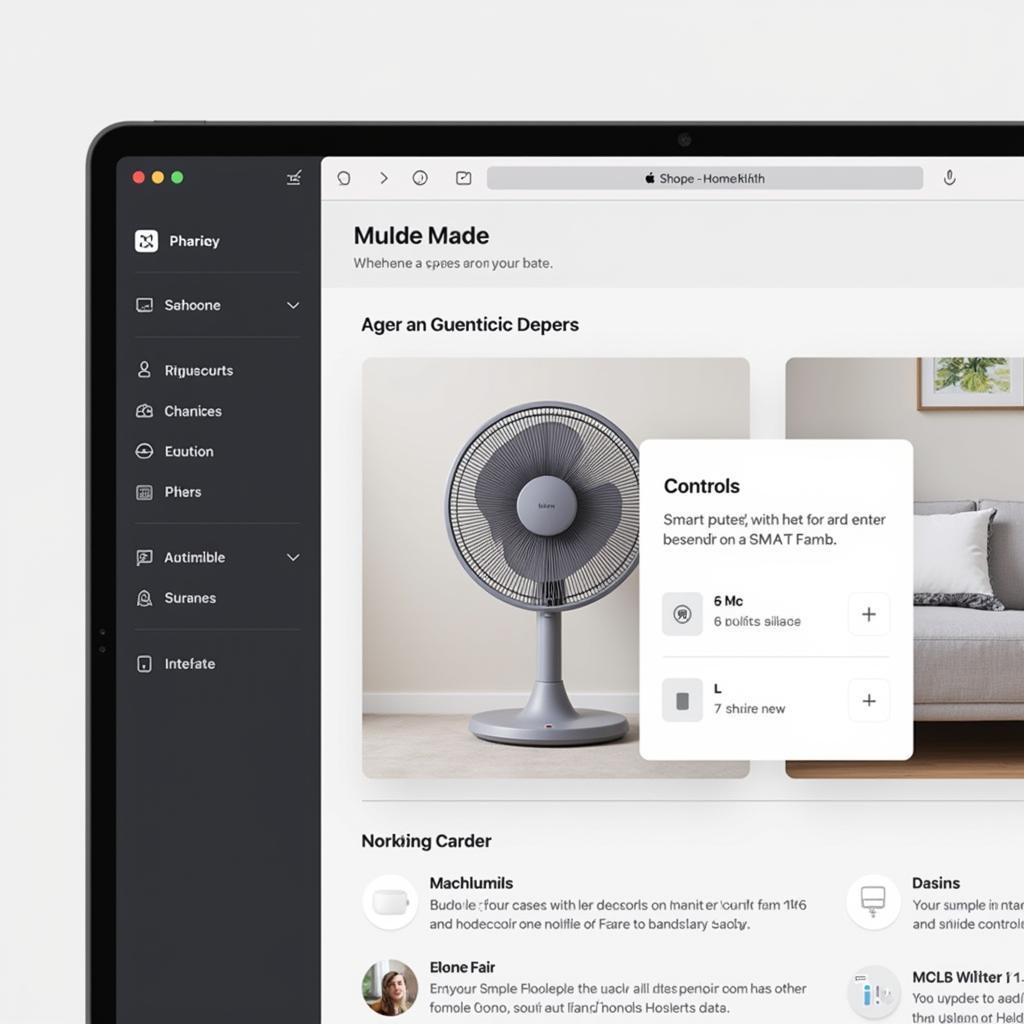 Apple HomeKit fan integration
Why Choose a HomeKit-Enabled Fan?
Integrating a smart fan with Apple HomeKit unlocks a new level of control and automation for your home’s climate. Here are some key benefits:
- Seamless Voice Control: Adjust your fan’s speed, oscillation, and even set schedules using simple voice commands with Siri.
- Smart Home Integration: Connect your fan with other HomeKit-compatible devices to create personalized scenes and automations. Imagine your fan automatically turning on and adjusting its speed based on the temperature or time of day.
- Remote Access and Monitoring: Control your fan from anywhere in the world using the Home app on your iPhone, iPad, or Mac.
- Enhanced Comfort and Energy Efficiency: Optimize your home’s comfort by setting schedules and automations that ensure the perfect temperature while maximizing energy efficiency.
Choosing the Right HomeKit Fan
Not all smart fans are created equal. Here’s what to consider when selecting a HomeKit-compatible fan:
- Fan Type: Determine the type of fan that best suits your needs – ceiling fans, tower fans, or desk fans each offer unique advantages.
- HomeKit Compatibility: Ensure the fan explicitly states its compatibility with Apple HomeKit. Look for the “Works with Apple HomeKit” badge on the packaging or product description.
- Features: Consider the features most important to you, such as fan speed settings, oscillation, timer functions, and smart home integrations beyond HomeKit.
- Design and Aesthetics: Choose a fan that complements your home’s style and décor.
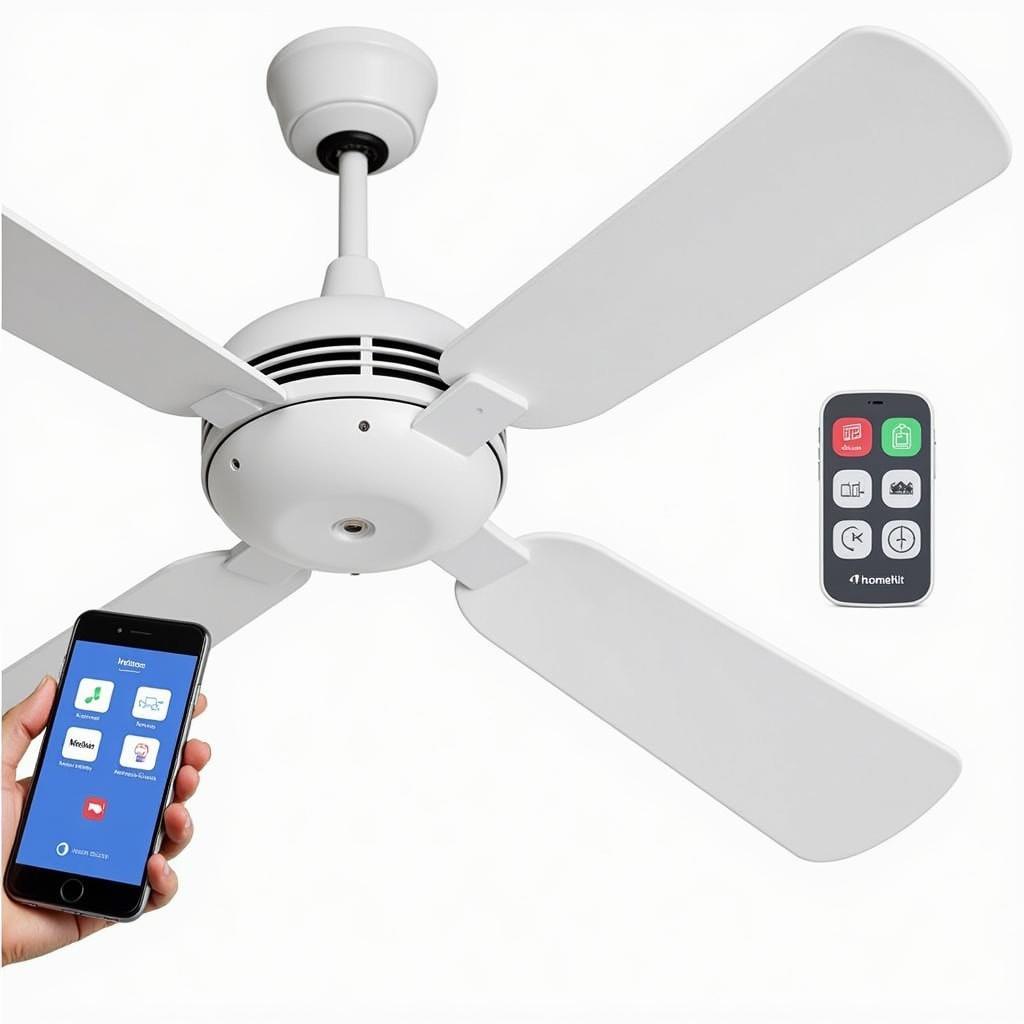 Smart fan features for HomeKit
Setting Up Your HomeKit Fan
Integrating your new HomeKit fan is a straightforward process:
- Ensure your HomeKit hub is set up: You’ll need an Apple TV (4th generation or later), HomePod, or iPad set up as a home hub to control your HomeKit accessories remotely.
- Install the fan: Follow the manufacturer’s instructions to install your new fan.
- Open the Home app: On your iOS device, open the Home app and tap the “+” icon to add a new accessory.
- Scan the HomeKit code: Scan the HomeKit code found on the fan or its documentation using your device’s camera.
- Follow the on-screen prompts: The Home app will guide you through the remaining setup steps, including assigning the fan to a room and customizing its name.
Maximizing Your HomeKit Fan Experience
Once your fan is integrated with HomeKit, you can unlock its full potential with these tips:
- Create Automations: Use the Home app’s automation feature to trigger actions based on specific conditions. For example, you can set your fan to turn on automatically when the temperature in your living room reaches a certain threshold.
- Set up Scenes: Combine your HomeKit fan with other smart home devices to create personalized scenes. Imagine a “Good Morning” scene that gradually increases the fan speed and adjusts the lighting as you wake up.
- Utilize Siri Voice Control: Control your fan effortlessly with simple voice commands. Ask Siri to “Turn on the living room fan,” “Set the fan speed to medium,” or “Turn off the fan in 30 minutes.”
Troubleshooting Tips
Encountering issues with your HomeKit fan? Try these troubleshooting steps:
- Check your Wi-Fi connection: Ensure your fan and iOS device are connected to the same Wi-Fi network.
- Power cycle your devices: Turn off your fan and iOS device, wait a few moments, and then turn them back on.
- Reset the fan: Refer to the manufacturer’s instructions on how to reset your specific fan model.
- Remove and re-add the fan: If all else fails, try removing the fan from the Home app and re-adding it.
Conclusion
A HomeKit-enabled fan offers a seamless way to enhance your home’s comfort and convenience. By integrating your fan with Apple’s smart home ecosystem, you gain unparalleled control over your home’s climate while unlocking the potential for automation and energy efficiency. Choose a HomeKit-compatible fan that suits your needs and follow the simple setup process to enjoy the benefits of a smarter, more comfortable home.
FAQ
-
What is a HomeKit fan?
A HomeKit fan is a smart fan that can be controlled using Apple’s HomeKit platform. This allows you to control the fan using the Home app on your iPhone, iPad, or Mac, or with voice commands using Siri. -
How do I connect my HomeKit fan to my Wi-Fi?
Your HomeKit fan will connect to your Wi-Fi network automatically during the setup process in the Home app. You will need to have your iOS device connected to the same Wi-Fi network that you want to use for your HomeKit fan. -
Can I control my HomeKit fan when I’m not at home?
Yes, you can control your HomeKit fan from anywhere in the world as long as you have an internet connection and a HomeKit hub set up. -
Do I need a separate hub for a HomeKit fan?
Yes, you will need a HomeKit hub to control your HomeKit fan remotely. This can be an Apple TV (4th generation or later), a HomePod, or an iPad set up as a home hub. -
What if my HomeKit fan isn’t responding?
If your HomeKit fan isn’t responding, you can try power cycling your devices, resetting the fan, or removing and re-adding the fan in the Home app.
Need more help? Contact us!
Phone: 0903426737
Email: fansbongda@gmail.com
Address: Tổ 9, Khu 6, Phường Giếng Đáy, Thành Phố Hạ Long, Giếng Đáy, Hạ Long, Quảng Ninh, Việt Nam.
Our customer support team is available 24/7 to assist you.
