

Exhaust fans are essential for maintaining good air quality and preventing mold growth in our homes. However, like any other appliance, they can malfunction over time. This comprehensive guide will walk you through common exhaust fan problems, troubleshooting tips, and DIY repair solutions. Whether your fan is making strange noises, running slowly, or not working at all, this guide has got you covered.
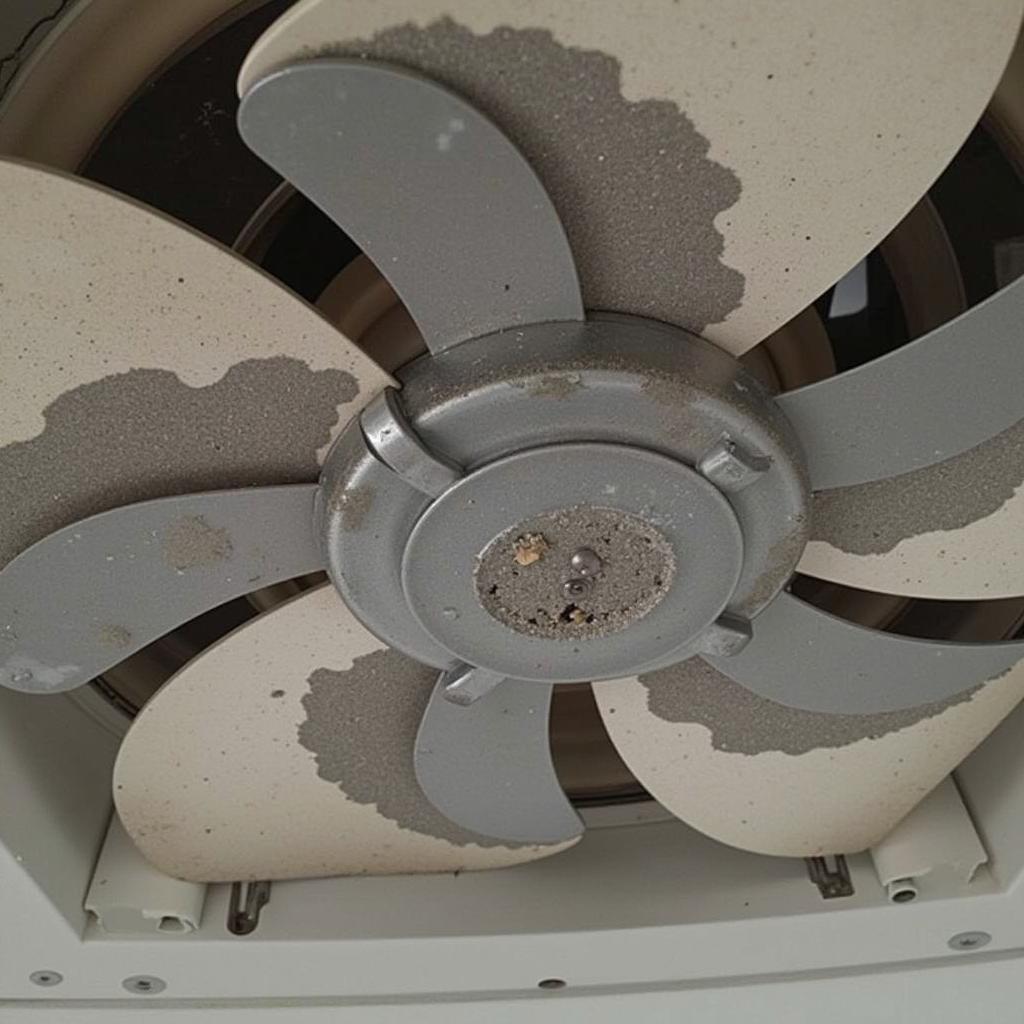 Exhaust fan not working
Common Exhaust Fan Problems and Their Causes
Before diving into repairs, it’s crucial to identify the root cause of the problem. Here are some common exhaust fan issues and their potential causes:
1. Fan Not Turning On
- Blown fuse or tripped circuit breaker: This is the first thing to check. If the fuse is blown or the circuit breaker has tripped, it indicates an electrical fault.
- Faulty switch: A malfunctioning switch can disrupt the electrical connection, preventing the fan from receiving power.
- Wiring issues: Loose or damaged wiring within the fan or electrical circuit can also cause power supply problems.
- Motor failure: A burnt-out motor will render the fan completely inoperable.
2. Fan is Noisy
- Dust and debris buildup: Accumulation of dust and debris on the fan blades and motor can cause imbalance and noise.
- Worn out bearings: Over time, the bearings in the fan motor can wear out, resulting in grinding or squealing noises.
- Loose parts: Loose screws, fan blades, or housing components can vibrate and create rattling sounds.
3. Fan Running Slowly or Inefficiently
- Capacitor problems: A failing capacitor can prevent the motor from reaching full speed, resulting in reduced airflow.
- Blocked vent: Obstructions in the exhaust vent, such as bird nests or debris, can restrict airflow and hinder fan performance.
- Dirty fan blades: Dust and grime buildup on the fan blades can add extra weight and reduce their efficiency.
Troubleshooting and DIY Repair Solutions
Here’s a step-by-step guide to troubleshoot and fix common exhaust fan problems:
1. Check the Electrical Supply
- Inspect the fuse box or circuit breaker panel for any blown fuses or tripped breakers. Replace the fuse or reset the breaker if necessary.
- Test the switch using a voltage tester to ensure it’s supplying power to the fan. Replace the switch if it’s faulty.
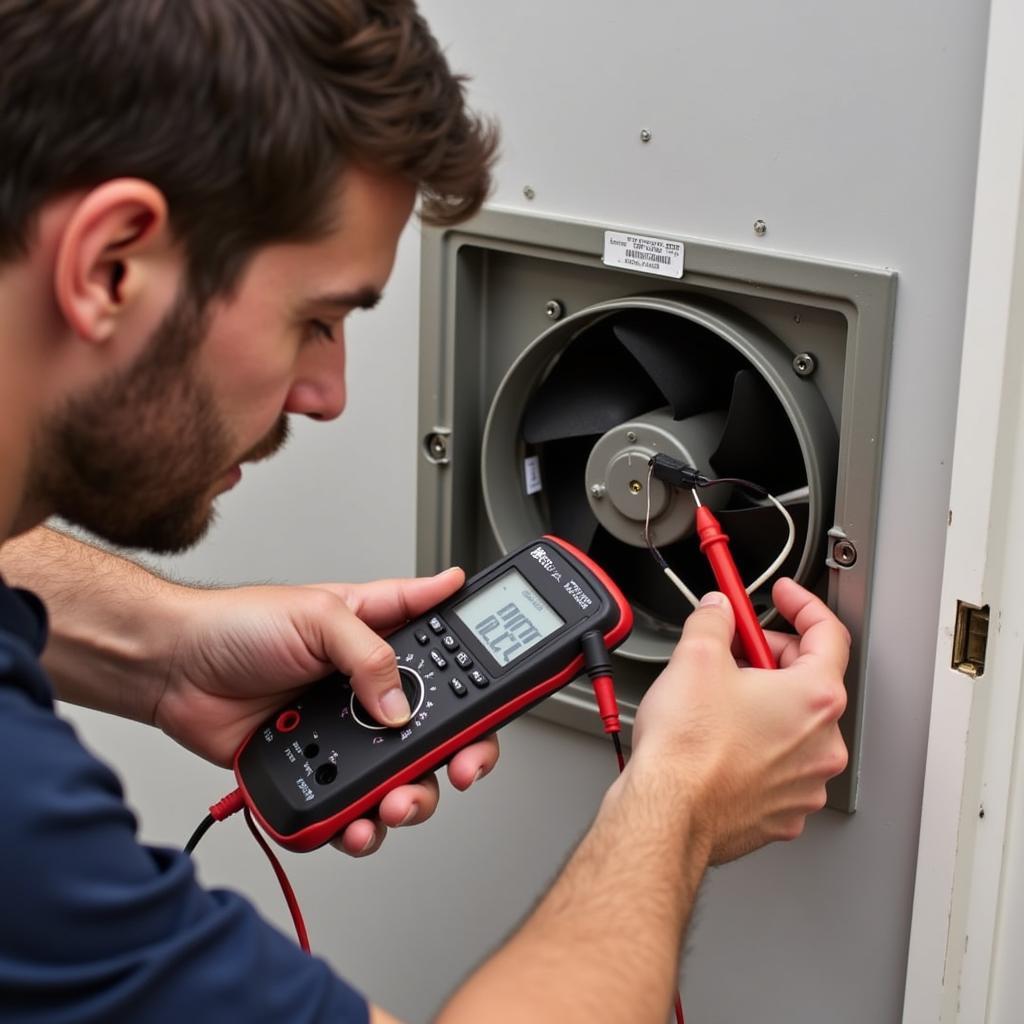 Checking exhaust fan wiring
2. Inspect for Physical Obstructions
- Turn off the power supply to the fan.
- Remove the fan cover and inspect the blades for dust and debris buildup. Clean the blades thoroughly using a damp cloth.
- Check the vent for any blockages and remove them carefully.
3. Lubricate the Motor
- Locate the motor on the fan assembly.
- Apply a few drops of lightweight machine oil to the motor bearings.
- Spin the fan blades manually a few times to distribute the lubricant.
4. Check and Replace the Capacitor (if applicable)
- Locate the capacitor on the fan motor. It’s usually a small cylindrical component.
- Discharge the capacitor by touching a screwdriver to its terminals.
- Inspect the capacitor for any signs of bulging or leaking.
- If the capacitor appears faulty, replace it with a new one of the same specifications.
5. Tighten Loose Parts
- Inspect the fan assembly for any loose screws, fan blades, or housing components.
- Tighten all loose parts securely using a screwdriver.
When to Call a Professional
While many exhaust fan problems can be addressed with DIY solutions, some situations warrant professional assistance. If you encounter any of the following, it’s best to call a qualified electrician:
- You suspect a gas leak
- The wiring is damaged or deteriorated
- The fan is making unusual noises even after troubleshooting
- You’re uncomfortable working with electrical components
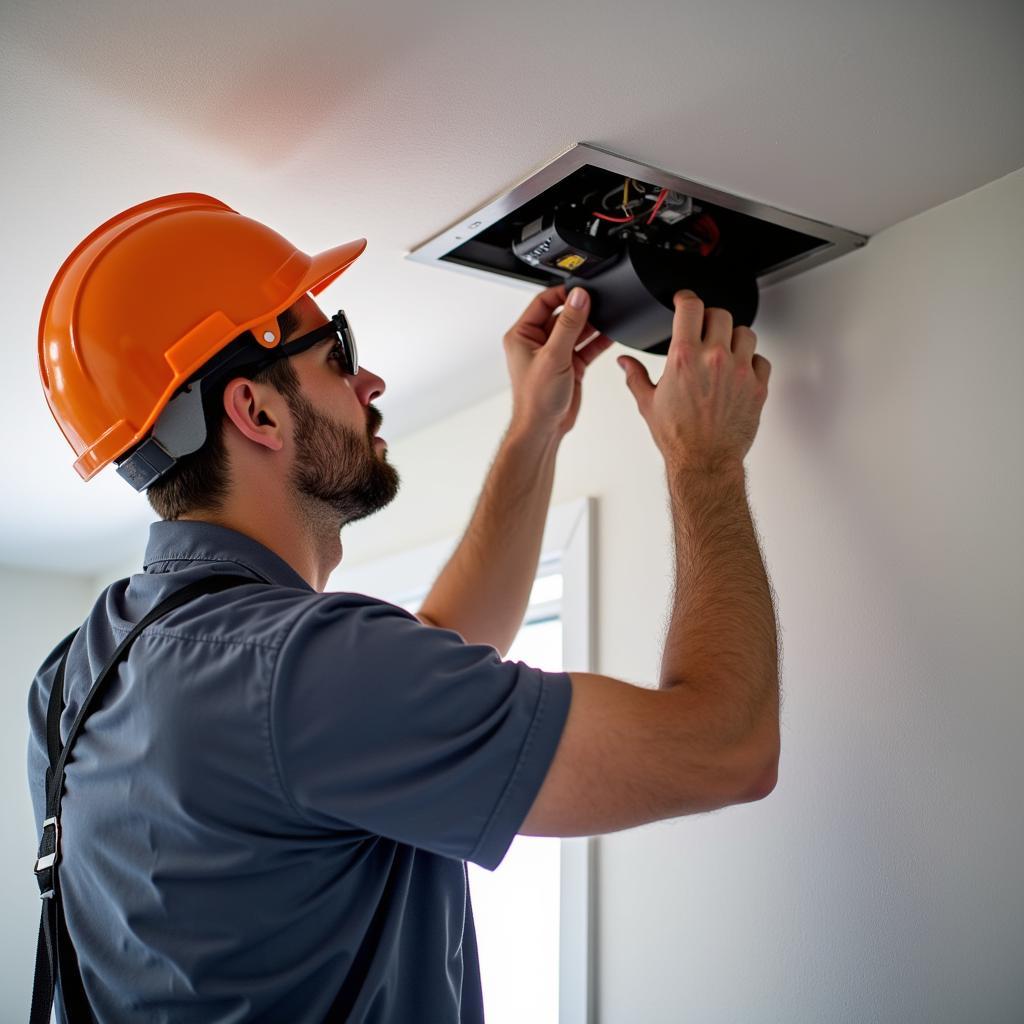 Electrician repairing exhaust fan
Conclusion
Maintaining your exhaust fan is crucial for a healthy and comfortable living environment. By following the troubleshooting and repair tips outlined in this guide, you can often fix common problems yourself. However, always prioritize safety and don’t hesitate to seek professional help when needed.
Remember to turn off the power supply before attempting any repairs and wear appropriate safety gear. With a little effort, you can keep your exhaust fan running smoothly and ensure optimal air quality in your home.
FAQs
Q: How often should I clean my exhaust fan?
A: It’s generally recommended to clean your exhaust fan every 3-6 months, depending on usage and environmental factors.
Q: Can I replace the exhaust fan motor myself?
A: While it’s technically possible, replacing an exhaust fan motor can be complex and may require specialized tools. If you’re not comfortable working with electrical components, it’s best to hire a professional.
Q: What are some signs of a faulty exhaust fan capacitor?
A: Common signs of a failing capacitor include humming or buzzing noises from the fan, slow startup, and reduced airflow.
Q: How can I improve my exhaust fan’s efficiency?
A: Ensure the vent is clear of obstructions, clean the fan blades regularly, and consider upgrading to a more powerful fan if needed.
Q: Can I paint my exhaust fan cover?
A: Yes, you can paint the exhaust fan cover to match your décor. However, use a paint specifically designed for metal surfaces and avoid painting the fan blades or motor.
Related Resources:
For more information on fan maintenance, you can also check out these helpful articles:
Need help with your Exhaust Fan Fixing? Contact us today at Phone Number: 0903426737, Email: fansbongda@gmail.com. Or visit us at Lot 9, Area 6, Gieng Day Ward, Ha Long City, Gieng Day, Ha Long, Quang Ninh, Vietnam. We have a dedicated customer support team available 24/7 to assist you.
