

The Dell XPS line is renowned for its sleek design and powerful performance. However, even the most sophisticated technology can encounter issues, and one common problem some users face is the Dell XPS fan not working correctly. This can manifest as a constantly running fan, a fan that doesn’t spin at all, or unusual noises emanating from the fan. If you’re experiencing this issue, don’t panic! This guide will walk you through common causes and solutions to get your Dell XPS cooling system back on track.
Why is My Dell XPS Fan So Loud?
Before we dive into solutions, it’s crucial to understand why your Dell XPS fan might be malfunctioning. Several factors can contribute to this:
- Dust Accumulation: Over time, dust can build up inside your laptop, clogging the fan and hindering its performance. A dusty fan has to work harder, leading to increased noise and potential overheating.
- Outdated BIOS: The BIOS (Basic Input/Output System) is firmware that controls your laptop’s hardware, including the fan. An outdated BIOS can cause compatibility issues, resulting in fan malfunctions.
- Driver Issues: Outdated or corrupted fan drivers can also disrupt the fan’s operation, leading to performance problems.
- Hardware Failure: In rare cases, the fan itself might be faulty due to wear and tear or manufacturing defects.
How to Fix a Dell XPS Fan Not Working
Now that we’ve covered potential causes, let’s explore troubleshooting steps:
1. Check for Physical Obstructions
Ensure no objects are blocking the air vents on your laptop’s sides or bottom. Obstructed airflow can cause overheating, forcing the fan to work harder.
2. Clean Your Laptop
- Power Off and Unplug: Before cleaning, completely power off your laptop and unplug it from the power source.
- Compressed Air: Use a can of compressed air to blow out dust from the air vents, keyboard, and any other openings. Hold the can upright and use short bursts of air to avoid damaging internal components.
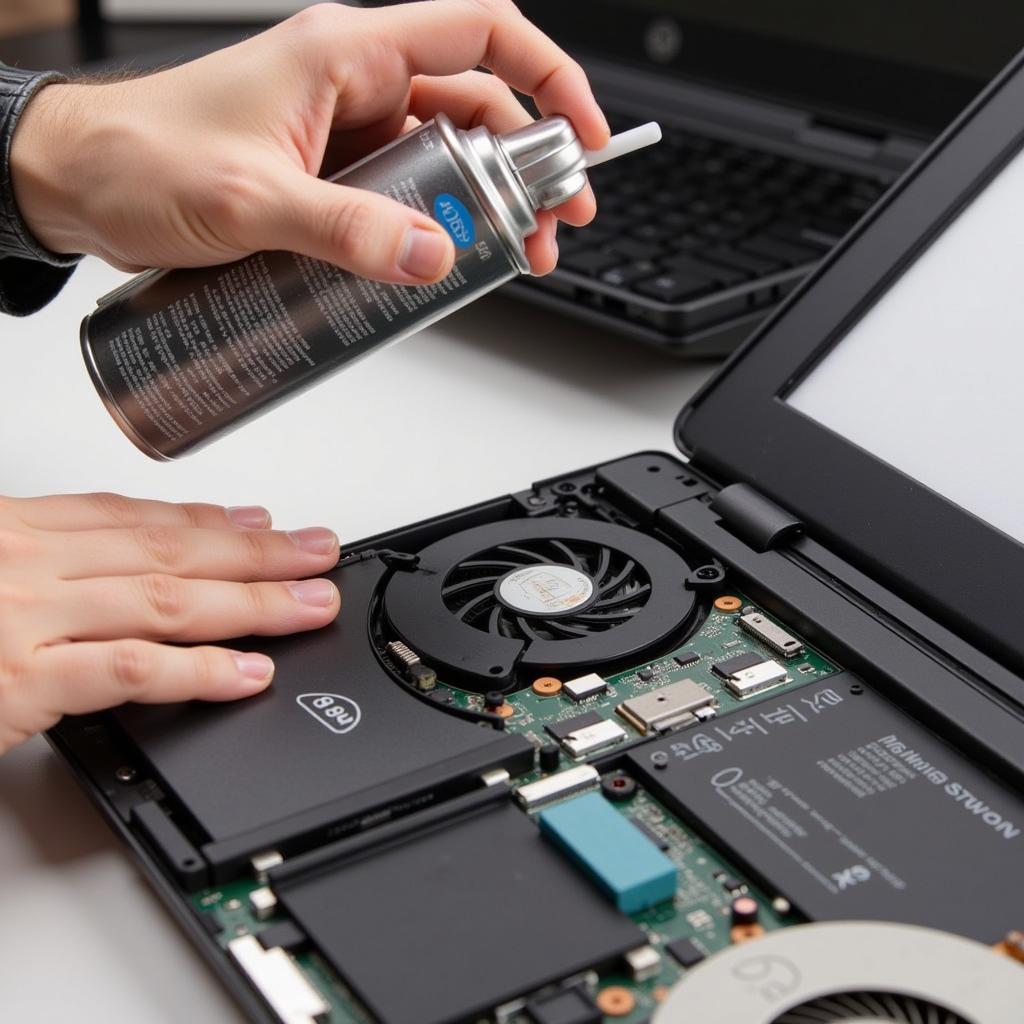 Cleaning a Dell XPS fan with compressed air
3. Update Your BIOS and Drivers
- Check Dell’s Website: Visit the Dell support website and enter your laptop’s service tag or model number.
- Download Updates: Download the latest BIOS and fan drivers specifically designed for your XPS model.
- Install Updates: Follow the on-screen instructions to install the updates. Ensure you don’t interrupt the process, as this could cause further issues.
4. Monitor CPU Temperature
- Task Manager (Windows): Open Task Manager (Ctrl+Shift+Esc) and go to the “Performance” tab. Check the CPU temperature – if it’s consistently high (above 80°C or 176°F) even under light load, this could indicate a cooling problem.
- Activity Monitor (macOS): Open Activity Monitor (Applications > Utilities > Activity Monitor) and click on the “CPU” tab. Monitor the CPU temperature graph for any unusual spikes.
5. Contact Dell Support
If the problem persists after trying these steps, it’s best to contact Dell support for further assistance. They can help diagnose the issue and advise on repair or replacement options, especially if it’s a hardware-related problem.
 Contacting Dell support for fan issues
Dell XPS Fan Not Working: Conclusion
A malfunctioning fan can significantly impact your Dell XPS’s performance and lifespan. By following the troubleshooting tips outlined in this guide, you can address common causes and potentially resolve the issue yourself. However, if the problem persists, don’t hesitate to seek professional help from Dell support to avoid further complications.
