

The Dell Fan Test, often a topic of intrigue and confusion for many users, is essentially a diagnostic tool built into Dell laptops to assess the functionality of the cooling system. This test, activated through specific key combinations during startup, helps identify potential issues with the fan, a critical component that prevents overheating and ensures optimal performance.
Understanding the Importance of the Dell Fan Test
Imagine your laptop as a high-performance engine. Just like an engine requires a cooling system to prevent overheating, your laptop relies heavily on its fan to dissipate heat generated by the processor, graphics card, and other components. A malfunctioning fan can lead to performance throttling, system instability, and even permanent hardware damage.
The Dell Fan Test plays a crucial role in:
- Early Detection of Fan Issues: Identifying potential fan problems before they escalate into major concerns, saving you from costly repairs or data loss.
- Troubleshooting Overheating Problems: Determining if a noisy or constantly running fan is a symptom of a larger issue, such as a clogged air vent or a failing fan motor.
- Assessing the Effectiveness of Cleaning: Verifying if cleaning the fan and vents has successfully resolved any overheating issues.
How to Perform a Dell Fan Test
Performing a Dell Fan Test is a straightforward process, generally consistent across various Dell laptop models. Here’s a step-by-step guide:
- Completely shut down your Dell laptop.
- Power on the laptop and immediately start tapping the “F12” key until you see the boot menu.
- Use the arrow keys to navigate to the “Diagnostics” option and press “Enter.”
- The Dell Fan Test will usually run automatically as part of the diagnostics. Look for on-screen instructions or indicators that specifically mention the fan test.
 Dell Laptop Fan Test Screen
During the test, you might observe the fan spinning at different speeds, accompanied by changes in noise levels. This is normal as the test evaluates the fan’s responsiveness and ability to operate across its full range.
Interpreting Dell Fan Test Results
After the test completes, you’ll likely see a message indicating whether the fan passed or failed.
- “Fan – Passed”: This means the fan is functioning correctly.
- “Fan – Failed” or an error code: This indicates a potential problem with the fan. Note down the error code, if any, as it can be helpful for troubleshooting.
It’s important to remember that the Dell Fan Test is a diagnostic tool and may not always be conclusive. If you encounter persistent overheating issues, unusual fan noise, or receive a “Fan – Failed” message, it’s recommended to consult Dell support or a qualified technician for further assistance.
Beyond the Dell Fan Test: Maintaining Your Laptop’s Cooling System
While the Dell Fan Test is a valuable tool, regular maintenance is key to a healthy cooling system.
- Keep the vents clear: Dust and debris can clog vents, restricting airflow and causing overheating. Regularly clean the vents using compressed air.
- Use a cooling pad: A cooling pad can provide additional airflow and help dissipate heat, especially during demanding tasks.
- Monitor your laptop’s temperature: Utilize software to keep an eye on your laptop’s temperature and identify potential overheating issues early on.
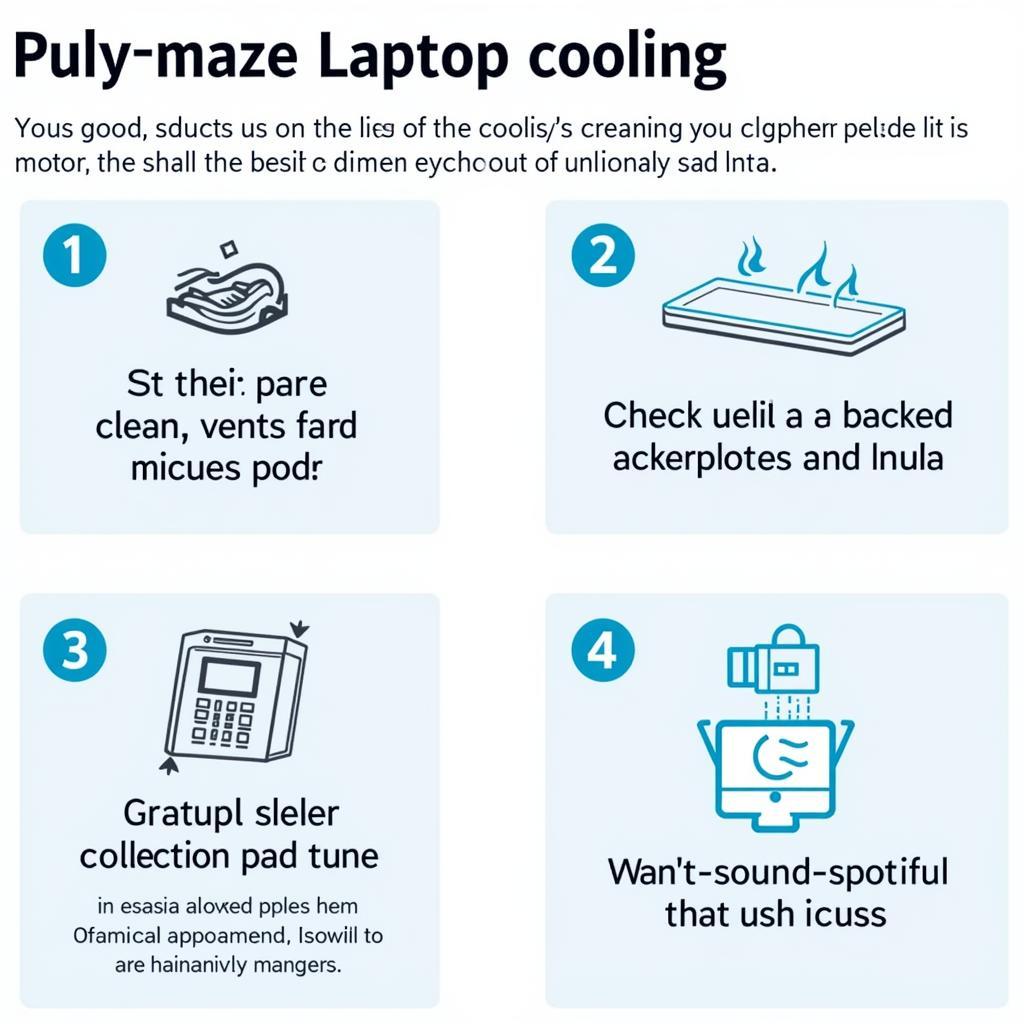 Laptop Cooling Tips and Maintenance
Conclusion
The Dell Fan Test is a valuable tool for ensuring the health and longevity of your Dell laptop. By understanding its importance, knowing how to perform the test, and interpreting the results, you can proactively address potential fan issues and ensure your laptop remains cool and efficient for years to come. Remember, a well-maintained cooling system is essential for optimal performance and a smooth computing experience.
