

Deactivating your Facebook Fan Page might seem like a drastic step, but there are situations where it’s the best course of action. Whether you’re taking a break, rebranding, or closing down permanently, understanding the process and implications is crucial. This guide provides a comprehensive overview of how to deactivate your Facebook Fan Page, the differences between deactivation and deletion, and answers to frequently asked questions.
Reasons to Deactivate Your Facebook Page
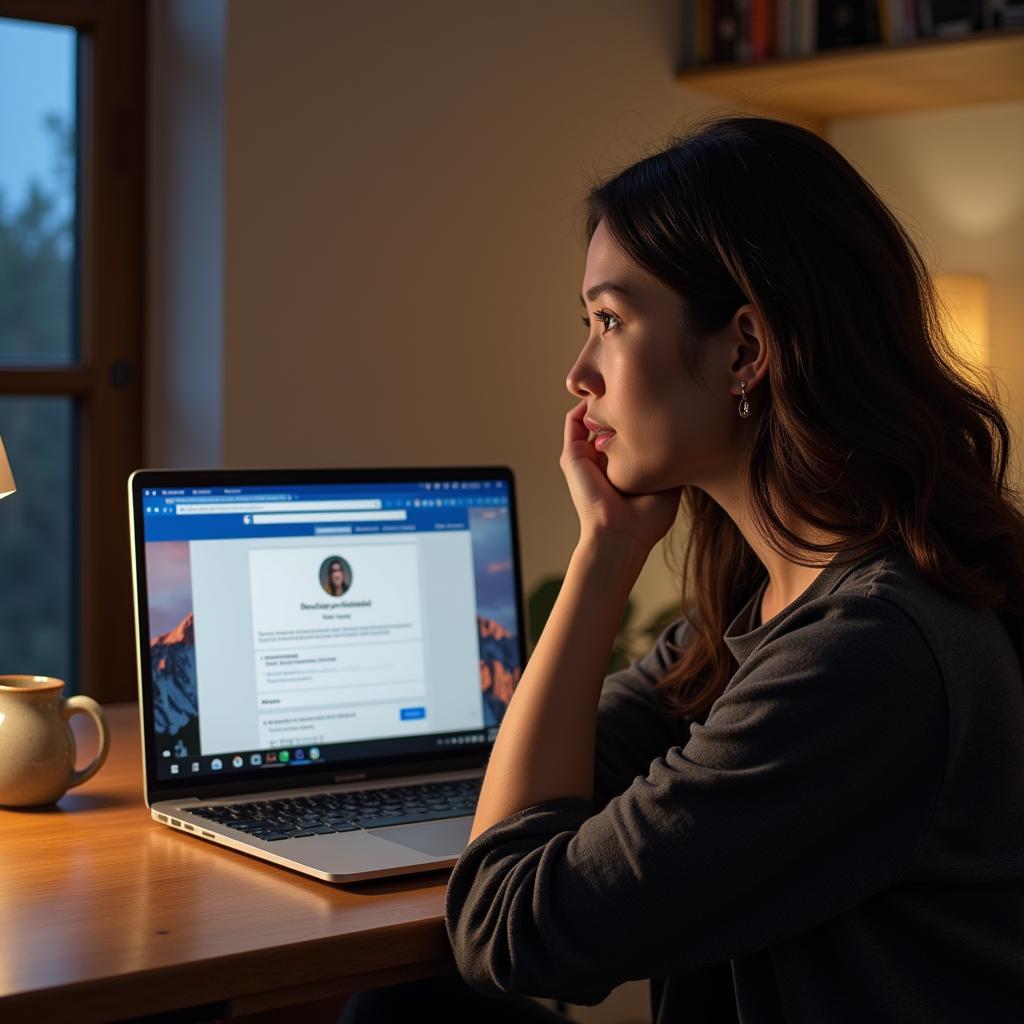 Reasons to Deactivate Facebook Page
Before diving into the how-to, let’s explore why you might consider this action:
- Temporary Break: Need a breather from managing your page? Deactivating allows you to take a step back without losing all your content and data.
- Rebranding: If you’re undergoing a major brand overhaul, temporarily deactivating your page can be helpful during the transition.
- Low Engagement: Struggling with low engagement and reach? Consider revamping your strategy and deactivating temporarily while you reassess.
- Permanent Closure: Closing your business or shifting your focus entirely? Deactivating or deleting your page might be necessary.
Deactivation vs. Deletion: What’s the Difference?
It’s important to understand the distinction:
- Deactivation: Your page becomes invisible to the public, but your data remains intact. You can reactivate it anytime.
- Deletion: This permanently removes your page and all its data. This action is irreversible.
How to Deactivate Your Facebook Fan Page
Follow these simple steps:
- Log in and Go to Your Page: Access your Facebook account and navigate to the Fan Page you want to deactivate.
- Access Page Settings: Click on “Settings” in the top right corner of your Page.
- Navigate to “General”: From the left-hand menu, select “General.”
- Deactivate Your Page: Find the section that says “Page Visibility” and click “Edit.” Select the option to “Deactivate Page.”
- Confirm Deactivation: Facebook will ask you to confirm your decision and provide a reason for deactivation.
Reactivating Your Deactivated Facebook Page
If you decide to return, reactivating is easy. Simply log back into your Facebook account, navigate to your deactivated page, and follow the prompts to make it live again. All your content and insights will be restored.
Frequently Asked Questions
Q: Can I still receive messages after deactivating?
A: No, your page’s messaging function will be disabled during deactivation.
Q: How long can I keep my Page deactivated?
A: There’s no time limit. You can keep it deactivated for as long as needed.
Q: What happens to my scheduled posts?
A: Scheduled posts will remain in a pending state and won’t be published unless you reactivate your page.
Need Help Managing Your Online Presence?
Deactivating your Facebook Fan Page is a significant decision. For expert advice on managing your online presence, or if you need help with how to recover fan page lost administration, contact us!
Contact us:
- Phone: 0903426737
- Email: fansbongda@gmail.com
- Address: Tổ 9, Khu 6, Phường Giếng Đáy, Thành Phố Hạ Long, Giếng Đáy, Hạ Long, Quảng Ninh, Việt Nam
Our customer support team is available 24/7 to assist you.
