

The “CPU fan low limit” setting might seem like an obscure technical detail, but it can significantly impact your computer’s performance and lifespan. This setting dictates the minimum speed at which your CPU fan operates, ensuring adequate cooling even when the system is relatively idle. If set too low, your CPU might overheat under heavy workloads, leading to performance throttling or even permanent damage.
Understanding CPU Fan Low Limit
The “CPU fan low limit” setting, often found within your computer’s BIOS or UEFI settings, determines the lowest RPM (revolutions per minute) your CPU fan can spin. This setting is crucial for balancing cooling and noise levels.
A higher low limit ensures consistent airflow, preventing the CPU from reaching critical temperatures during intense tasks like gaming or video editing. Conversely, a lower low limit reduces fan noise when the system is idle or under light loads, leading to a quieter computing experience.
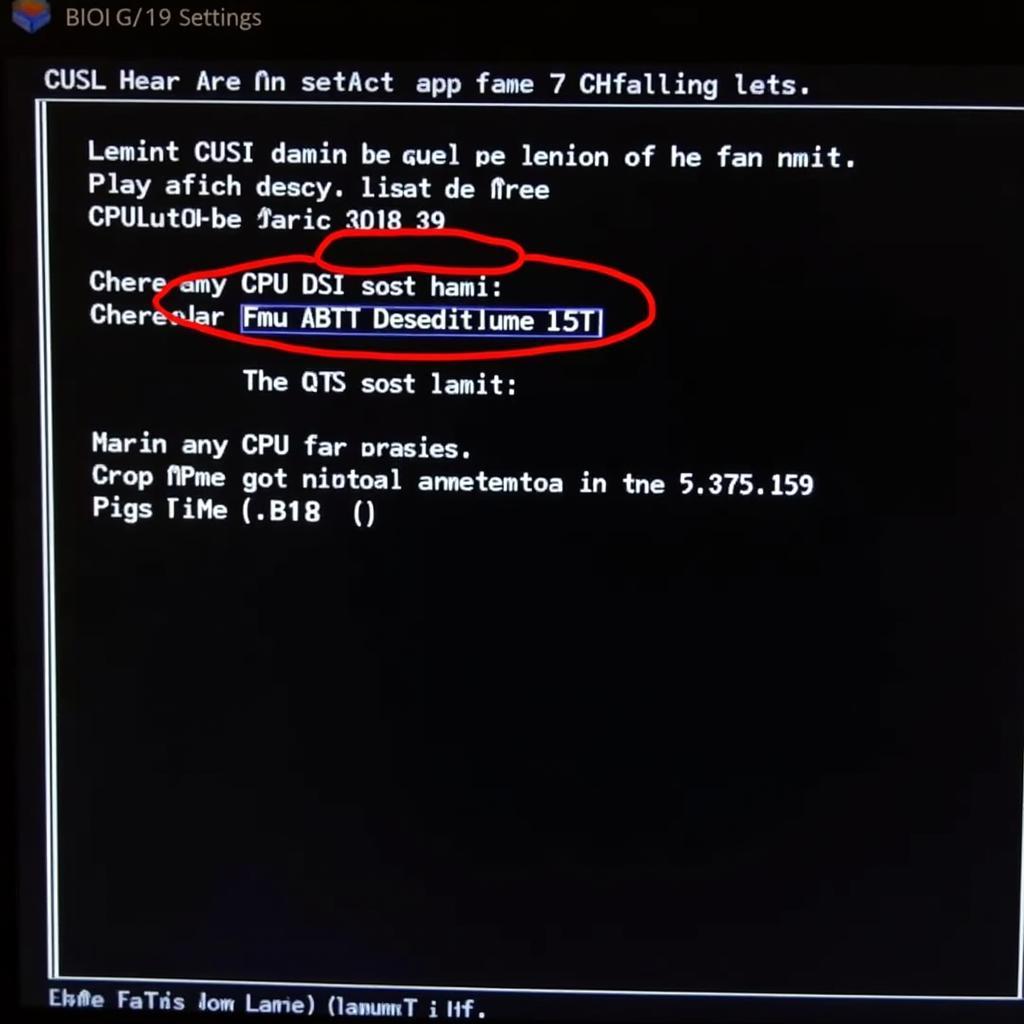 CPU Fan BIOS Settings
Why Finding the Right Balance Matters
Setting the “CPU fan low limit” correctly is vital for maintaining optimal CPU performance and longevity. If the limit is set too low:
- Overheating: Under heavy workloads, the CPU might not receive adequate cooling, leading to thermal throttling, where the CPU reduces its clock speed to prevent damage from overheating. This results in noticeable performance drops and lag.
- System Instability: Persistent overheating can cause system crashes, blue screen errors, and even data loss in extreme cases.
On the other hand, setting the limit too high can lead to:
- Excessive Noise: The CPU fan will run at higher speeds than necessary, generating noticeable noise, especially during regular tasks.
- Premature Fan Wear: Running the fan at high speeds constantly can accelerate wear and tear, potentially leading to premature fan failure.
Finding the Optimal CPU Fan Low Limit
Determining the optimal “CPU fan low limit” is crucial and depends on several factors, including:
- CPU: Different CPUs have different TDPs (Thermal Design Power), which indicates their heat output. Higher TDP CPUs generally require higher fan speeds for efficient cooling.
- Cooling Solution: A robust aftermarket cooler often allows for a lower fan limit compared to stock coolers due to their increased cooling capacity.
- Ambient Temperature: Higher room temperatures necessitate a higher fan limit to compensate for the warmer environment.
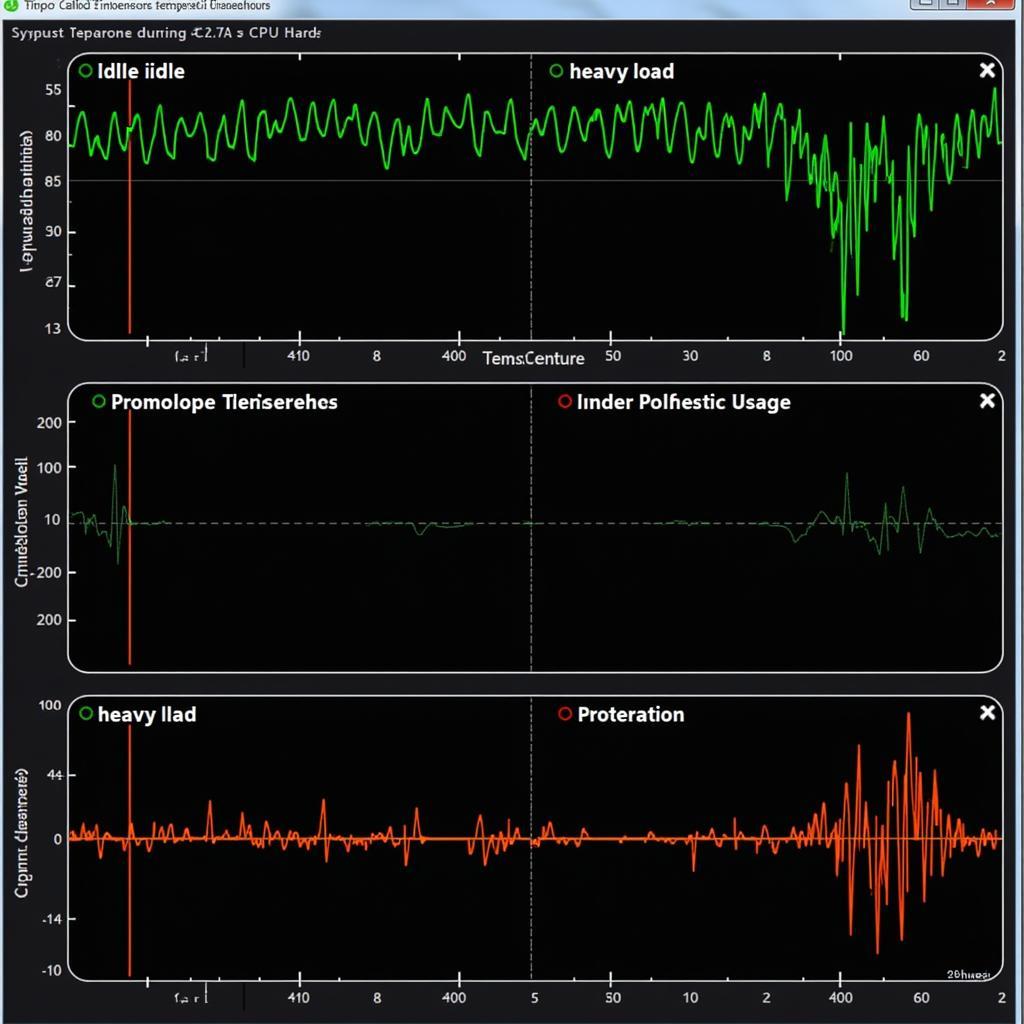 Monitoring CPU Temperature
Adjusting the CPU Fan Low Limit
Accessing and modifying the “CPU fan low limit” is usually done through the BIOS/UEFI settings:
- Enter BIOS/UEFI: Restart your computer and repeatedly press the designated key (usually Del, F2, F10, or Esc) during startup to access the BIOS/UEFI settings.
- Locate Fan Settings: Navigate to the “Hardware Monitoring,” “Power,” or similar section within the BIOS/UEFI menu.
- Adjust the Low Limit: Find the “CPU Fan Low Limit” setting and adjust the RPM value according to your needs and system configuration.
- Save and Exit: Save the changes and exit the BIOS/UEFI settings. Your computer will restart with the new fan settings applied.
Expert Insight: “When adjusting the fan low limit, it’s best to start with small increments and monitor CPU temperatures under different workloads,” advises James Dalton, a veteran computer technician. “This iterative approach helps you find the sweet spot between cooling efficiency and minimal noise.”
Conclusion
Finding the right “CPU fan low limit” is a balancing act. It requires understanding your system’s thermal dynamics and finding a setting that ensures adequate cooling without generating excessive noise. By following the steps outlined in this article and monitoring your CPU temperatures, you can strike that balance and contribute to a stable, efficient, and long-lasting computer system.
Remember, if you’re unsure about adjusting BIOS/UEFI settings, seeking assistance from a qualified technician is always recommended to avoid any potential complications.
