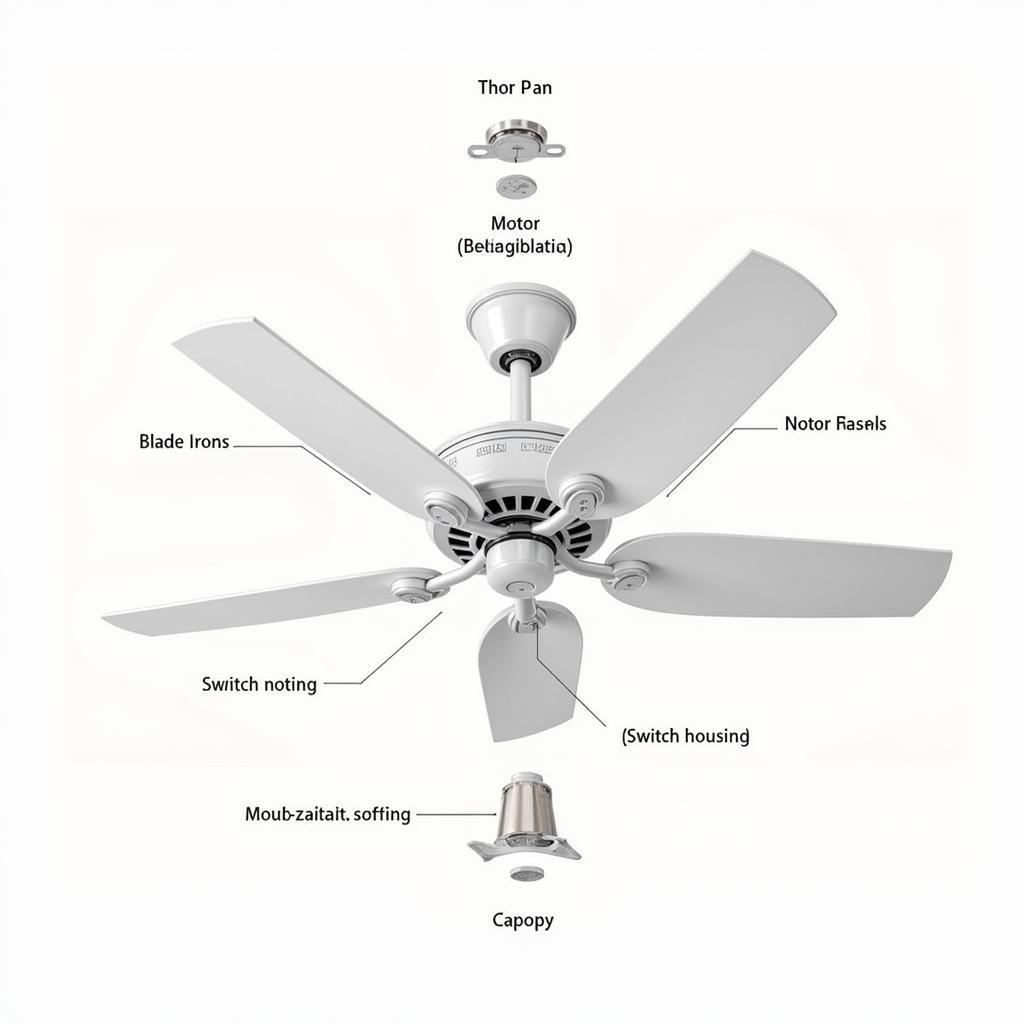
Ceiling fans are a staple in many homes, providing much-needed airflow and comfort. But like any appliance, they consist of various parts that can wear out or malfunction over time. Understanding the different Ceiling Fan Parts can help you troubleshoot issues, perform repairs, or even choose the right replacement components for your fan.
Inside a Ceiling Fan: Breaking Down the Components
 Ceiling Fan Anatomy
While ceiling fans might seem simple on the surface, they rely on a coordinated system of parts working together. Here’s a closer look at the most common components:
1. Motor: The heart of the ceiling fan, the motor provides the power to turn the blades. Motors come in various speeds and power ratings, affecting the fan’s overall performance.
2. Blades: Typically made of wood, plastic, or metal, blades create the airflow. The number, size, and angle of the blades determine the amount of air the fan can move.
3. Blade Irons/Arms: These connect the blades to the motor and play a crucial role in reducing vibration and ensuring smooth operation.
4. Downrod: This component connects the fan to the ceiling and comes in various lengths to accommodate different ceiling heights.
5. Switch Housing: Located below the blades, this houses the switches that control the fan’s speed and lighting.
6. Canopy: This decorative cover conceals the ceiling mounting bracket and electrical connections.
7. Mounting Bracket: This part attaches securely to the ceiling joist, providing a stable base for the fan.
Common Ceiling Fan Issues and How to Address Them
Identifying the source of a ceiling fan problem is the first step to fixing it. Here are some common issues and their potential solutions:
-
Fan Doesn’t Turn On: This could be due to a faulty switch, a tripped circuit breaker, or a wiring issue within the fan itself.
- Solution: Check the circuit breaker first. If that’s not the issue, try replacing the switch. If the problem persists, it’s best to consult an electrician to inspect the wiring.
-
Fan is Noisy: Wobbling, humming, or clicking noises can indicate loose screws, worn-out bearings, or a blade imbalance.
- Solution: Tighten any loose screws on the fan and its mounting bracket. If the noise persists, you might need to replace the motor bearings or balance the blades. Blade balancing kits are readily available at hardware stores.
-
Fan Wobbles: An unevenly weighted fan, a loose downrod, or a damaged blade can cause wobbling.
- Solution: Ensure the downrod is securely fastened. Inspect the blades for any signs of damage and replace them if necessary. Use a blade balancing kit to correct any weight imbalances.
-
Fan Speed Issues: If the fan only works on certain speeds or runs too slowly, the problem could lie within the fan’s switch or control module.
- Solution: Try cleaning the switch contacts with electrical contact cleaner. If that doesn’t solve the problem, replacing the switch or control module is usually the next step.
Choosing the Right Ceiling Fan Parts
When replacing ceiling fan parts, it’s essential to choose components that are compatible with your fan model:
-
Blades: Consider the size, material, and style of your existing blades. Ensure the new blades are the same size and have the same mounting system.
-
Downrod: Measure the existing downrod to determine the correct length for your ceiling height.
-
Switch Housing & Controls: If replacing these parts, ensure they match the wiring configuration of your fan and offer the desired functionalities (like speed settings, light control, or remote operation).
“When selecting replacement parts, it’s crucial to prioritize compatibility and quality. Opting for parts specifically designed for your fan model ensures optimal performance and safety.” – John Miller, Certified Electrician
Maintaining Your Ceiling Fan
Regular maintenance can significantly extend the lifespan of your ceiling fan:
- Cleaning: Dust the blades regularly with a soft cloth or duster.
- Lubrication: Once a year, lubricate the motor bearings with a few drops of lightweight machine oil.
- Inspection: Periodically inspect the fan for any loose screws, worn-out parts, or signs of damage.
Conclusion
Understanding the basics of ceiling fan parts empowers you to address minor issues and make informed decisions about repairs or replacements. By following the troubleshooting tips and maintenance advice outlined in this guide, you can keep your ceiling fan running smoothly for years to come. Remember, if you’re ever unsure about tackling a repair yourself, it’s always best to consult a qualified electrician.


