

Kinesiology tape has gained popularity as a drug-free option for relieving pain and supporting muscles and joints. Among its many applications, using kinesiology tape for plantar fasciitis is a common practice. This article will guide you on how to effectively apply kinesiology tape to alleviate plantar fasciitis pain and promote healing.
Understanding Plantar Fasciitis and Kinesiology Tape
Plantar fasciitis, a common foot condition, causes pain in the heel and arch of the foot. It stems from inflammation of the plantar fascia, a thick band of tissue supporting the arch.
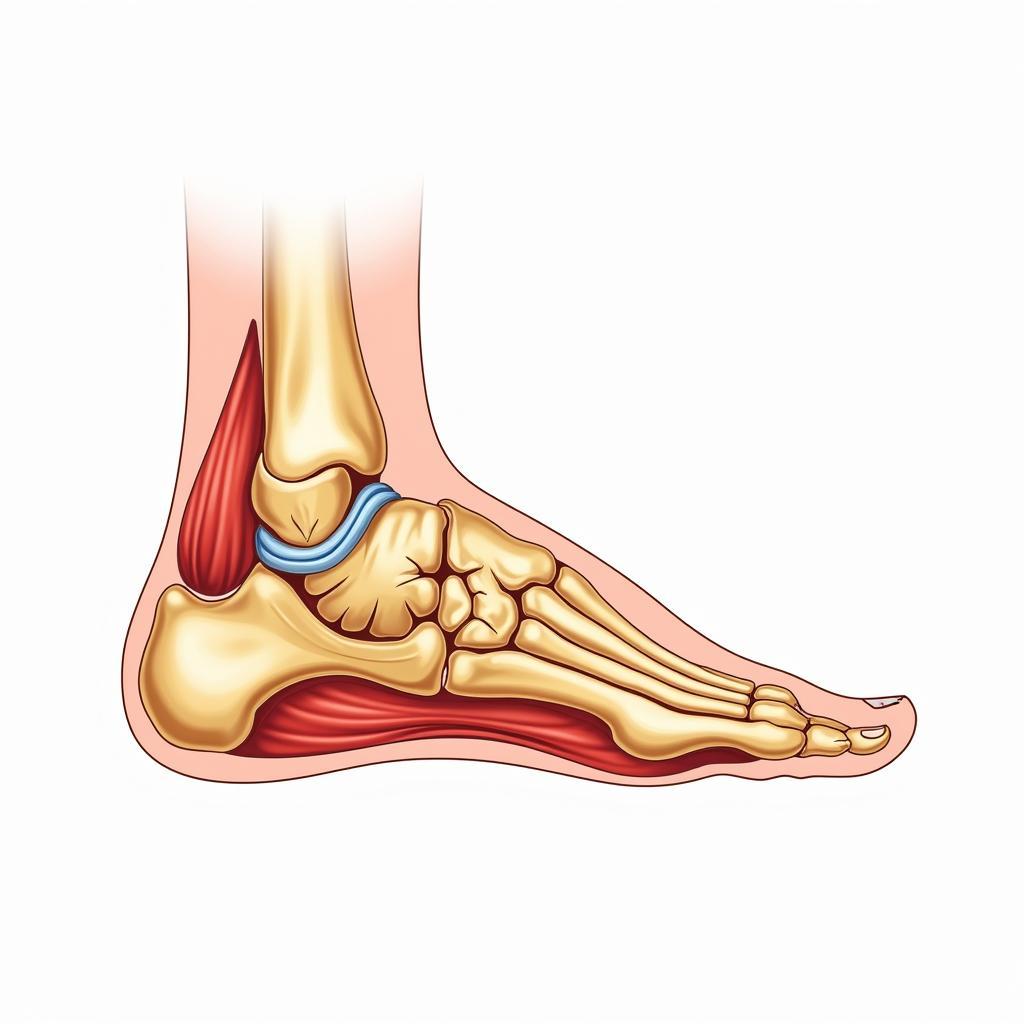 Plantar Fasciitis Foot Anatomy
Kinesiology tape, a stretchy, elastic therapeutic tape, can provide support and pain relief for plantar fasciitis. It works by lifting the skin, reducing pressure on the plantar fascia, and improving blood flow to the area.
Benefits of Using Kinesiology Tape for Plantar Fasciitis
- Pain Relief: Kinesiology tape helps reduce pain by decreasing pressure on the plantar fascia.
- Improved Support: The tape provides support to the arch of the foot, reducing strain on the plantar fascia.
- Reduced Inflammation: By lifting the skin, kinesiology tape promotes lymphatic drainage, reducing inflammation in the affected area.
- Enhanced Circulation: Improved blood flow due to the tape aids in healing and reduces swelling.
- Non-Restrictive Support: Unlike traditional athletic tape, kinesiology tape allows for a full range of motion, making it ideal for daily activities.
Step-by-Step Guide to Applying Kinesiology Tape for Plantar Fasciitis
Before you begin, ensure your foot is clean and dry.
Step 1: Prepare the Tape
- Cut a strip of kinesiology tape long enough to extend from the base of your toes to just below your heel.
- Round the edges of the tape to prevent it from catching on socks or shoes.
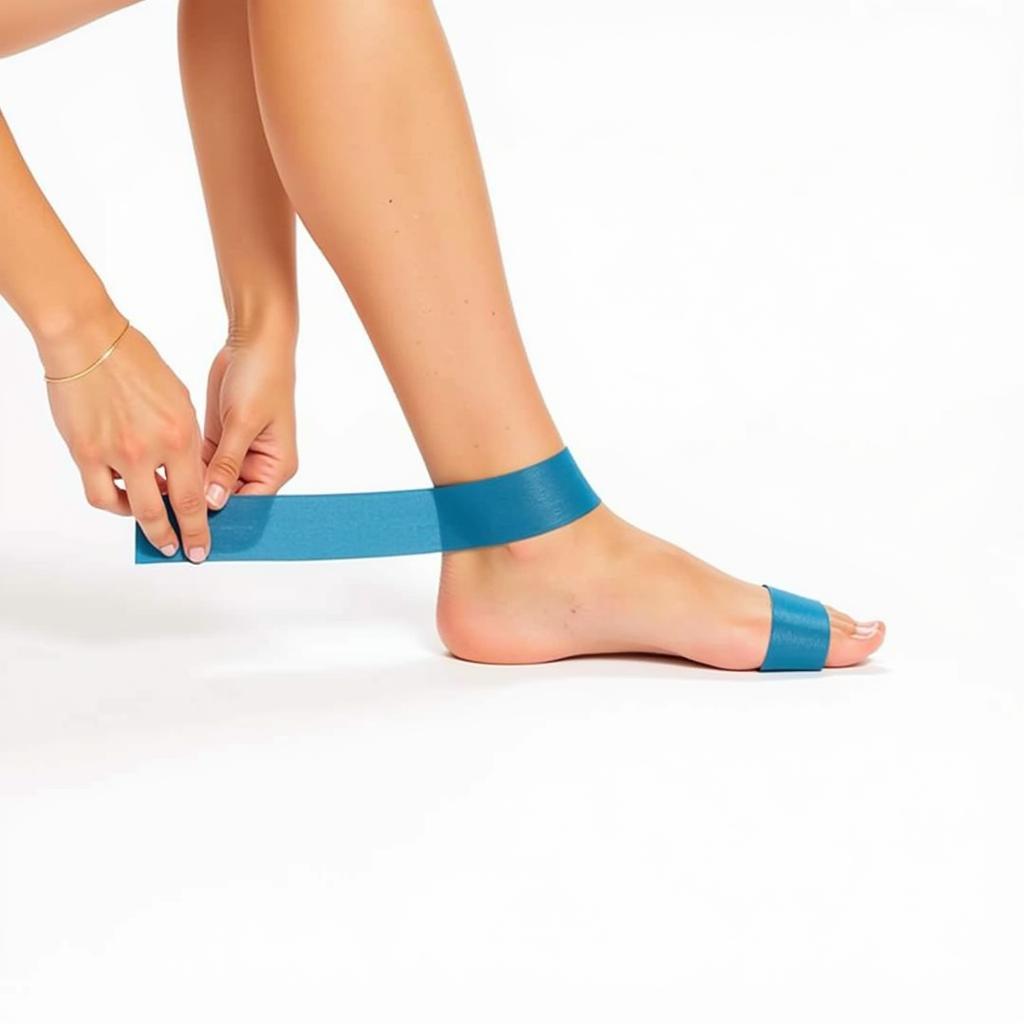
Step 2: Applying the Base Strip
- Sit comfortably with your foot flexed upward.
- Apply the tape without any stretch to the bottom of your foot, starting from the base of your toes.
- Gradually increase the stretch to a comfortable tension (about 25-50%) as you work your way towards the heel.
- Ensure there is no stretch in the tape at the heel.
 Applying Kinesiology Tape – Base Strip
Step 3: Applying the Arch Support Strips
- Cut two smaller strips of tape, about 6-8 inches long.
- Apply one strip to the inside arch of your foot, starting from the ball of your foot and extending towards your heel. Use a moderate stretch (about 50%).
- Repeat on the outer arch of your foot, applying the second strip parallel to the first.
Step 4: Rubbing and Activating the Tape
- Once all strips are in place, gently rub the tape to activate the adhesive.
- Avoid getting the tape wet for at least an hour after application to allow it to adhere properly.
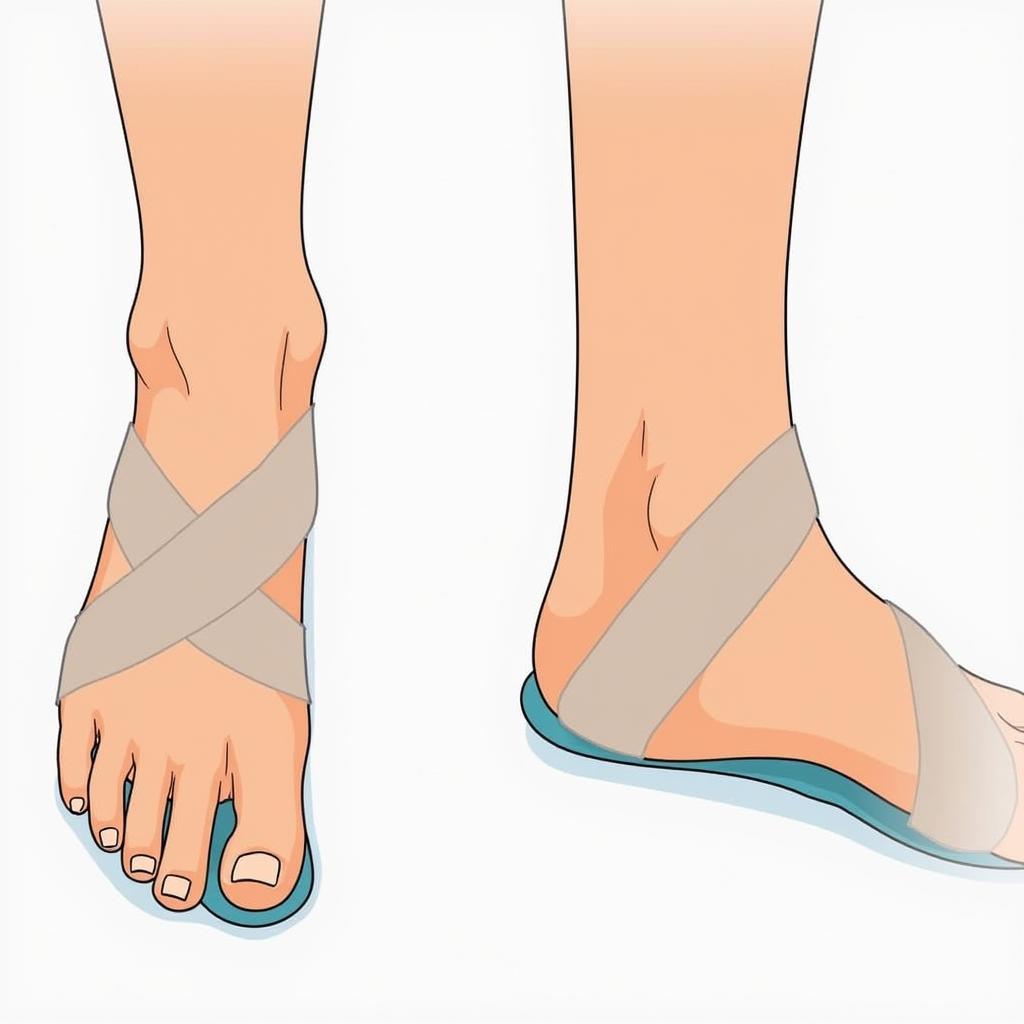 Kinesiology Tape Application – Complete
Tips and Precautions
- If you are new to kinesiology taping, consult a healthcare professional for guidance on proper application.
- Do not apply the tape over open wounds or irritated skin.
- If you experience any discomfort, redness, or itching, remove the tape immediately.
- The tape typically lasts 3-5 days. You can replace it after showering or if it starts to peel off.
Conclusion
Using kinesiology tape for plantar fasciitis can provide significant pain relief and support for your foot. By following the step-by-step guide outlined in this article, you can effectively apply the tape and enjoy its benefits. Remember to consult a healthcare professional if you have any underlying medical conditions or if your pain persists.
