

Installing a CPU fan might seem intimidating at first, but it’s a surprisingly manageable task with the right guidance. Whether you’re building a new PC from scratch or upgrading your existing cooling system, this comprehensive guide will walk you through each step of the process, ensuring your CPU stays cool and performs at its best.
Before You Begin: Gathering Your Tools and Components
Before diving into the installation process, it’s crucial to have all the necessary tools and components readily available. This will streamline the process and prevent any last-minute scrambling. Here’s what you’ll need:
- CPU fan and heatsink: Ensure compatibility with your CPU socket.
- Thermal paste (usually included with the cooler): Improves heat transfer between the CPU and heatsink.
- Screwdriver: Phillips head is the most common type used for CPU cooler installation.
- Case manual: Provides specific instructions and diagrams for your case.
- Anti-static wrist strap (optional but recommended): Protects your components from static electricity.
Step 1: Preparing Your Workspace
Creating a clean, well-lit, and static-free workspace is essential for a successful installation. Here’s how to set up your workstation:
- Choose a spacious and well-lit area.
- Ground yourself using an anti-static wrist strap or by touching a metal part of your computer case.
- Lay down a soft, non-conductive surface, such as a microfiber cloth, to protect your components.
Step 2: Mounting the CPU Fan to the Motherboard
With your workspace prepped, it’s time to mount the CPU fan onto the motherboard. Follow these steps:
- Open your computer case and locate the CPU socket on the motherboard.
- If there’s an existing cooler, carefully remove it by following the manufacturer’s instructions.
- Align the mounting brackets or backplate of your new CPU cooler with the corresponding holes around the CPU socket.
- Gently place the cooler onto the CPU, ensuring the thermal paste (pre-applied or manually applied) makes contact with the CPU surface.
- Secure the cooler to the motherboard using the provided screws or clips. Tighten the screws gradually in a diagonal pattern to ensure even pressure.
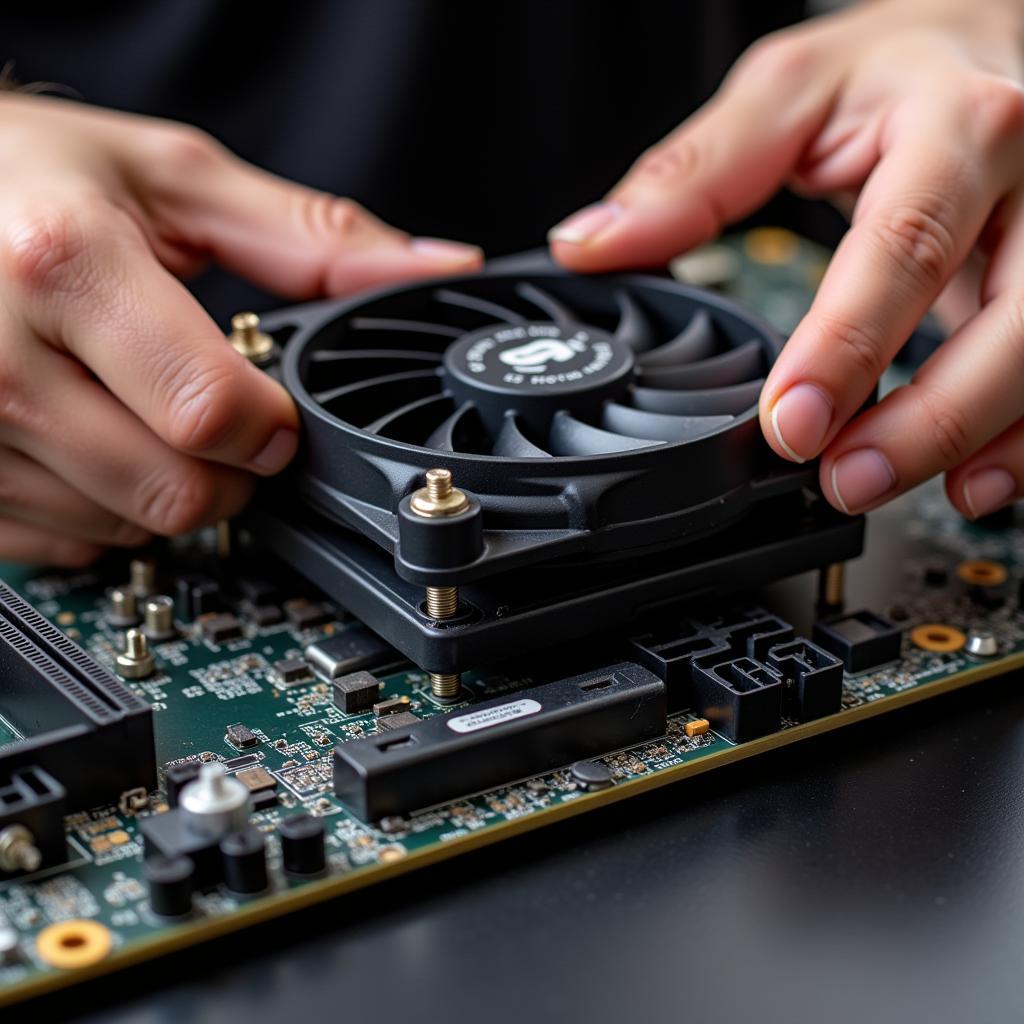 installing-cpu-fan-on-motherboard
Step 3: Connecting the Fan Header
Once the cooler is securely mounted, it’s time to connect the fan header to the motherboard.
- Locate the CPU fan header on your motherboard. It’s usually labeled as “CPU_FAN” or similar.
- Connect the fan’s power cable to the CPU fan header. The cable should only fit in one orientation, so don’t force it.
Step 4: Verifying Your Installation
Before powering on your system, it’s crucial to double-check your work and ensure everything is properly connected.
- Inspect the cooler mounting to make sure it’s secure and making good contact with the CPU.
- Verify that the fan header is correctly connected to the motherboard.
- Ensure no cables are obstructing the fan blades.
Step 5: Testing and Monitoring
Now it’s time to power on your system and monitor the CPU temperatures. You can do this through the BIOS/UEFI or by using third-party monitoring software.
- Power on your computer and enter the BIOS/UEFI by pressing the designated key during startup (usually Del, F2, or F12).
- Navigate to the hardware monitoring section and check the CPU temperature.
- Alternatively, download and install a hardware monitoring program like HWMonitor to keep an eye on your CPU temperatures under load.
If you encounter any issues or have abnormally high temperatures, power off your system and revisit the installation steps.
 checking-cpu-temp-bios
Troubleshooting Tips
Here are a few common issues and troubleshooting tips that might come in handy:
- CPU overheating: Ensure the cooler is properly installed, the thermal paste is applied correctly, and the fan is spinning.
- Fan not spinning: Check the fan header connection and ensure the fan itself is functional.
- Noise coming from the fan: Make sure the fan blades are clean and free of obstructions.
Conclusion
Installing a CPU fan is a fundamental skill for any PC enthusiast. By following these step-by-step instructions and paying attention to detail, you can confidently install or upgrade your CPU cooler, ensuring optimal thermal performance for your system. Remember to consult your motherboard and cooler manuals for specific instructions and diagrams tailored to your components. If you need to check your CPU fan speed, you can find information on how to check cpu fan speed online. And for a secure installation, learn the proper techniques to install a fan case.
Don’t hesitate to seek help from online forums or tech-savvy friends if you encounter any difficulties during the installation process. Happy building!
