

RGB LED fans are a fantastic way to add a touch of personalization and visual flair to your computer case. Not only do they provide much-needed airflow to keep your components cool, but they also create a captivating light show that can transform your entire setup. If you’re ready to take your PC aesthetics to the next level, follow our comprehensive guide on how to install RGB LED fans.
Choosing the Right RGB LED Fans
Before diving into the installation process, it’s crucial to select the right RGB LED fans for your build.
- Size: Measure your PC case’s fan slots to determine the appropriate size, typically 120mm or 140mm.
- Cooling Performance: Consider the airflow (CFM) and static pressure (mmH2O) ratings to ensure adequate cooling for your components.
- RGB Ecosystem Compatibility: Check if the fans are compatible with popular RGB ecosystems like ASUS Aura Sync, MSI Mystic Light Sync, or Gigabyte RGB Fusion for synchronized lighting effects.
Gathering Your Tools and Materials
Once you’ve chosen your RGB LED fans, gather the following tools and materials:
- Phillips head screwdriver
- Anti-static wrist strap
- Zip ties or Velcro straps (for cable management)
- RGB hub (if your fans don’t come with one)
- 4-pin fan connector splitter (if needed)
Installation Steps
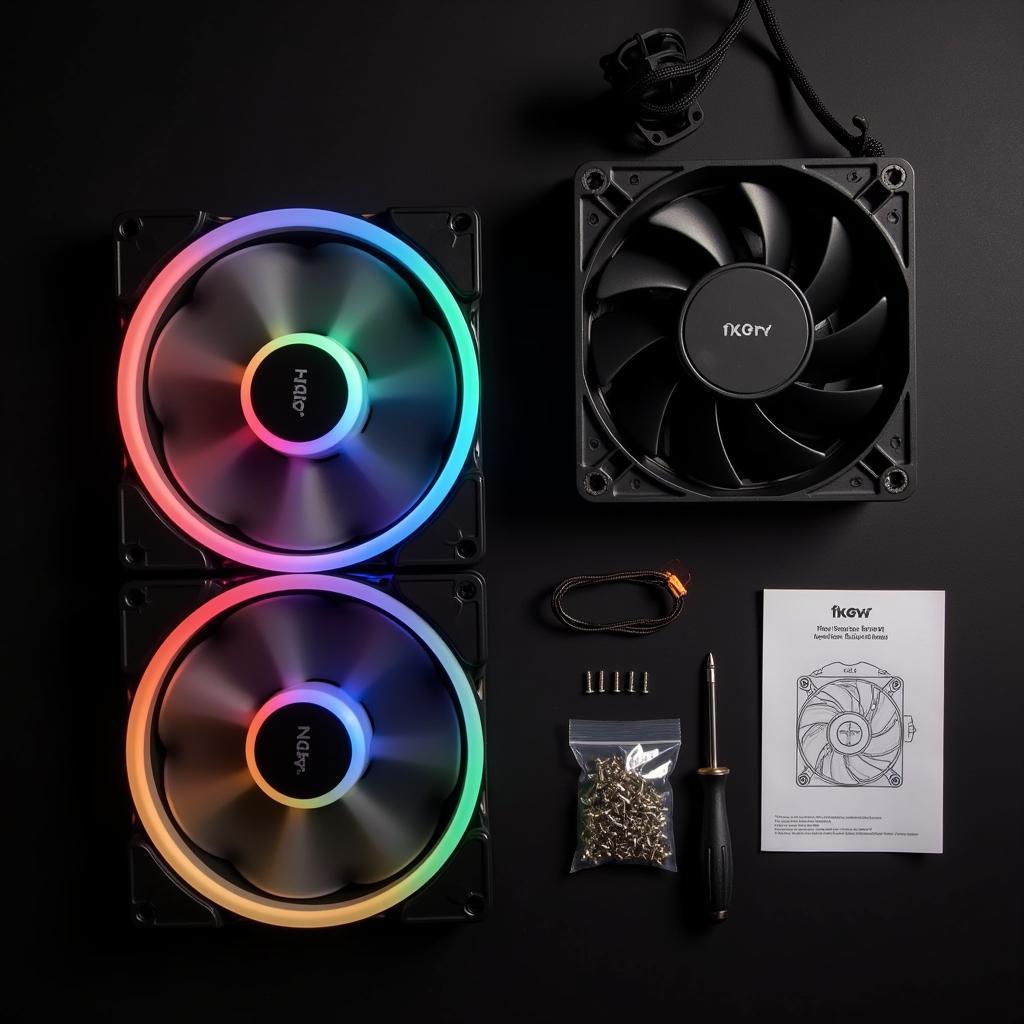 RGB LED Fan Installation Kit
1. Power Down and Open Your PC Case
Before you begin, power down your computer, unplug the power cord, and open your PC case. This step ensures your safety and prevents any electrical mishaps.
2. Locate the Fan Mounting Locations
Identify the fan mounting locations inside your PC case. Most cases have designated slots for intake (front and bottom) and exhaust (rear and top) fans.
3. Install the Fans
Align the fan screw holes with the mounting holes on your case. Use the provided screws to securely attach the fans. If your fans have a specific airflow direction, ensure they are oriented correctly for optimal cooling.
4. Connect the Fans to Power and RGB Headers
Connect the fan’s power connector to a 4-pin fan header on your motherboard. If you have multiple fans, use a splitter to connect them to a single header. Next, connect the fan’s RGB connector to the corresponding RGB header on your motherboard or RGB hub.
5. Manage the Cables
Neatly route and secure the fan cables using zip ties or Velcro straps. Proper cable management improves airflow and enhances the overall aesthetics of your build.
6. Close Your PC Case
Once all the fans are installed and connected, carefully close your PC case and power it on.
Troubleshooting Tips
If your RGB LED fans aren’t lighting up or spinning, check the following:
- Power Connections: Ensure all power connections are secure.
- RGB Connections: Verify that the RGB connectors are properly plugged into the correct headers.
- Software Control: Install the necessary RGB software from your motherboard manufacturer’s website to customize lighting effects.
Conclusion
Installing RGB LED fans is a rewarding way to enhance your PC’s cooling performance and aesthetics. By following these simple steps, you can transform your computer into a captivating centerpiece that reflects your personal style.
Remember to consult your fan and motherboard manuals for specific instructions and safety precautions. Happy building!
