The Arduino platform has revolutionized DIY electronics and embedded systems development. One practical application of Arduino is controlling a CPU fan to regulate temperature effectively. This guide delves into the intricacies of using an Arduino Sense Cpu Fan setup, providing a step-by-step approach to help you build your own system.
Understanding the Need for CPU Fan Control
CPUs generate heat during operation, and excessive heat can lead to performance throttling, system instability, and even permanent damage. A CPU fan is essential for dissipating this heat and maintaining optimal operating temperatures. While most systems come with basic fan control mechanisms, an Arduino-based solution offers greater flexibility and customization.
Components Required
Before we dive into the setup, let’s gather the necessary components:
- Arduino Board: Any Arduino board will suffice, such as the Arduino Uno, Nano, or Mega.
- Temperature Sensor: A temperature sensor like the LM35 or DS18B20 is required to measure the CPU temperature.
- Transistor: A transistor, like the TIP120, acts as a switch to control the fan speed.
- Diode: A 1N4001 diode protects the circuit from voltage spikes.
- Resistors: Appropriate resistors are needed to limit current flow and ensure proper circuit operation.
- CPU Fan: A standard 3-pin or 4-pin CPU fan will work.
- Breadboard and Jumper Wires: For prototyping and connecting the components.
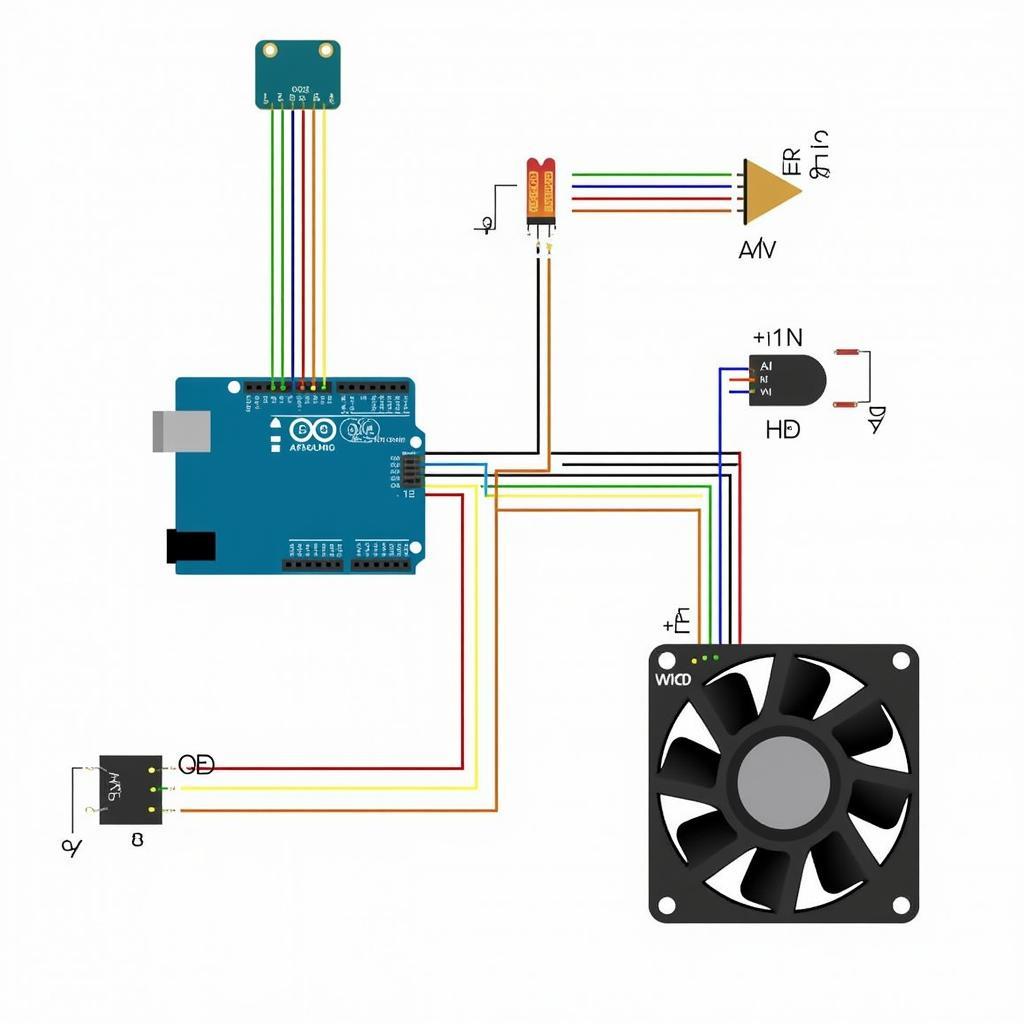
Wiring Diagram
 arduino cpu fan wiring diagram
Arduino Code
The following Arduino code demonstrates a basic CPU fan control system:
// Define the pins
const int sensorPin = A0;  // Temperature sensor pin
const int fanPin = 9;      // Fan control pin

// Set the desired temperature threshold
const int tempThreshold = 50; // Degrees Celsius

void setup() {
  pinMode(fanPin, OUTPUT);
  Serial.begin(9600);
}

void loop() {
  // Read temperature from the sensor
  int sensorValue = analogRead(sensorPin);
  float voltage = sensorValue * (5.0 / 1023.0);
  float temperatureC = voltage * 100;

  // Control fan speed based on temperature
  if (temperatureC > tempThreshold) {
    // Turn on the fan at full speed
    analogWrite(fanPin, 255);
  } else {
    // Turn off the fan
    analogWrite(fanPin, 0);
  }

  // Print temperature to the serial monitor
  Serial.print("Temperature: ");
  Serial.print(temperatureC);
  Serial.println(" C");

  delay(1000); // Update every second
}
Calibration and Testing
Before deploying the system, it’s crucial to calibrate the temperature sensor and test the fan control mechanism. Adjust the tempThreshold value in the code to set your desired temperature limit.
Advantages of Arduino CPU Fan Control
An Arduino-based system offers several advantages:
- Customization: Tailor the fan speed curve to match your cooling needs.
- Monitoring: Implement temperature logging and alerts.
- Integration: Incorporate the system into larger automation projects.
Safety Precautions
- Ensure proper insulation and grounding to prevent electrical hazards.
- Never leave the system unattended during initial testing.
- Double-check all connections before powering on the circuit.
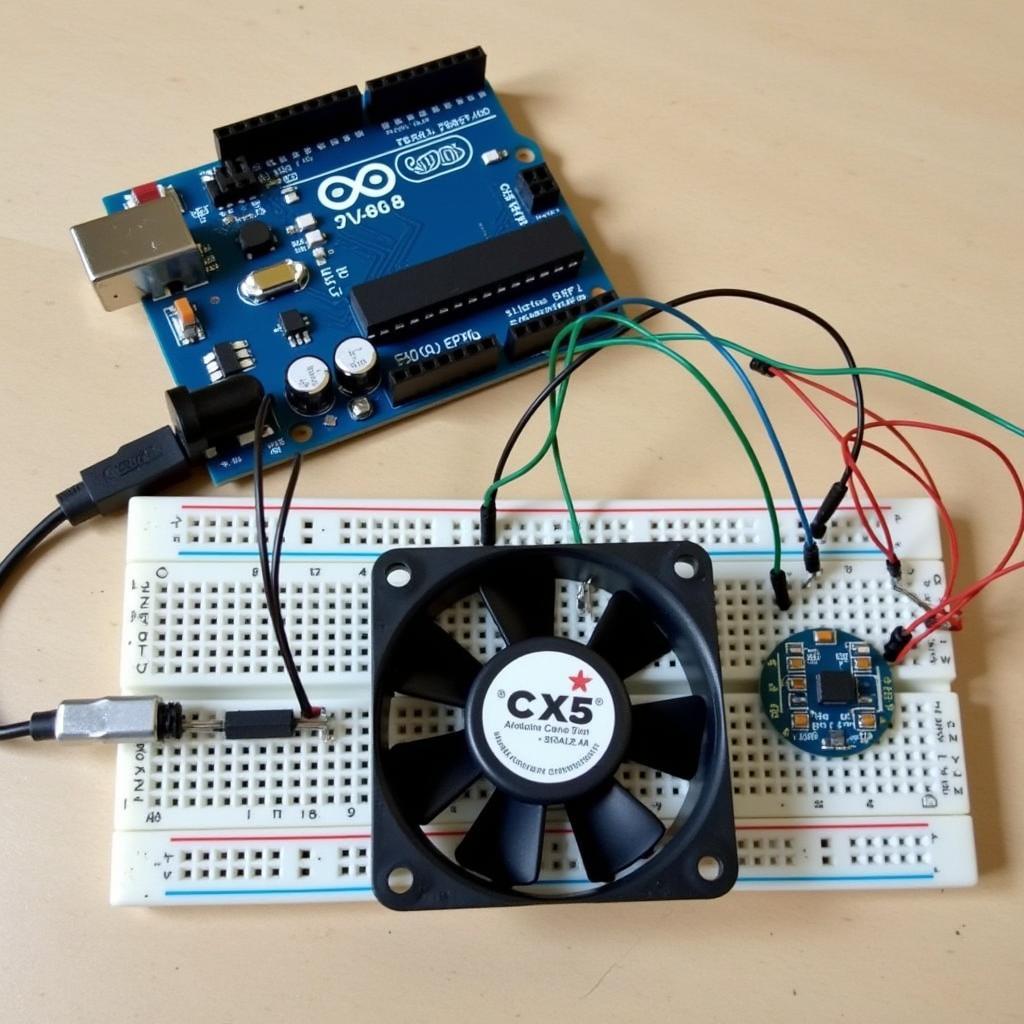
 arduino cpu fan in action
Conclusion
Building an Arduino-based CPU fan control system provides a practical and rewarding learning experience. It empowers you to optimize your system’s cooling performance and safeguard your valuable hardware. By following the steps outlined in this guide, you can create a customized solution tailored to your specific requirements.
FAQ
1. Can I use a different temperature sensor?
Yes, you can use any analog or digital temperature sensor compatible with Arduino. Adjust the code accordingly.
2. How do I adjust the fan speed curve?
Modify the code to implement different fan speed levels based on temperature ranges.
3. Is it safe to connect this to my computer?
Ensure proper insulation and grounding, and double-check all connections before connecting to your computer.
4. Can I monitor the temperature remotely?
Yes, you can incorporate Wi-Fi or Bluetooth modules to monitor temperature remotely.
5. Where can I find more advanced Arduino projects?
Numerous online resources and communities offer advanced Arduino projects and tutorials.
 arduino resources for further exploration
For further assistance, contact us at Phone Number: 0903426737, Email: fansbongda@gmail.com. Or visit us at: Group 9, Area 6, Gieng Day Ward, Ha Long City, Gieng Day, Ha Long, Quang Ninh, Vietnam. Our customer support team is available 24/7.


