Controlling the speed of a fan connected to your Arduino project just got smarter and more versatile. By integrating NodeJS, you open up a world of possibilities for customizing fan control and monitoring. This guide dives deep into the world of Arduino fan controllers using NodeJS, helping you create the perfect balance between cooling and silence for your projects.
Why use NodeJS for Arduino Fan Control?
While you can control a fan directly with an Arduino and a transistor, introducing NodeJS brings several benefits:
- Enhanced Logic and Control: NodeJS allows for complex algorithms and logic, enabling you to create sophisticated fan control systems based on multiple sensor inputs. Imagine your fan reacting to temperature, humidity, or even external factors like room occupancy.
- Remote Monitoring and Control: NodeJS lets you monitor and adjust your fan speed from anywhere using a web interface, mobile app, or even voice commands. This is particularly useful for projects tucked away in hard-to-reach places.
- Data Logging and Analysis: NodeJS makes it simple to log fan speed, temperature, and other relevant data. This data can be visualized and analyzed to optimize your fan control system for maximum efficiency and noise reduction.
Setting Up Your Arduino Fan Controller with NodeJS
Here’s a step-by-step guide to get your Arduino fan controller up and running with NodeJS:
-
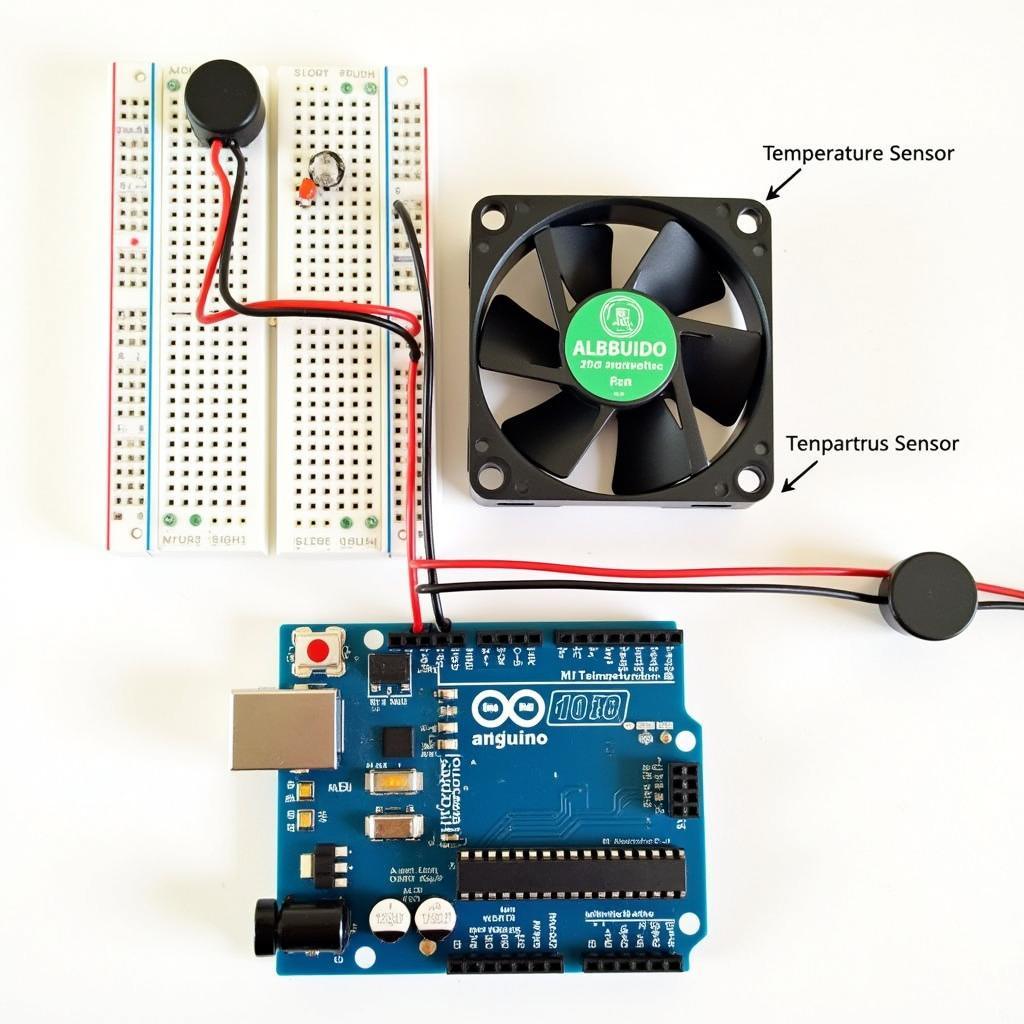
Gather Your Hardware:
- Arduino board (Uno, Nano, or any compatible board)
- Temperature sensor (DHT11, DHT22, LM35, or similar)
- Compatible fan (DC fan with a suitable voltage rating)
- NPN transistor (TIP120, BD139, or equivalent)
- Resistors (220Ω and 10kΩ)
- Breadboard and jumper wires
-
Wiring Up the Circuit:
- Temperature Sensor: Connect the data pin of your temperature sensor to a digital pin on the Arduino (e.g., pin 2). Connect the power and ground pins of the sensor to the Arduino’s 5V and GND pins, respectively.
- Fan Control: Connect the positive (+) wire of your fan to the collector pin of the transistor. Connect the emitter pin of the transistor to the GND pin of the Arduino.
- Transistor Control: Connect the base pin of the transistor to a PWM pin on the Arduino (e.g., pin 9) through the 220Ω resistor. The resistor limits the current flowing into the transistor’s base.
-
Install NodeJS and Necessary Modules:
- NodeJS: If you don’t have NodeJS installed, download and install it from https://nodejs.org/.
- Johnny-Five: We’ll be using the Johnny-Five JavaScript Robotics & IoT Platform to simplify Arduino communication. Install it globally using:
npm install -g johnny-five - Firmata: Upload the StandardFirmata sketch to your Arduino. This sketch allows NodeJS to interact with the Arduino’s pins.
-
Write Your NodeJS Code:
- Create a new JavaScript file (e.g.,
fan-controller.js) and start coding! You’ll need to:- Include the
johnny-fivemodule:const five = require('johnny-five'); - Initialize a new board instance and specify your Arduino’s port.
- Define variables for your temperature sensor pin, fan pin, and desired temperature threshold.
- Use the
Sensorclass from Johnny-Five to read temperature values from your sensor. - Implement a loop that continuously reads temperature, compares it to the threshold, and adjusts the fan speed using PWM on the designated pin.
- Include the
- Create a new JavaScript file (e.g.,
-
Run Your Code:
- Open your terminal or command prompt, navigate to your project folder, and run your NodeJS code:
node fan-controller.js
- Open your terminal or command prompt, navigate to your project folder, and run your NodeJS code:
Tips for Optimizing Your Arduino Fan Controller
- Hysteresis: Implement hysteresis to prevent the fan from constantly switching on and off around the temperature threshold. This involves setting slightly different on/off temperatures.
- Temperature Averaging: Average multiple temperature readings over time to smooth out fluctuations and provide more stable fan control.
- PID Control: For more advanced control, consider using a PID (Proportional-Integral-Derivative) algorithm to fine-tune fan speed based on temperature deviations and historical data.
Adding a Web Interface for Remote Control
NodeJS excels at creating web applications. You can easily build a simple interface to monitor temperature and adjust fan settings remotely. Here’s a basic example:
-
Choose a Web Framework: Express.js is a popular choice. Install it using:
npm install express -
Create a Web Server: Set up a basic Express.js server that listens on a specific port.
-
Create Routes and Views: Define routes to serve HTML, CSS, and JavaScript files for your interface. You can use a templating engine like EJS or Pug to dynamically update the page with temperature and fan status.
-
Use WebSockets: WebSockets enable real-time communication between your NodeJS server and the web interface. This allows you to update temperature readings and send fan control commands instantly.
Beyond the Basics: Advanced Fan Control with NodeJS
Here are some ways to take your Arduino fan controller to the next level:
- Multiple Sensors: Integrate multiple temperature sensors to monitor different areas of your project and adjust fan speed accordingly.
- Scheduled Control: Use the
node-schedulemodule to set up time-based fan control, such as increasing fan speed during peak operating hours. - Cloud Integration: Connect your fan controller to cloud platforms like AWS IoT or Google Cloud Platform for data logging, remote monitoring, and advanced analytics.
 Arduino Fan Controller Setup
 NodeJS Code Example
Conclusion
Combining the power of Arduino and NodeJS opens a world of possibilities for creating intelligent and responsive fan control systems. Whether you’re building a silent home server, a temperature-controlled enclosure, or any project requiring active cooling, this guide gives you the foundation to build a custom solution tailored to your exact needs. Experiment, explore, and keep those projects cool and quiet!


