A Hunter Ceiling Fan Switch Housing Assembly is a crucial component that controls the fan’s speed and lighting functions. It houses the electrical contacts and mechanisms that allow you to adjust the fan’s operation. Whether you’re dealing with a faulty switch, looking to upgrade, or simply curious about this essential part, this comprehensive guide will delve into everything you need to know about Hunter ceiling fan switch housing assemblies.
What Does a Hunter Ceiling Fan Switch Housing Assembly Do?
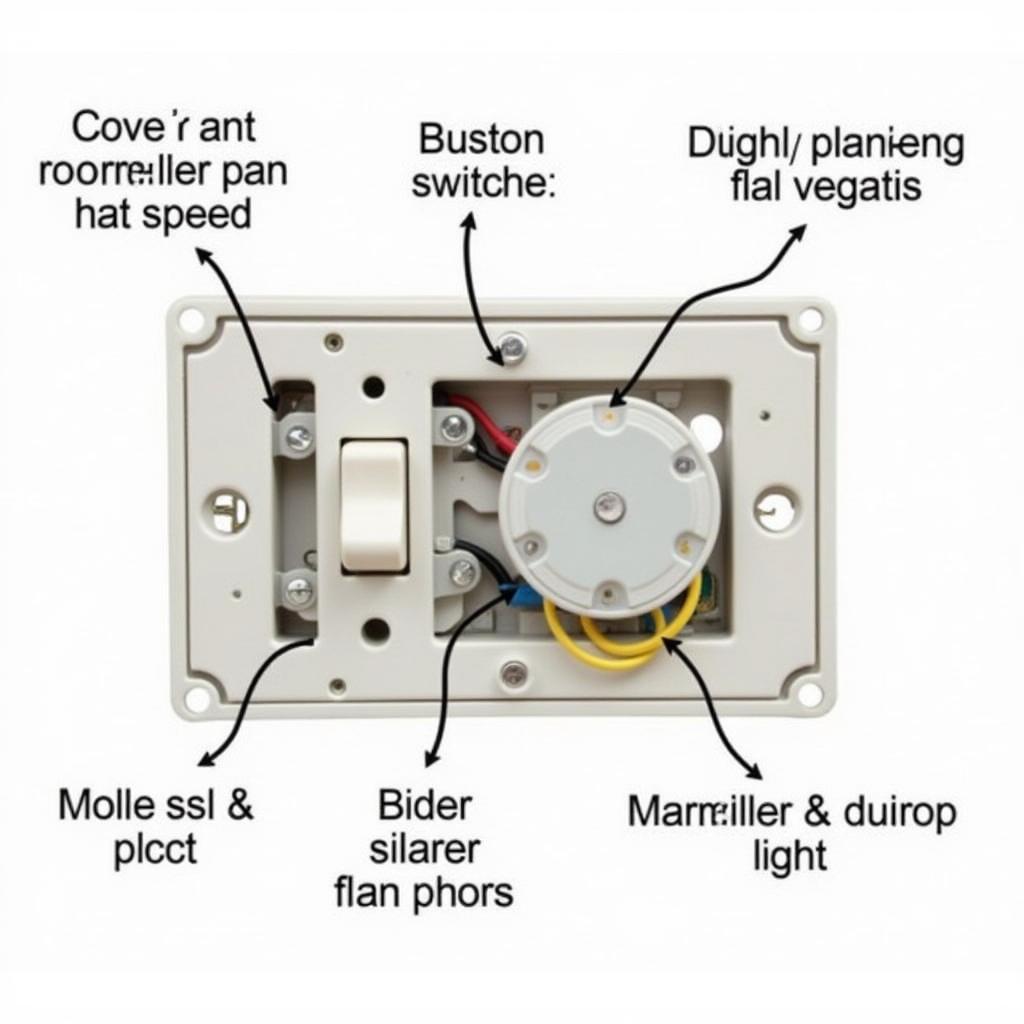
This unassuming component acts as the command center for your ceiling fan. It manages the flow of electricity, dictating how fast the blades spin and whether the light fixture turns on or off. Imagine it as the brain behind your fan’s operation.
 Hunter Fan Switch Housing Close-Up
Common Types of Hunter Ceiling Fan Switch Housing Assemblies
Hunter offers various switch housing assemblies to accommodate different fan models and features:
- Pull-Chain Controlled: These assemblies feature traditional pull chains for adjusting fan speed and light settings. They are simple to operate and often found in older fan models.
- Wall-Controlled: Designed for convenience, these assemblies allow you to control the fan from a wall-mounted switch, providing a seamless and integrated look in your room.
- Remote-Controlled: Offering the ultimate in comfort and flexibility, these assemblies allow you to control your fan’s speed and light settings remotely, often with additional features like timers and dimming options.
Troubleshooting a Faulty Switch Housing Assembly
A malfunctioning switch housing assembly can lead to frustrating issues with your ceiling fan. Here are some common signs that indicate a potential problem:
- Fan speeds don’t work correctly. You might experience inconsistent speeds, the fan not turning on at all, or only operating at certain settings.
- Light fixture problems. The light might flicker, refuse to turn on, or stay on constantly.
- Burning smell. A distinct burning odor coming from the fan is a serious red flag and requires immediate attention.
- Clicking or humming noises. Unusual sounds from the fan, especially when changing speeds or operating the light, can indicate a problem with the switch assembly.
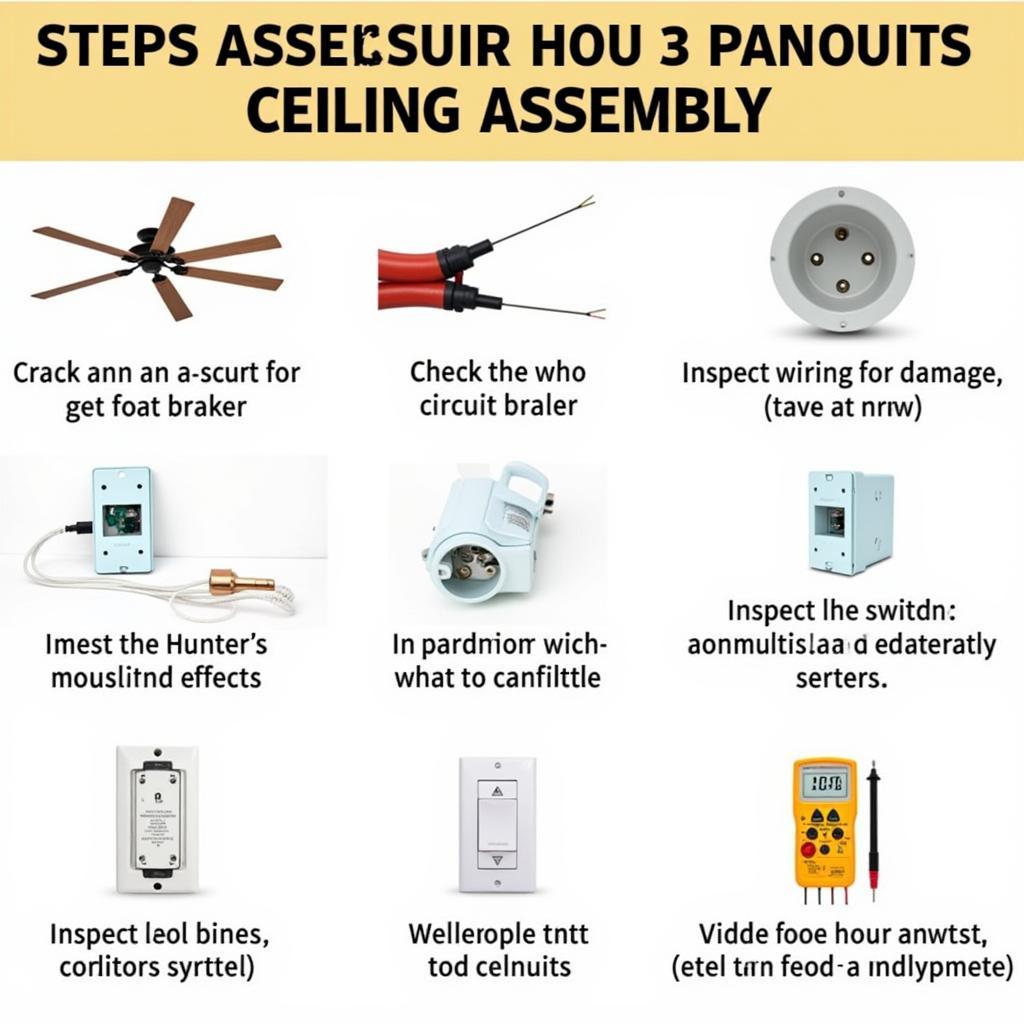 Troubleshooting Hunter Ceiling Fan Switch Housing
Replacing a Hunter Ceiling Fan Switch Housing Assembly
If troubleshooting doesn’t resolve the issue, or you’re looking to upgrade to a different control type, replacing the switch housing assembly is a straightforward process.
Here’s a general guide:
- Turn off the power supply to the fan at the circuit breaker. This is crucial for safety.
- Remove the fan blades and light kit carefully.
- Locate and detach the existing switch housing assembly. This typically involves disconnecting wires and removing screws.
- Connect the wires to the new switch housing assembly, ensuring they match the corresponding terminals.
- Secure the new assembly in place and reassemble the fan.
Important Note: If you’re uncomfortable working with electrical components, it’s always best to consult with a qualified electrician.
Choosing the Right Replacement Switch Housing Assembly
Selecting the correct replacement assembly is essential for proper fan operation. Here’s what to consider:
- Fan Model: Hunter switch housing assemblies are model-specific, so knowing your fan’s model number is crucial.
- Control Type: Decide whether you want to stick with your existing control type (pull-chain, wall-controlled, remote-controlled) or upgrade to a different option.
- Number of Speeds: Ensure the new assembly supports the number of speeds your fan offers.
- Light Kit Compatibility: If your fan has a light kit, make sure the replacement assembly is compatible.
Tips for Maintaining Your Hunter Ceiling Fan Switch Housing Assembly
Proper maintenance can extend the lifespan of your switch housing assembly:
- Regular cleaning. Dust and debris can accumulate inside the housing, potentially causing problems over time. Gently clean the assembly using a soft brush or compressed air.
- Avoid excessive force. When operating the pull chains or switches, use a gentle touch to prevent unnecessary wear and tear.
- Address issues promptly. Don’t ignore signs of a problem. Addressing issues early can often prevent more significant repairs down the line.
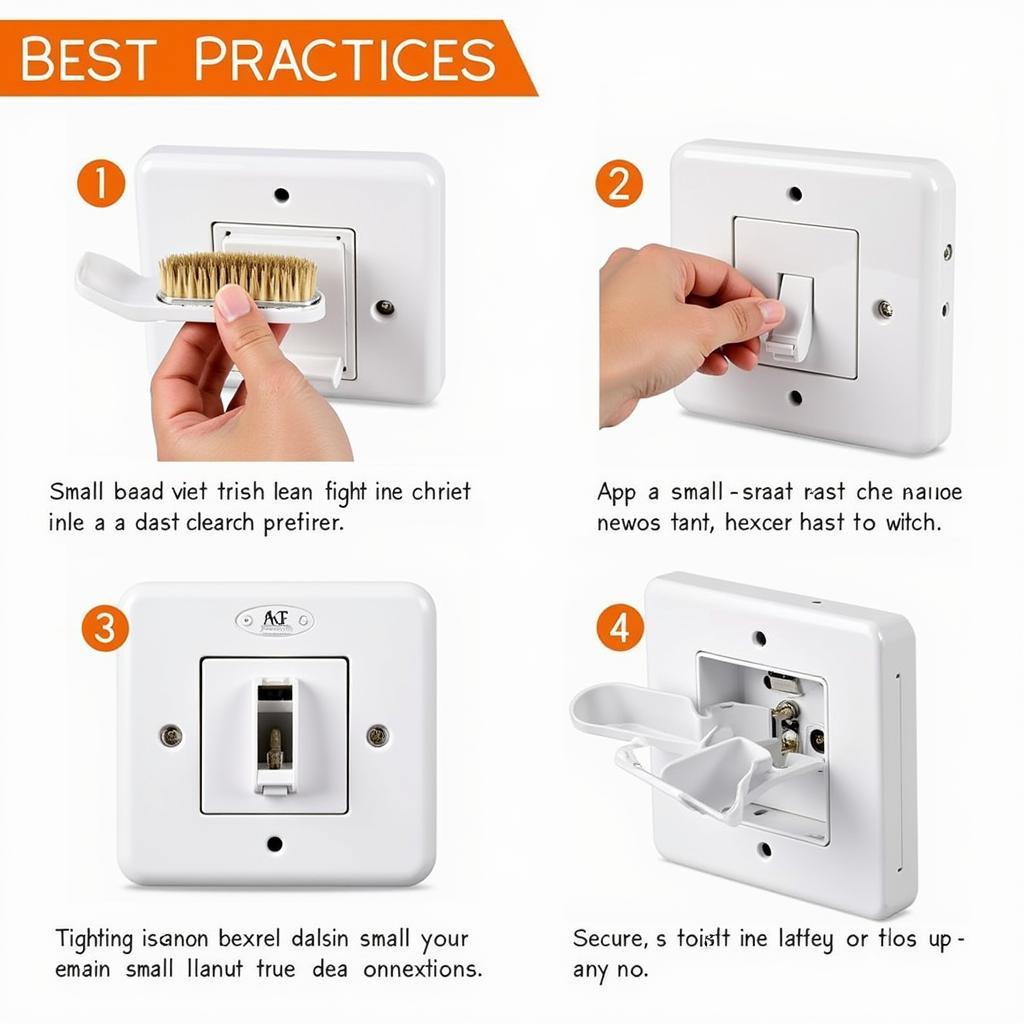 Maintaining Your Hunter Ceiling Fan Switch
Conclusion
Understanding the role and importance of your Hunter ceiling fan switch housing assembly empowers you to troubleshoot problems effectively and make informed decisions about repairs or replacements. By following the tips and guidelines outlined in this guide, you can keep your ceiling fan operating smoothly for years to come.