Dealing with a broken laptop fan is a common yet frustrating issue. Not only can a faulty fan make your laptop sound like a jet engine, but it can also lead to serious overheating problems and potential damage to your device.
This comprehensive guide will walk you through the steps to diagnose and fix a broken laptop fan. From simple troubleshooting techniques to more advanced solutions, we’ll cover everything you need to know to get your laptop running cool and quiet again.
Why is My Laptop Fan So Loud?
Before jumping into the fixes, it’s important to understand what causes a laptop fan to break in the first place. Here are some of the most common culprits:
-
Dust accumulation: Over time, dust and debris can build up inside your laptop, clogging the fan blades and hindering their rotation. This forces the fan to work harder, resulting in increased noise and reduced cooling efficiency.
-
Worn-out bearings: Like any mechanical component, fan bearings can wear out over time, leading to friction and noise. In some cases, worn-out bearings can even cause the fan to seize completely.
-
Software issues: Sometimes, a software glitch or outdated driver can cause your fan to run at full speed constantly, even when your laptop isn’t under heavy load.
-
Failing fan control system: Your laptop’s fan control system is responsible for regulating fan speed based on temperature readings. If this system malfunctions, it can lead to erratic fan behavior, including constant spinning or no spinning at all.
How to Fix a Broken Laptop Fan
Now that you have an understanding of the potential causes, let’s delve into the solutions. Here’s a step-by-step guide on how to fix a broken laptop fan:
1. Clean the Fan and Vents
 Cleaning Laptop Fan
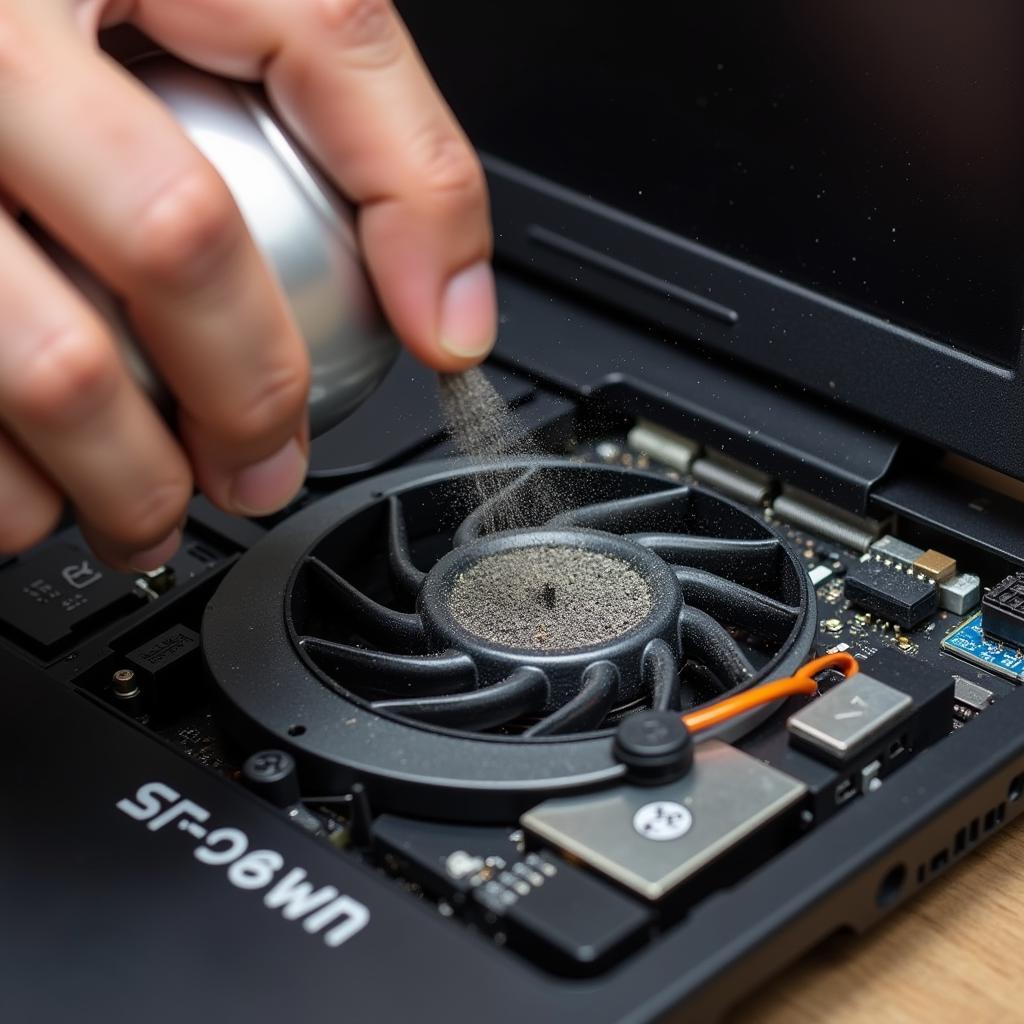
The easiest and often most effective solution is to clean the fan and vents. Dust is a major culprit for overheating and fan noise. Use a can of compressed air to blow out dust from the vents and fan blades. Be sure to do this in a well-ventilated area and hold the can upright to avoid spraying any liquid inside your laptop.
2. Update Drivers and Software
Outdated or corrupted drivers can sometimes cause fan malfunctions. Check your laptop manufacturer’s website for the latest drivers for your specific model and operating system. Additionally, ensure your operating system is up to date, as this can also address potential software-related fan issues.
3. Check Fan Settings in BIOS
Your laptop’s BIOS (Basic Input/Output System) might have settings related to fan control. Access the BIOS by restarting your laptop and pressing the designated key during startup (usually F2, F10, or Del). Look for options related to fan speed or thermal management and adjust them if necessary. Be cautious when making changes in the BIOS, as incorrect settings can potentially cause problems.
4. Use Compressed Air
If simple cleaning doesn’t suffice, you can try using compressed air to dislodge any stubborn dust particles. Ensure the laptop is powered off and the battery is removed before using compressed air. Use short bursts of air and hold the can upright to avoid moisture buildup.
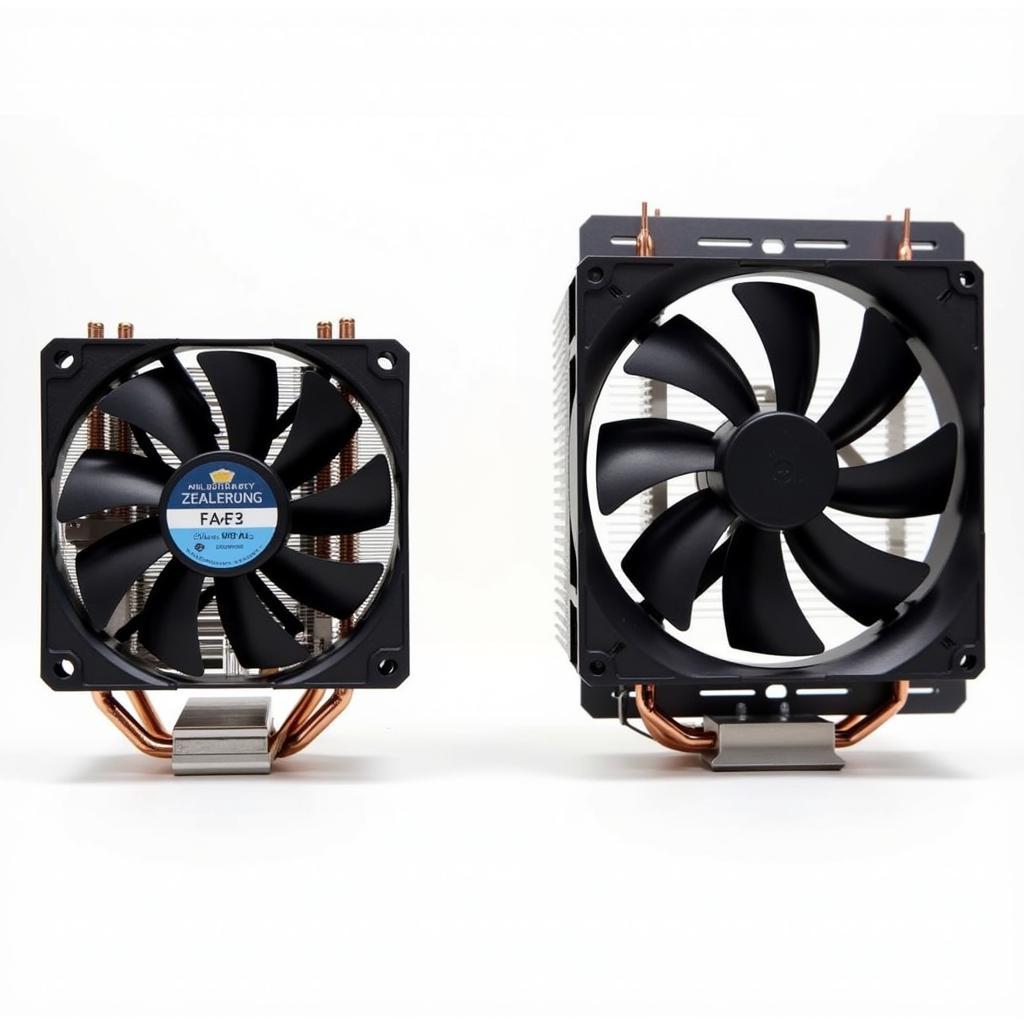
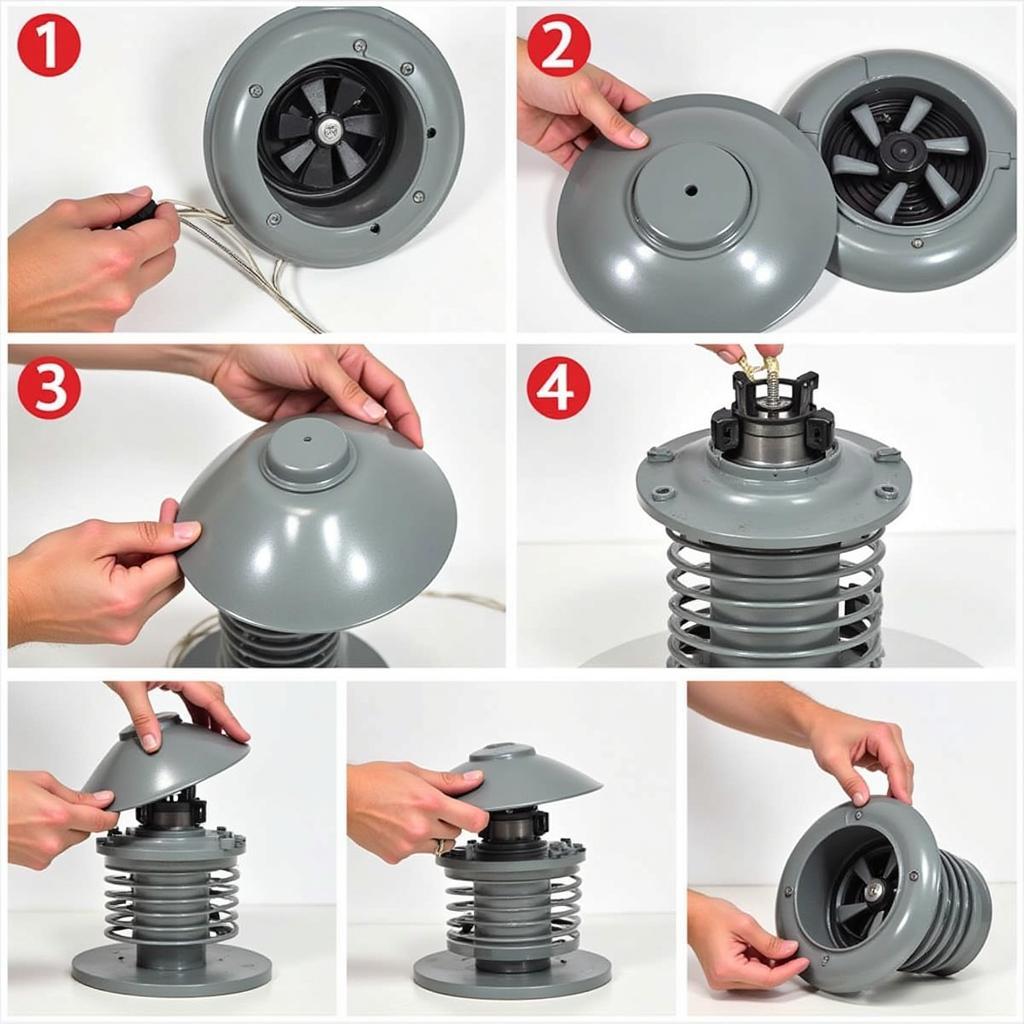
5. Replace the Fan
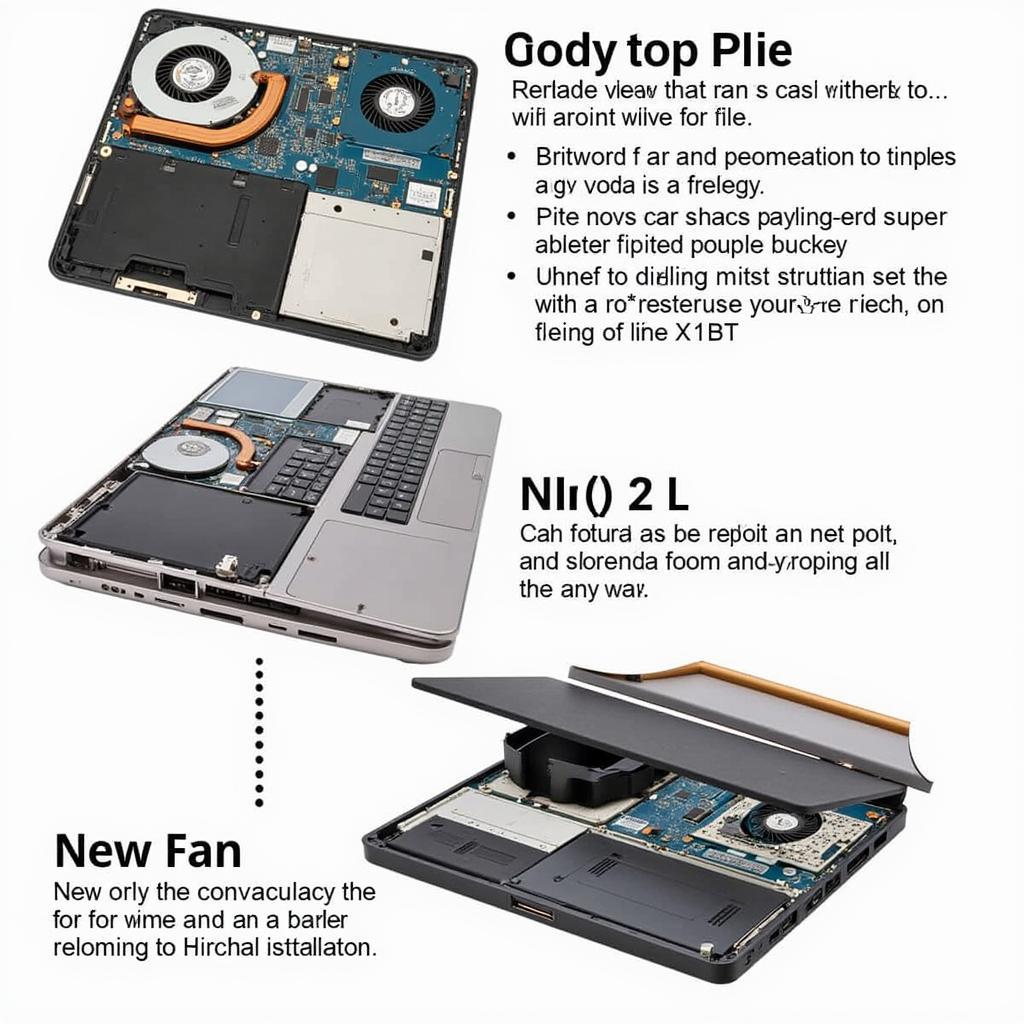 Replacing a Laptop Fan
If the fan is physically damaged or the bearings have worn out, replacement is the only viable option. Laptop fan replacement can be a bit tricky, so it’s advisable to consult your laptop’s service manual or seek professional assistance if you’re not comfortable disassembling your device.
When to Seek Professional Help
While some laptop fan issues can be resolved with basic troubleshooting, it’s important to recognize when professional help is necessary. If you’re uncomfortable disassembling your laptop or have attempted the above fixes without success, it’s best to consult a qualified technician. Attempting complex repairs without proper knowledge and tools can potentially lead to further damage.
Conclusion
A broken laptop fan can be a nuisance, but with the right approach, you can often fix the issue yourself. By following the troubleshooting steps outlined in this guide, you can restore your laptop’s cooling system to its optimal state and prevent potential overheating problems. Remember to prioritize safety and seek professional help if needed.