

Installing case fans is a crucial step in building or upgrading your PC, ensuring optimal airflow and cooling for your components. Whether you’re a seasoned builder or a first-timer, this guide will walk you through the process of how to install case fans on a motherboard.
 Installing a Case Fan
Understanding Case Fans and Airflow
Before diving into the installation, it’s important to understand the role of case fans and how to optimize airflow within your PC case. Case fans work by creating positive or negative pressure to move air through your system.
Intake fans draw cool air into the case, while exhaust fans expel hot air. A balanced airflow setup is crucial for efficient cooling.
Gathering the Necessary Tools and Components
To install case fans, you’ll need a few basic tools:
- Screwdriver: Choose the correct size to match the screws on your case and fans (typically a Phillips head screwdriver).
- Case Fan Screws: These usually come included with your case or fans. Ensure they are the correct size and thread type.
- Anti-Static Wrist Strap (optional but recommended): This helps prevent static electricity from damaging your components.
Identifying Fan Headers on Your Motherboard
Modern motherboards come equipped with dedicated fan headers, which are small pin connectors designed for powering case fans.
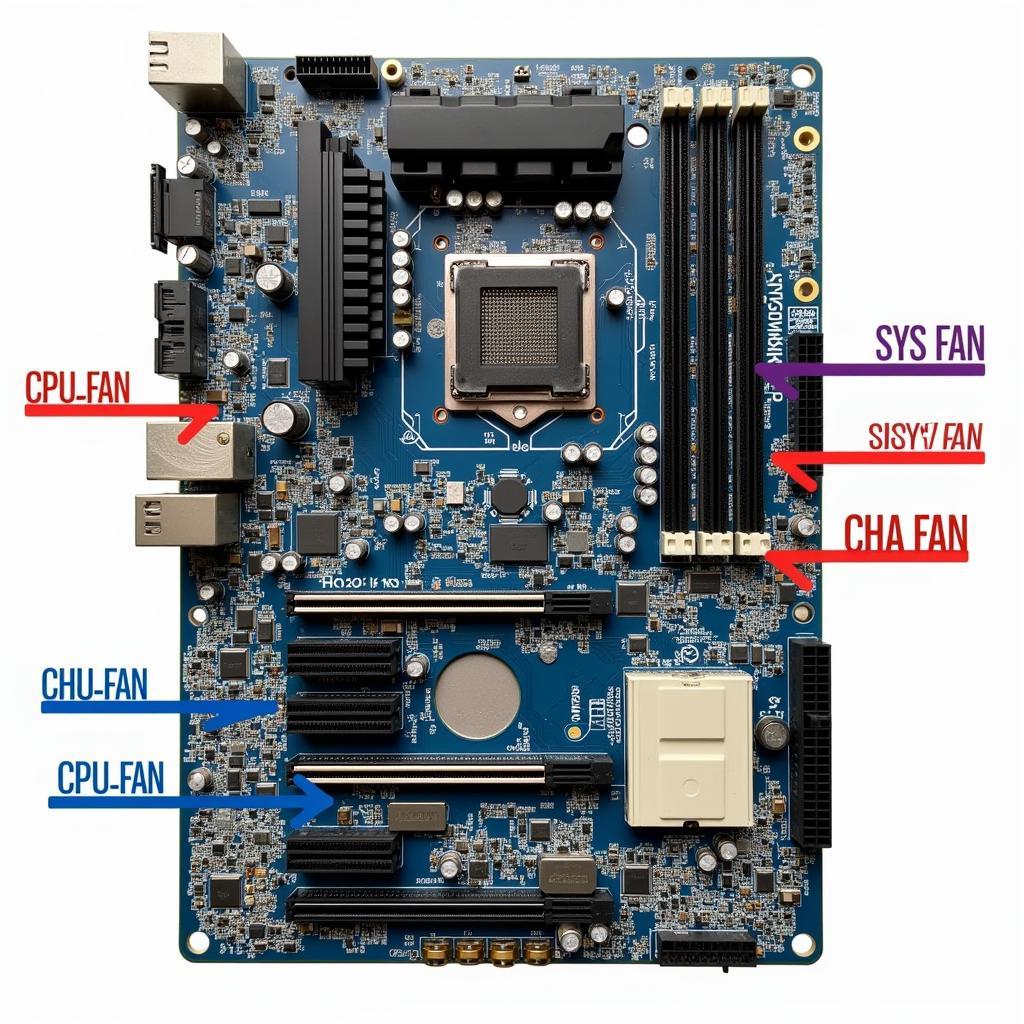 Fan Headers on a Motherboard
Locate the fan headers on your motherboard. They are typically labeled as SYS_FAN (system fan), CHA_FAN (chassis fan), or similar. Some motherboards also have dedicated headers for CPU coolers and water cooling pumps.
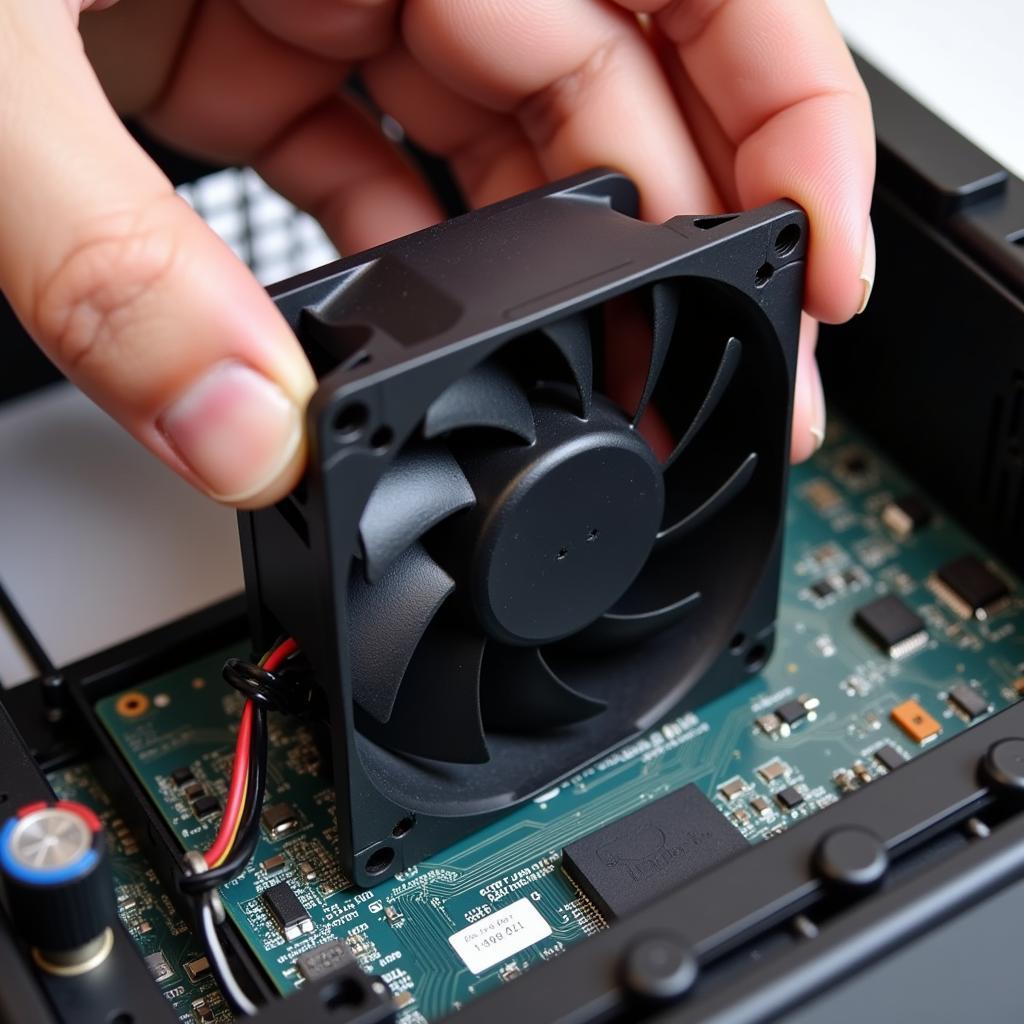
Connecting Case Fans to the Motherboard
- Align the Fan: Align the fan with the mounting holes on your PC case, ensuring the airflow direction (indicated by an arrow on the fan) is correct.
- Secure the Fan: Use the provided screws to secure the fan to the case. Do not overtighten the screws.
- Connect the Fan Power Cable: Connect the fan’s power cable to the appropriate fan header on your motherboard. Most fan connectors are keyed to prevent incorrect insertion.
Configuring Fan Speeds in BIOS/UEFI
Once the fans are installed, you can configure their speeds in your computer’s BIOS/UEFI settings. Access the BIOS/UEFI by pressing the designated key during startup (usually Del, F2, or F12).
Look for a section related to Hardware Monitoring, Fan Control, or similar. Here, you can adjust fan curves to optimize cooling performance and noise levels.
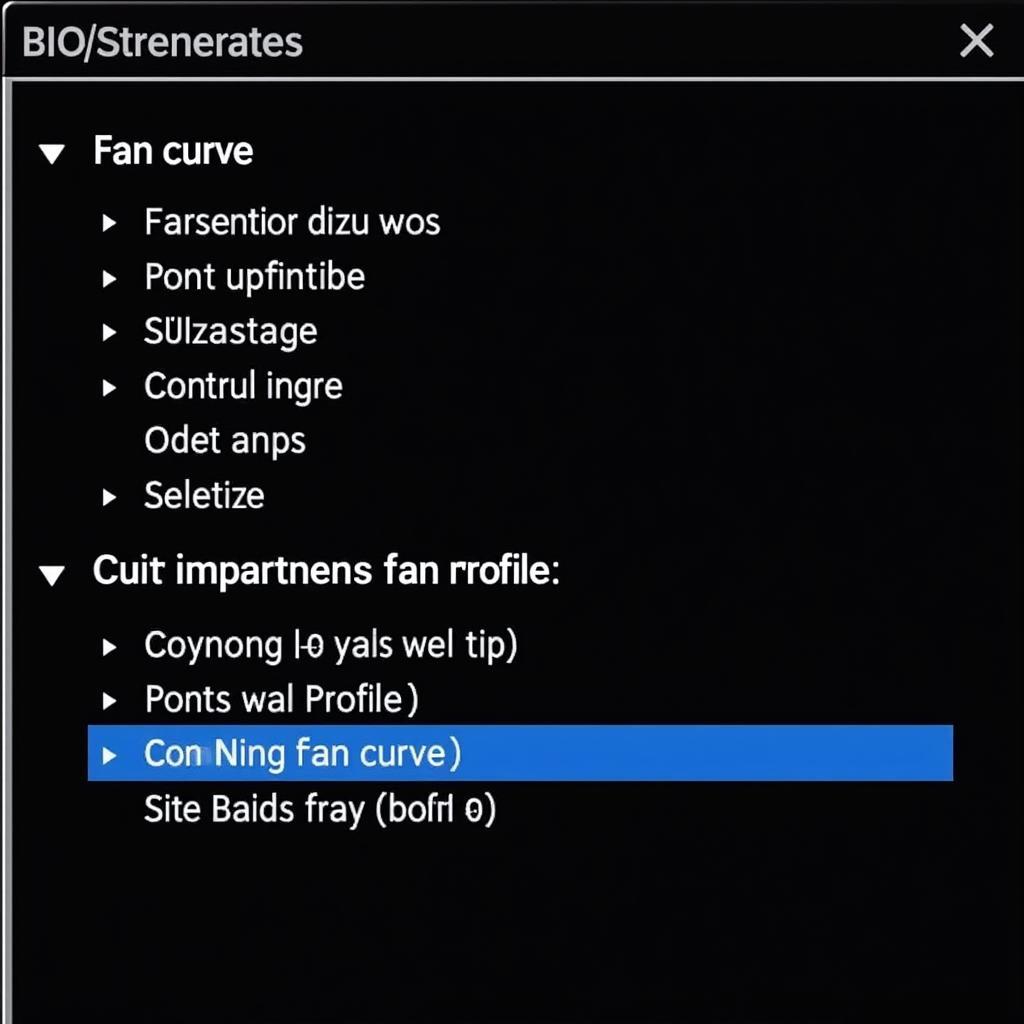 Adjusting Fan Speed in BIOS
Conclusion
Installing case fans is a straightforward process that can significantly improve your PC’s cooling efficiency. By following the steps outlined in this guide and understanding the basics of airflow, you can create a well-ventilated system that runs cooler and quieter. If you need assistance with case fan installation or any other aspect of building your PC, don’t hesitate to contact our expert team at Phone Number: 0903426737, Email: fansbongda@gmail.com or visit our address: Group 9, Area 6, Gieng Day Ward, Ha Long City, Gieng Day, Ha Long, Quang Ninh, Vietnam. We have a 24/7 customer support team available.
