Looking to upgrade your PC’s cooling system with a new fan, but facing a connector conundrum? You’re not alone! Many PC builders, especially those venturing into customization, often encounter the challenge of a 2-pin fan connector not being compatible with their motherboard. This guide will walk you through the ins and outs of 2-pin fan connectors, how they differ from other types, and most importantly, how to convert them for a seamless integration with your PC build.
Understanding 2-Pin Fan Connectors
Before we delve into the conversion process, it’s crucial to understand what sets 2-pin fan connectors apart. These connectors, as the name suggests, have two pins transmitting power to the fan, allowing it to spin and cool your components. They are typically found in older fans or those with simpler designs, lacking the speed control features of their modern counterparts.
Differences from Other Connector Types
The world of PC fans boasts a variety of connectors, each with its own set of pins and functions. Here’s a quick comparison:
- 2-Pin Connectors: Two pins for power, offering no speed control.
- 3-Pin Connectors: Three pins for power, ground, and a tachometer signal that allows the motherboard to monitor fan speed.
- 4-Pin Connectors: Four pins for power, ground, tachometer signal, and Pulse Width Modulation (PWM) for precise speed control by the motherboard.
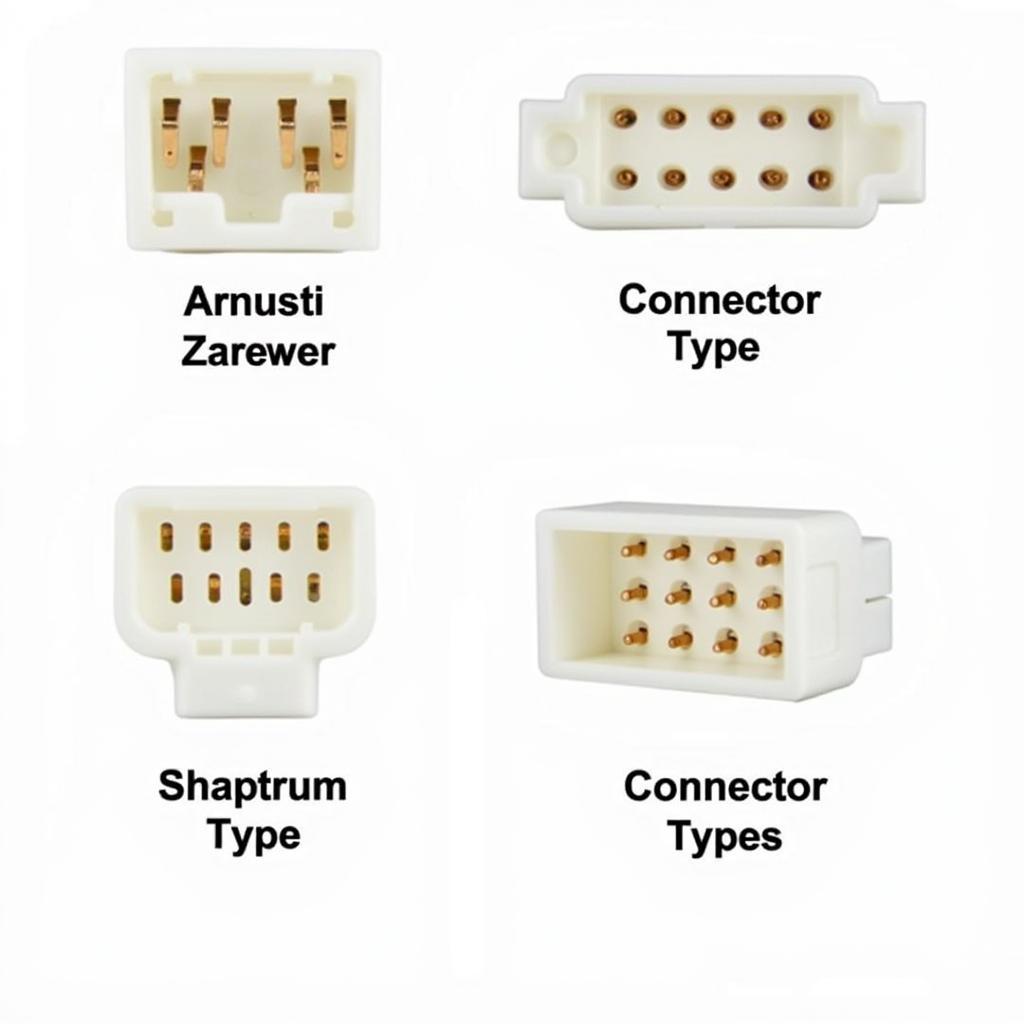 Types of 2-Pin Fan Connectors
Converting a 2-Pin Fan Connector: Methods and Considerations
Converting a 2-pin fan connector to work with your motherboard involves bridging the compatibility gap. Here are the most common methods:
1. Molex Adapter
A Molex adapter is a straightforward solution that allows you to connect your 2-pin fan directly to a Molex power connector from your PC’s power supply unit (PSU).
Pros: Simple and readily available.
Cons: No speed control, and using a Molex connector might clutter your build.
2. Soldering to a 3-Pin or 4-Pin Connector
For the more technically inclined, soldering the fan’s wires directly to a compatible 3-pin or 4-pin connector offers a cleaner and potentially speed-controlled solution.
Pros: Clean installation and potential for speed control (with a 4-pin connector).
Cons: Requires soldering skills and a compatible connector.
 Soldering a 2-Pin Fan to a Motherboard
3. Fan Controller Hub
Investing in a fan controller hub provides a centralized solution, especially if you have multiple fans to manage. These hubs typically offer various connection options, including those for 2-pin fans, and grant you granular control over fan speeds.
Pros: Comprehensive fan control and often a visually appealing addition to your build.
Cons: Can be more expensive than other solutions.
Choosing the Right Conversion Method
The ideal conversion method for your 2-pin fan depends on your comfort level with DIY solutions and your desire for speed control. If you prioritize simplicity, a Molex adapter will suffice. However, if you’re comfortable with soldering and want the potential for speed control, connecting to a 3-pin or 4-pin connector might be preferable. For ultimate control and a streamlined approach, a fan controller hub emerges as the top contender.
Conclusion
Converting a 2-pin fan connector doesn’t have to be a daunting task. By understanding the different methods and considering your priorities, you can easily integrate your chosen fan into your PC build and enjoy efficient cooling. Remember to prioritize safety when handling electrical components and don’t hesitate to seek assistance from experienced builders or online resources if needed. Happy building!