

A CPU fan error can be a frustrating experience, often halting your computer’s boot-up process and potentially putting your hardware at risk. This comprehensive guide will walk you through the common causes of CPU fan errors and provide you with effective solutions to get your system back up and running smoothly.
Understanding CPU Fan Errors
Your CPU (Central Processing Unit) is essentially the brain of your computer, and like any brain, it needs to stay cool under pressure. That’s where the CPU fan comes in, diligently working to prevent overheating. When your system encounters a CPU fan error, it’s a warning sign that the fan isn’t functioning correctly, jeopardizing your CPU’s health.
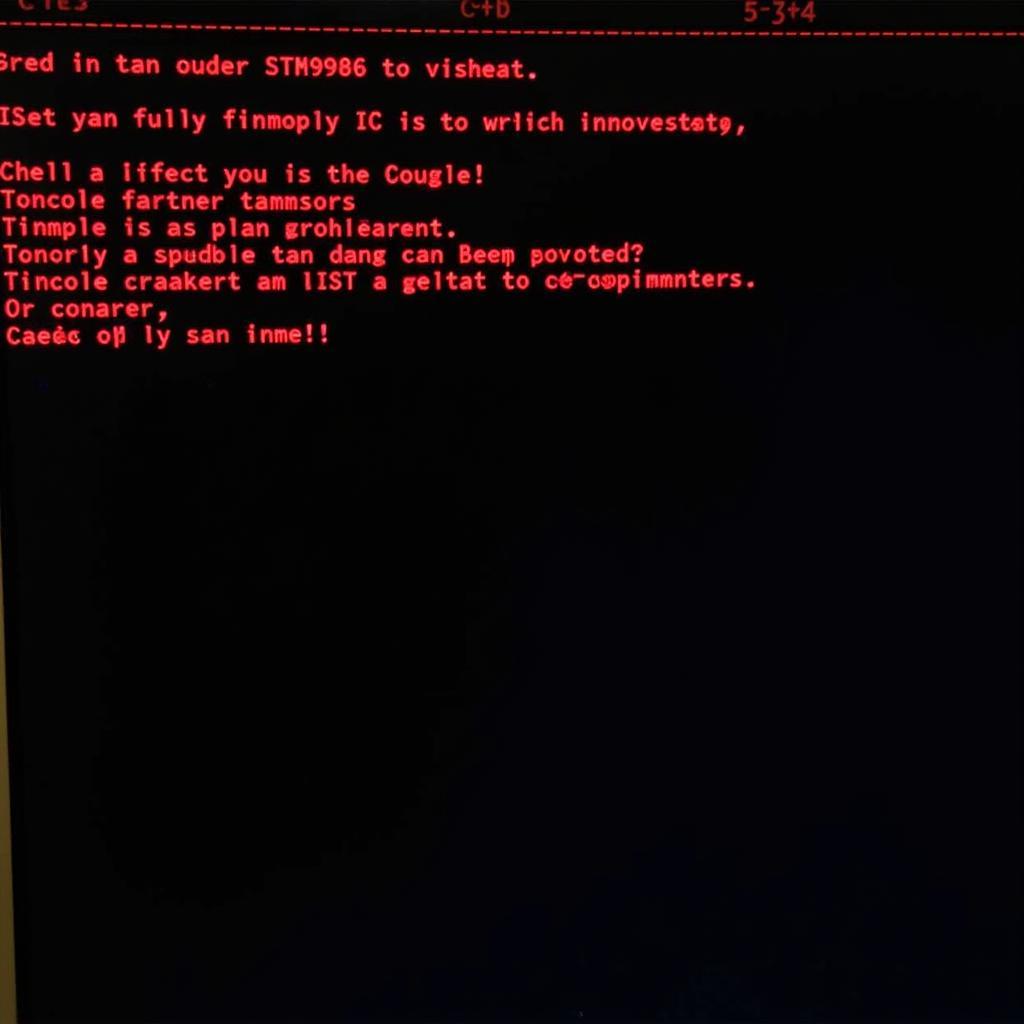 Computer BIOS screen displaying CPU fan error message
Common Causes of CPU Fan Errors
Before diving into solutions, let’s pinpoint the common culprits behind those pesky CPU fan errors:
- Loose or Disconnected Fan Cables: Over time, vibrations or accidental nudges can loosen the fan’s power cable from the motherboard, disrupting its power supply.
- Dust and Debris Buildup: Dust bunnies aren’t just unsightly; they can obstruct fan blades, hindering rotation and triggering errors.
- Fan Failure: Fans, like any mechanical components, have a lifespan. Wear and tear can eventually lead to malfunction or complete failure.
- Insufficient CPU Cooler Mounting: A poorly installed CPU cooler can result in inadequate contact between the heatsink and the CPU, leading to overheating and fan errors.
- BIOS Settings: Incorrect BIOS settings related to fan speed control or monitoring can also trigger false error messages.
Troubleshooting CPU Fan Errors
Now, let’s equip you with the tools to combat those CPU fan errors:
1. Check the Fan Connection:
- Power Down Your PC: Safety first! Always turn off your computer and unplug it from the power source before opening the case.
- Open the Case: Carefully open your computer case to access the motherboard.
- Locate the CPU Fan: The CPU fan is typically a small fan positioned directly on top of the CPU, itself covered by a heatsink.
- Inspect the Connection: Ensure the fan’s power cable is securely plugged into the correct header on the motherboard, usually labeled “CPU_FAN” or similar.
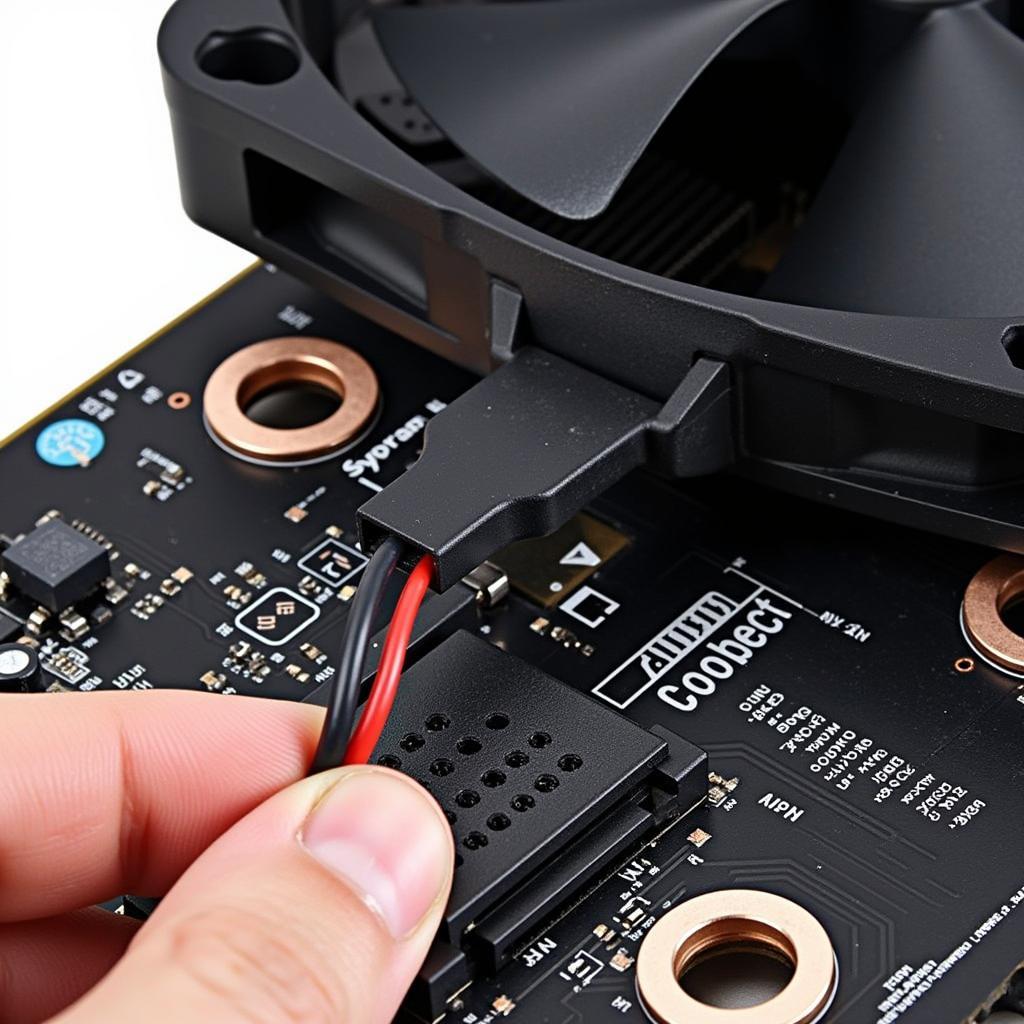 Close-up of the CPU fan connection on a computer motherboard
2. Clean the Fan and Heatsink:
- Dust Removal: Use compressed air or a soft-bristled brush to gently remove dust and debris from the fan blades, heatsink, and surrounding areas. Avoid using excessive force to prevent damage.
- Thermal Paste (If Needed): If you’re comfortable with it, consider reapplying thermal paste between the CPU and the heatsink for optimal heat transfer. This is generally recommended if you’re removing the cooler for cleaning.
3. Test the Fan:
- Temporary External Power: With your computer still open, you can cautiously connect the CPU fan to a spare fan header on your motherboard or directly to a Molex connector from your power supply using an adapter. This will help determine if the fan itself is receiving power and functioning.
4. Adjust BIOS Settings:
- Access BIOS: As your computer boots up, press the designated key (usually Del, F2, or Esc) to enter the BIOS setup.
- Fan Control: Navigate to the “Hardware Monitoring” or “Power Management” section and look for options related to CPU fan control.
- Disable Monitoring (Not Recommended): While you can often disable CPU fan monitoring, it’s generally not advisable unless you’re confident in your fan’s functionality. Disabling monitoring removes the warning system, potentially leading to unnoticed CPU overheating.
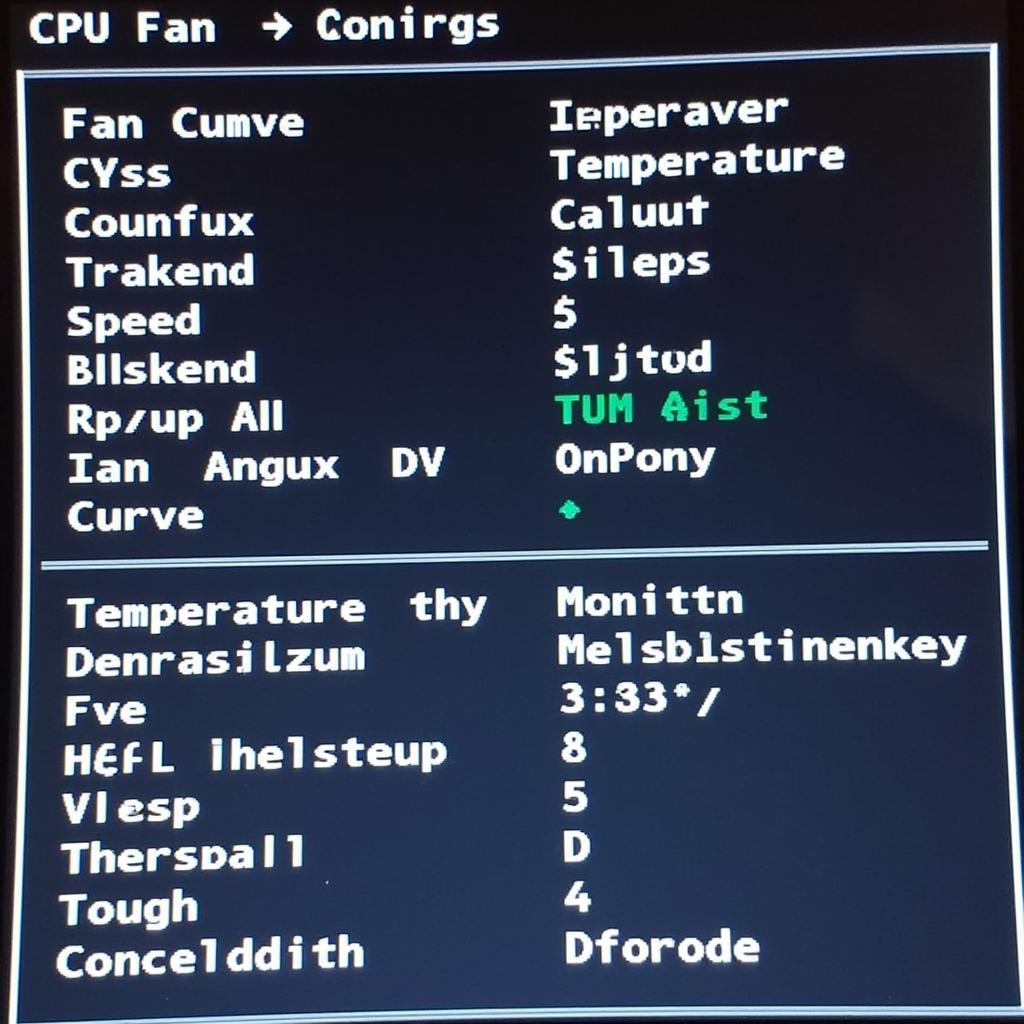 Computer BIOS settings screen showing CPU fan control options
5. Replace the CPU Fan:
If your troubleshooting efforts point towards a faulty fan, replacement is the most reliable solution:
- Compatibility: When choosing a new fan, ensure compatibility with your CPU socket and motherboard. Consider factors like noise level, airflow, and static pressure for optimal performance.
- Installation: Carefully install the new fan, ensuring proper mounting and connection to the motherboard.
“Regular PC maintenance, including cleaning dust and ensuring proper fan function, can go a long way in preventing CPU fan errors and promoting a healthy system lifespan.” – David Miller, IT Technician
Conclusion
While a CPU fan error can be alarming, it’s often a solvable issue with a bit of troubleshooting. By following these steps, you can identify the root cause of the error and take appropriate action to get your system back on track. Remember, regular maintenance and paying attention to your system’s signals can prevent many hardware-related headaches down the road.
