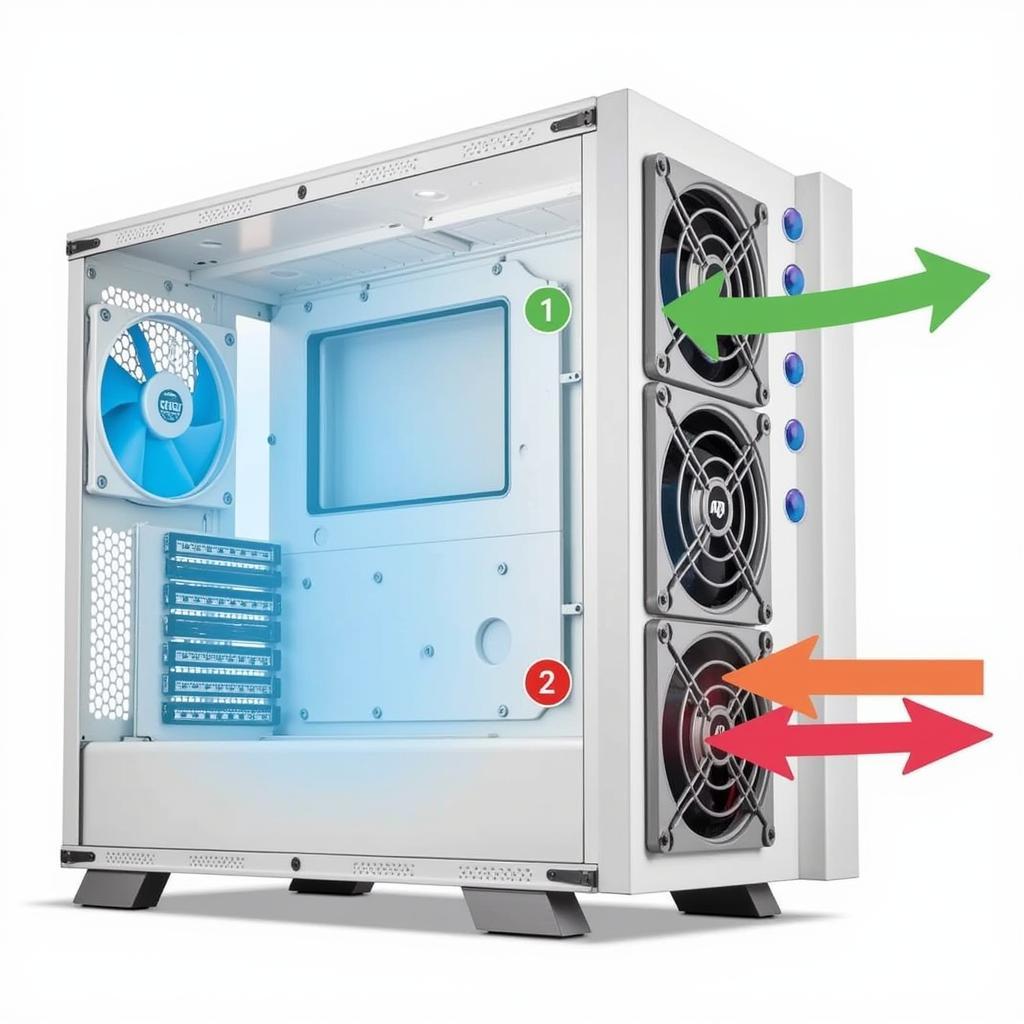
Ensuring your PC case fans are installed correctly is crucial for optimal airflow and efficient cooling. A common mistake many builders make is installing fans in the wrong direction, leading to higher temperatures and potential performance issues. This comprehensive guide will walk you through the process of installing a PC case fan the right way round, ensuring your components stay cool and perform at their best.
Understanding Airflow and Fan Orientation
Before we dive into the installation process, it’s essential to understand how airflow works within a PC case. Think of your case as a miniature wind tunnel: you want cool air flowing in and hot air being expelled efficiently.
PC case fans have a directional airflow, typically indicated by an arrow on the fan frame. This arrow signifies the direction of airflow. The general rule of thumb is to install intake fans at the front of the case, pulling in cool air, and exhaust fans at the back and top, expelling hot air.
 PC Case Airflow Diagram
Identifying Fan Types and Their Roles
PC case fans come in various sizes and configurations, each serving a specific purpose.
- Intake Fans: Positioned at the front or bottom of the case, these fans pull cool air from the surroundings into the PC case.
- Exhaust Fans: Located at the back or top of the case, these fans expel hot air generated by components, creating negative pressure.
- CPU Cooler Fans: These fans are attached directly to the CPU heatsink and are responsible for cooling the processor. Their orientation depends on the heatsink design and case airflow.
- GPU Cooler Fans: Similar to CPU cooler fans, these are mounted on the graphics card to cool the GPU. Their orientation is predetermined by the graphics card design.
Step-by-Step Guide to Installing a Case Fan
Now that you understand the basics of airflow and fan orientation, let’s go through the steps of installing a case fan correctly:
- Power Down and Unplug: Before making any changes to your PC, ensure it’s powered down and unplugged from the power outlet.
- Open the Case: Remove the side panel of your PC case to access the fan mounting locations.
- Choose the Fan Location: Determine the ideal location for your fan based on your case’s airflow design and the type of fan you’re installing.
- Install the Fan Screws: Align the fan with the mounting holes and secure it to the case using the provided screws. Do not overtighten the screws, as this can damage the fan.
- Connect the Fan Power: Connect the fan’s power cable to the appropriate header on your motherboard. Refer to your motherboard manual for the correct header location.
- Close the Case: Once the fan is securely installed and connected, carefully replace the side panel of your PC case.
Common Mistakes to Avoid
- Installing Fans Backwards: This disrupts the intended airflow pattern and can lead to overheating.
- Blocking Airflow: Ensure there are no obstructions in front of intake fans or behind exhaust fans, allowing for unrestricted airflow.
- Using Incorrect Screws: Using screws that are too long can damage components inside the case.
- Overtightening Screws: This can warp the fan frame and reduce its lifespan.
Pro Tips for Optimal Airflow
- Create a Balanced Airflow: Aim for a slightly positive pressure setup by having more intake fans than exhaust fans.
- Clean Your PC Regularly: Dust accumulation can significantly hinder airflow. Clean your PC’s interior and fans regularly to maintain optimal cooling performance.
- Consider Fan Controllers: Fan controllers allow you to adjust fan speeds based on your system’s temperature, providing a balance between cooling and noise levels.
Conclusion
Installing a PC case fan the right way round is a crucial step in ensuring your system stays cool and performs at its best. By understanding the basics of airflow and following the installation guidelines outlined in this guide, you can create an efficient cooling solution that will keep your components running smoothly for years to come.
FAQs
Q: How do I know which way my fan blows?
A: Look for an arrow on the fan frame. This arrow indicates the direction of airflow.
Q: Can I install too many case fans?
A: While more fans can improve airflow, it’s essential to strike a balance. Too many fans can create excessive noise and turbulence.
Q: Do I need a fan controller?
A: Fan controllers offer greater control over fan speeds, allowing you to adjust cooling performance and noise levels. While not essential, they can be beneficial for optimizing your system’s thermal performance.
For additional information on PC cooling solutions, check out our articles on:
Need assistance with choosing the right PC case fan or have questions about installation? Contact us at 0903426737, email us at fansbongda@gmail.com, or visit our store at Tổ 9, Khu 6, Phường Giếng Đáy, Thành Phố Hạ Long, Giếng Đáy, Hạ Long, Quảng Ninh, Việt Nam. Our team is available 24/7 to help you find the perfect cooling solution for your needs.


