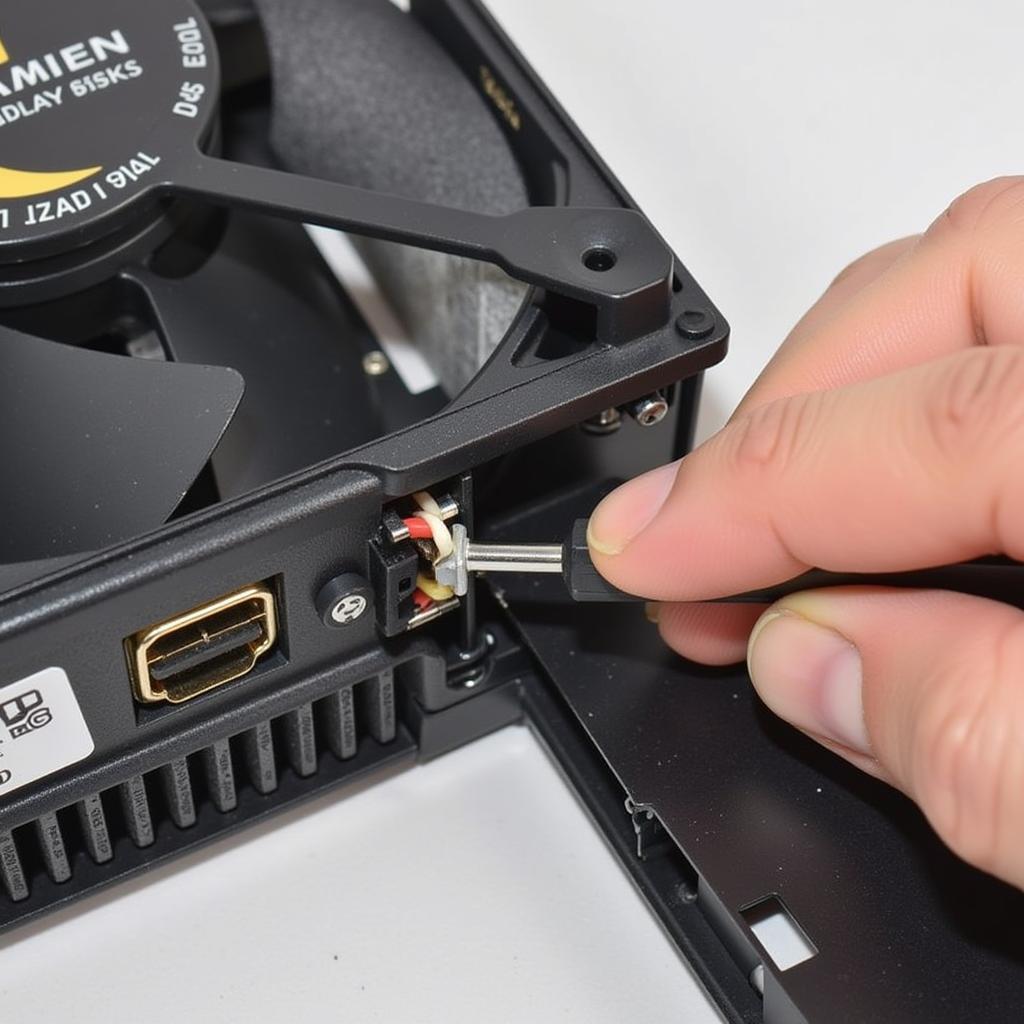
Changing the fan on your Cooler Master MasterAir MA610P can significantly improve cooling performance, reduce noise, or simply refresh the aesthetics of your setup. This guide provides a comprehensive walkthrough on how to swap out the stock fan for a new one, ensuring optimal compatibility and functionality.
Understanding Your Cooler Master MA610P
The MasterAir MA610P is a popular air cooler known for its efficient cooling and attractive design. Understanding its components, particularly the fan mounting mechanism, is crucial for a smooth fan replacement process. Before you begin, ensure you have the necessary tools, including a Phillips head screwdriver and, if needed, a small flathead screwdriver for any stubborn clips.
Choosing the Right Replacement Fan
Selecting a compatible replacement fan is essential. The MA610P uses a standard 120mm fan size. However, consider factors like thickness, airflow (CFM), static pressure, and noise levels (dBA) when choosing a new fan. A high-performance fan can drastically improve cooling, but a quieter fan might be preferable for a quieter system. Check the manufacturer’s specifications for both the cooler and the new fan to ensure compatibility.
Step-by-Step Guide: Cooler Master MasterAir MA610P How to Change Fan
- Power Down and Disconnect: Completely shut down your computer and unplug the power cable. This is crucial for safety and prevents damage to your components.
- Access the Cooler: Depending on your case, you may need to remove side panels or other components to gain clear access to the MA610P.
- Detach the Fan Clips: The stock fan is secured to the heatsink with wire clips. Carefully unhook these clips, starting from one side and working your way around. A small flathead screwdriver can be helpful for stubborn clips, but exercise caution to avoid damaging the fan or heatsink fins.
- Remove the Fan Connector: Locate the fan connector on the motherboard and gently unplug it. Remember its location for connecting the new fan.
 Detaching the Cooler Master MA610P Fan Clips
- Install the New Fan: Align the new fan with the mounting holes on the heatsink. Secure it using the wire clips, ensuring they are firmly attached.
- Connect the Fan: Plug the new fan’s connector into the same motherboard header you unplugged the old fan from.
- Reassemble and Test: Put your computer back together, reconnect the power cable, and boot up. Monitor your CPU temperatures to ensure the new fan is working correctly.
Optimizing Fan Performance
After installing the new fan, you can further optimize its performance. Adjusting the fan curve in your BIOS or using fan control software allows you to fine-tune the fan speed based on CPU temperature. This helps balance cooling performance with noise levels.
Conclusion
Changing the fan on your Cooler Master MasterAir MA610P is a relatively straightforward process that can offer noticeable improvements. By following this guide and choosing a compatible fan, you can enhance your cooling setup and enjoy a quieter or more efficient system. Now you know how to change the fan on your cooler master masterair ma610p!
FAQ
- What size fan does the MA610P use? 120mm
- Can I use any 120mm fan? Not necessarily, check compatibility with the cooler’s specifications.
- What tools do I need? A Phillips head screwdriver and possibly a small flathead screwdriver.
- How do I improve cooling after changing the fan? Adjust the fan curve in your BIOS or use fan control software.
- What should I do if my CPU temperatures are still high? Double-check the fan installation and consider other cooling solutions.
- Where can I find compatible fans? Retailers specializing in computer components.
- What if I damage the heatsink fins? Be gentle, but slight bending is usually not critical.
Need more help? Contact us at Phone Number: 0903426737, Email: [email protected] Or visit us at: Hamlet 9, Area 6, Gieng Day Ward, Ha Long City, Gieng Day, Ha Long, Quang Ninh, Vietnam. We have a 24/7 customer support team.


