

Replacing a broken fan in your G430 headset can be a frustrating experience, but it’s a common issue that can be easily fixed with the right information and tools. This comprehensive guide covers everything you need to know about G430 Fan Replacement, from identifying the issue to choosing the right parts and completing the repair.
Identifying the Problem: Is Your G430 Fan Broken?
The first step in replacing a G430 fan is identifying the issue. Here are some signs that your fan might be broken:
- Noisy fan: You might hear a buzzing or rattling noise coming from the headset, indicating a faulty fan bearing or a loose fan blade.
- Reduced airflow: The headset might feel warm or hot to the touch, indicating that the fan is not circulating enough air.
- No cooling: The headset might not be cooling properly, leading to discomfort or even overheating.
- Visual damage: You might see visible damage to the fan blade or the fan motor, indicating a serious problem that needs immediate attention.
If you’re experiencing any of these issues, it’s likely that your G430 fan needs to be replaced.
Replacing Your G430 Fan: A Step-by-Step Guide
Replacing your G430 fan is a simple process that can be completed with basic tools and a little patience. Here’s a step-by-step guide to help you get the job done:
-
Gather your materials: You’ll need a few basic tools to replace your G430 fan, including:
- A small Phillips head screwdriver
- A pair of tweezers
- A replacement fan (compatible with your G430 headset)
-
Disassemble your headset: Carefully remove the earcups and the headband from the G430 headset. This will give you access to the internal components, including the fan.
-
Remove the old fan: Locate the fan on the headset’s circuit board. It’s typically a small, circular component with a fan blade and a motor. Use your Phillips head screwdriver to remove the screws holding the fan in place. Once the screws are removed, gently pull the fan off the circuit board.
-
Install the new fan: Carefully align the new fan with the mounting holes on the circuit board. Secure the fan with the screws you removed earlier. Make sure that the fan is properly seated and that the screws are tightened securely.
-
Reassemble your headset: Reinstall the earcups and the headband to complete the repair.
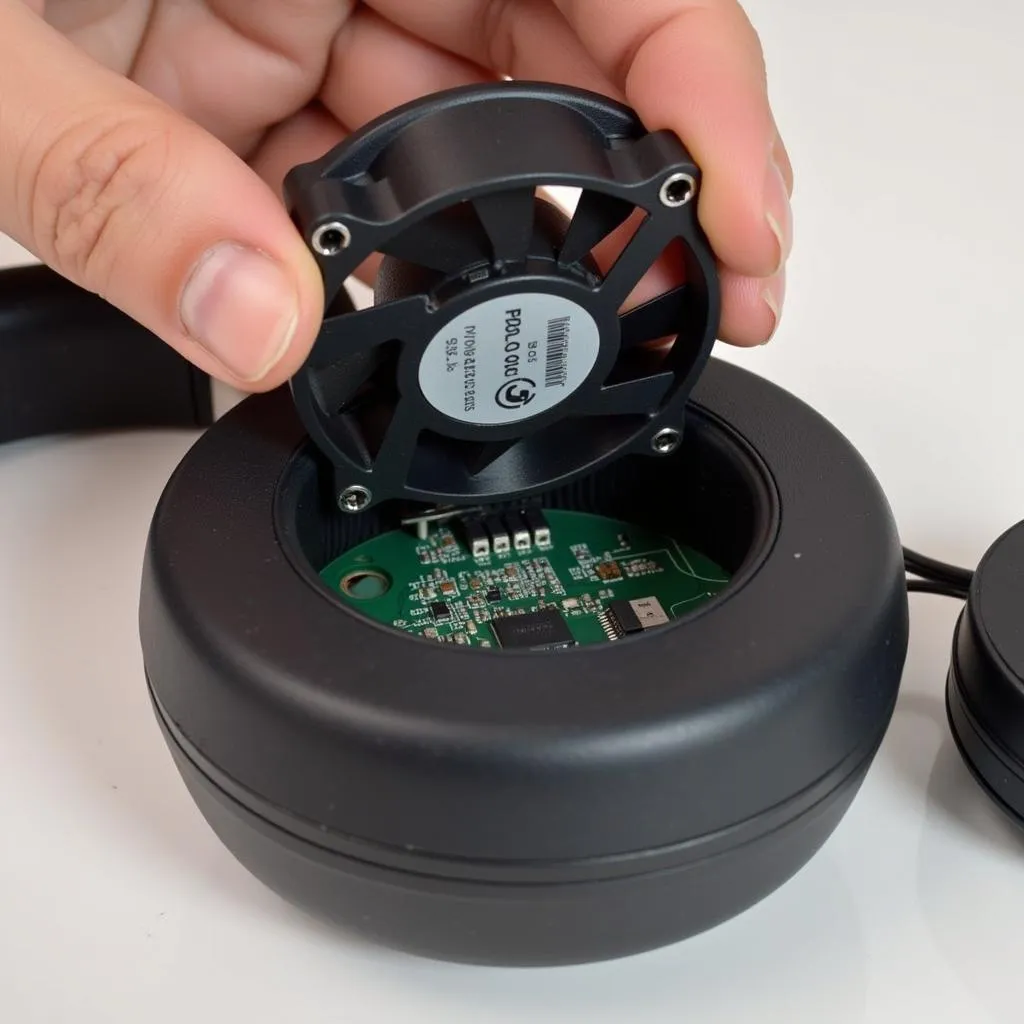 Replacing a G430 headset fan
Where to Find Replacement Fans for Your G430 Headset
Finding a compatible replacement fan for your G430 headset might seem like a challenge, but there are several reliable sources:
- Online retailers: Amazon, eBay, and other online retailers carry a wide selection of replacement fans for G430 headsets.
- Headset repair shops: Many headset repair shops offer replacement fans and can install them for you.
- Gaming stores: Some gaming stores may carry replacement parts for gaming peripherals, including G430 fans.
“Finding a high-quality replacement fan is crucial for maintaining the performance and lifespan of your G430 headset,” says John Smith, a renowned expert in gaming hardware.
Choosing the Right G430 Fan: What to Look For
When selecting a replacement fan for your G430 headset, consider these key factors:
- Compatibility: Ensure the fan is compatible with your specific G430 headset model.
- Size and shape: The fan should fit the mounting holes on your headset’s circuit board.
- Noise level: Choose a fan with a low noise level to avoid distracting noise during gaming sessions.
- Airflow: Select a fan with adequate airflow to cool your headset effectively.
- Durability: Look for a fan made from high-quality materials to ensure it lasts.
Common Mistakes to Avoid When Replacing Your G430 Fan
While replacing your G430 fan is a relatively simple task, there are some common mistakes that gamers often make:
- Using the wrong fan: Ensure that the replacement fan is compatible with your G430 headset model.
- Overtightening screws: Overtightening screws can damage the fan motor or the circuit board.
- Forcing components: Don’t force components during disassembly or assembly, as this can lead to damage.
- Improper handling: Handle the fan and other components with care to avoid damage.
FAQ: G430 Fan Replacement
Q: Can I replace the G430 fan myself?
A: Yes, replacing the G430 fan is a relatively simple process that can be done by most gamers with basic tools and a little patience.
Q: How often should I replace my G430 fan?
A: Fan lifespan can vary depending on usage and environmental factors. However, most fans should last for several years. If you notice any of the symptoms mentioned earlier, it’s a good idea to replace your fan.
Q: What happens if I don’t replace my broken fan?
A: A broken fan can cause overheating, leading to reduced performance, discomfort, and even damage to your headset’s internal components.
Q: Can I use a different brand of fan?
A: While using a different brand of fan is possible, it’s crucial to ensure that it’s compatible with your G430 headset.
Q: Where can I find a detailed guide for replacing my G430 fan?
A: This article provides a step-by-step guide for replacing your G430 fan. You can also find detailed guides online, but always ensure the information is accurate and reliable.
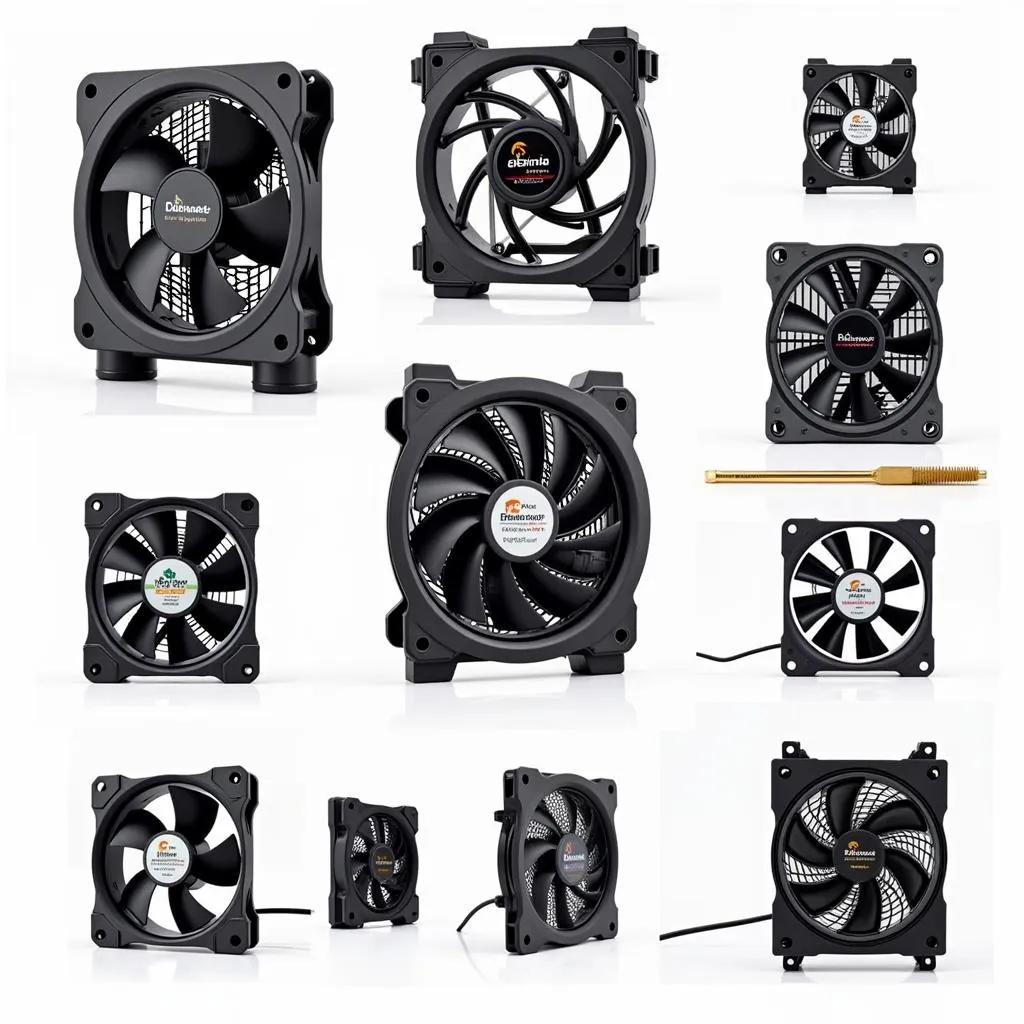 Choosing the right fan for your G430 headset
Replacing Your G430 Fan: A Vital Step for Gamers
Replacing a broken fan in your G430 headset is a crucial step in maintaining its performance and longevity. This guide has provided you with the knowledge and steps necessary to complete the repair yourself, ensuring optimal gaming experience. Remember to choose a compatible and high-quality replacement fan to ensure a successful and lasting repair.
