Installing an exhaust fan for your airbrushing activities is crucial for maintaining a healthy and safe working environment. This guide will walk you through the process of selecting and installing the right exhaust fan for your needs, ensuring proper ventilation and minimizing exposure to potentially harmful fumes and particles.
Choosing the Right Exhaust Fan for Airbrushing
Before diving into the installation process, it’s essential to choose an exhaust fan that’s suitable for airbrushing. Consider factors like airflow (measured in cubic feet per minute or CFM), noise level, and the size of your workspace. For smaller spaces, a compact fan with a lower CFM might suffice. Larger studios or areas with multiple airbrush stations will require a more powerful fan with a higher CFM rating. Don’t forget to consider the type of filter as well; activated charcoal filters are especially effective at trapping airbrush overspray and odors.
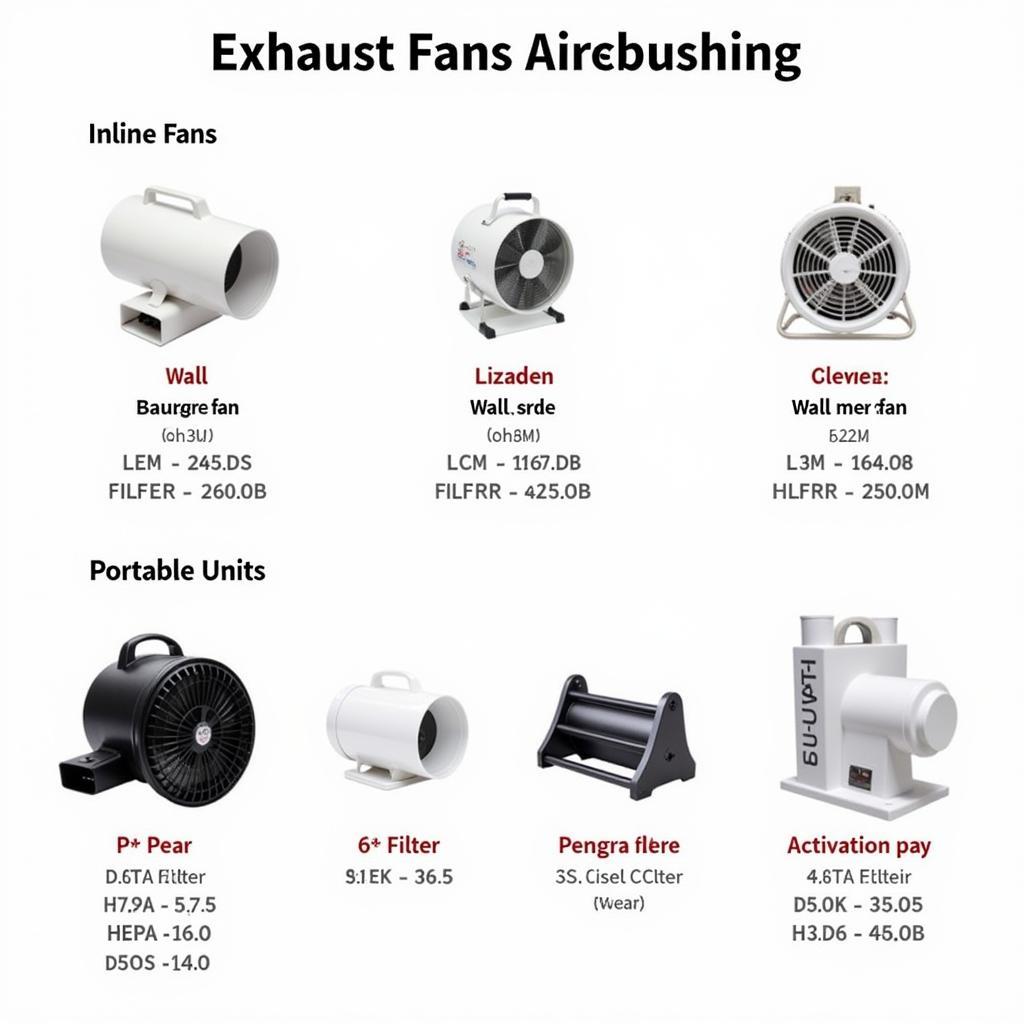
 Exhaust Fan Types for Airbrushing
Preparing for Installation
Once you’ve chosen your exhaust fan, gather the necessary tools and materials. You’ll likely need a drill, screwdriver, measuring tape, ductwork (if applicable), mounting hardware, and safety equipment like gloves and eye protection. Always disconnect the power supply to the area where you’ll be working before starting any electrical work.
Installing Your Exhaust Fan
The installation process will vary depending on the type of fan you’ve chosen. For wall-mounted fans, you’ll need to cut a hole in the wall to accommodate the fan unit. Inline fans are typically installed within the ductwork itself. Portable units are the easiest to install as they simply require positioning and plugging into a power outlet.
Wall-Mounted Fan Installation
- Mark the location for the fan on the wall, ensuring it’s near your airbrushing workstation and has access to an exterior vent.
- Carefully cut the hole according to the manufacturer’s instructions.
- Mount the fan housing securely to the wall.
- Connect the ductwork to the fan and the exterior vent.
- Secure all connections and seal any gaps to prevent air leakage.
Inline Fan Installation
- Determine the optimal location for the inline fan within your ductwork system.
- Cut the ductwork and install the fan according to the manufacturer’s instructions.
- Secure the fan and ductwork connections using clamps or tape.
- Ensure proper airflow direction.
Portable Fan Installation
- Position the portable fan near your workstation.
- Attach any necessary filters.
- Plug the fan into a power outlet.
Maintaining Your Exhaust Fan
Regular maintenance is crucial for optimal performance and longevity. Clean or replace the filters regularly according to the manufacturer’s recommendations. Check for any obstructions in the ductwork and ensure all connections are secure.
Conclusion
Installing an exhaust fan for airbrushing is a vital step towards creating a healthier and safer working environment. By following these steps and choosing the right fan for your needs, you can effectively remove harmful fumes and particles, allowing you to focus on your art with peace of mind. Don’t underestimate the importance of proper ventilation – your lungs will thank you!
FAQ
- What CFM rating do I need for my exhaust fan?
- What type of filter is best for airbrushing?
- Can I install an exhaust fan myself?
- How often should I clean or replace my exhaust fan filter?
- What are the signs that my exhaust fan isn’t working properly?
- Where can I buy an exhaust fan for airbrushing?
- What safety precautions should I take when installing an exhaust fan?
For further assistance, please contact us at Phone Number: 0903426737, Email: fansbongda@gmail.com or visit our address: Lot 9, Area 6, Gieng Day Ward, Ha Long City, Gieng Day, Ha Long, Quang Ninh, Vietnam. We have a 24/7 customer service team.


