A DIY cooler exhaust fan for your laptop can significantly improve its performance and prevent overheating, especially during intensive tasks like gaming or video editing. This guide will walk you through everything you need to know about building your own external laptop cooling solution.
Why You Need a DIY Cooler Exhaust Fan
Laptops, especially slim and powerful models, often struggle with heat dissipation. Their compact design limits airflow, which can lead to throttling, reduced performance, and even long-term damage. A DIY cooler exhaust fan acts as an external cooling system, pulling hot air away from the laptop’s vents and improving overall airflow. This simple solution can make a world of difference in your laptop’s lifespan and performance.
Building Your Own Laptop Cooler: A Step-by-Step Guide
Building a DIY cooler exhaust fan is surprisingly straightforward and affordable. Here’s a detailed guide to help you get started:
-
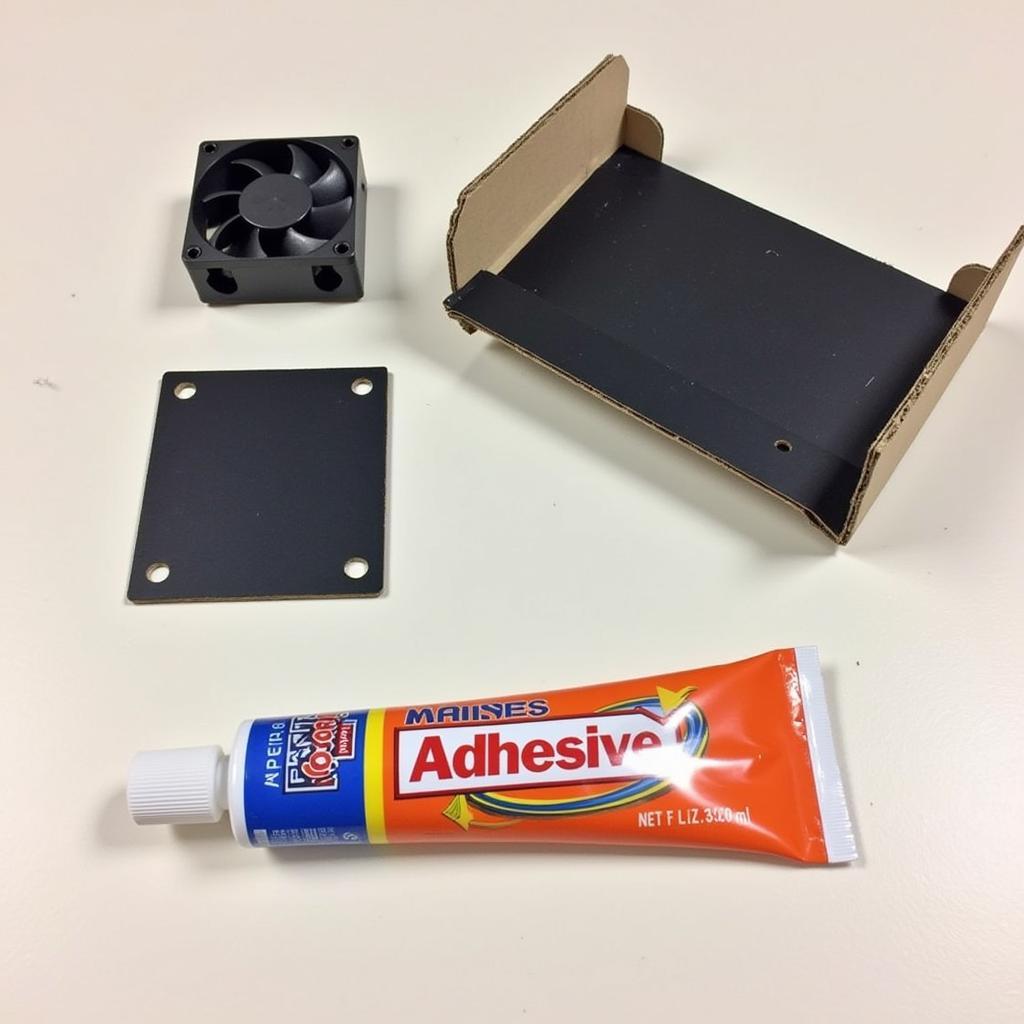
Gather Your Materials: You’ll need a few basic components: a small fan (like a PC case fan), a power adapter matching the fan’s voltage, some strong adhesive, and a sturdy material for the housing (like plastic or cardboard).
-
Prepare the Fan and Housing: Cut a hole in your chosen housing material slightly smaller than the fan. This will create a snug fit when you insert the fan. Ensure the fan’s airflow direction is correct – it should pull air away from the laptop.
-
Secure the Fan: Use strong adhesive to attach the fan to the housing. Ensure the connection is secure and airtight to maximize airflow efficiency.
-
Connect the Power: Connect the fan to the power adapter. Test the fan to ensure it’s working correctly before proceeding.
-
Position and Attach to Laptop: Position the DIY cooler near your laptop’s exhaust vents. You can use adhesive or velcro strips to attach it securely, ensuring it doesn’t obstruct any other ports.
 DIY Laptop Cooler Materials: Fan, Adapter, Housing
Choosing the Right Fan for Your Laptop
Not all fans are created equal. Consider the following factors when selecting a fan for your DIY cooler:
-
Size: Choose a fan that’s appropriately sized for your laptop’s vents. A larger fan might move more air, but it needs to fit comfortably near the vents.
-
Speed (RPM): Higher RPM generally means more airflow, but also more noise. Find a balance between cooling performance and noise level.
-
Voltage: Ensure the fan’s voltage matches the power adapter you’re using.
-
Airflow (CFM): CFM (cubic feet per minute) measures the volume of air the fan moves. Higher CFM indicates better cooling potential.
Optimizing Your DIY Cooler Exhaust Fan Laptop Setup
Once you’ve built your cooler, you can further optimize its performance:
-
Experiment with Placement: Try different positions near the exhaust vents to find the optimal spot for maximum airflow.
-
Clean Your Laptop’s Vents: Regularly cleaning your laptop’s vents from dust buildup will further improve cooling efficiency.
-
Monitor Temperatures: Use monitoring software to track your laptop’s temperatures and ensure the cooler is effectively reducing heat.
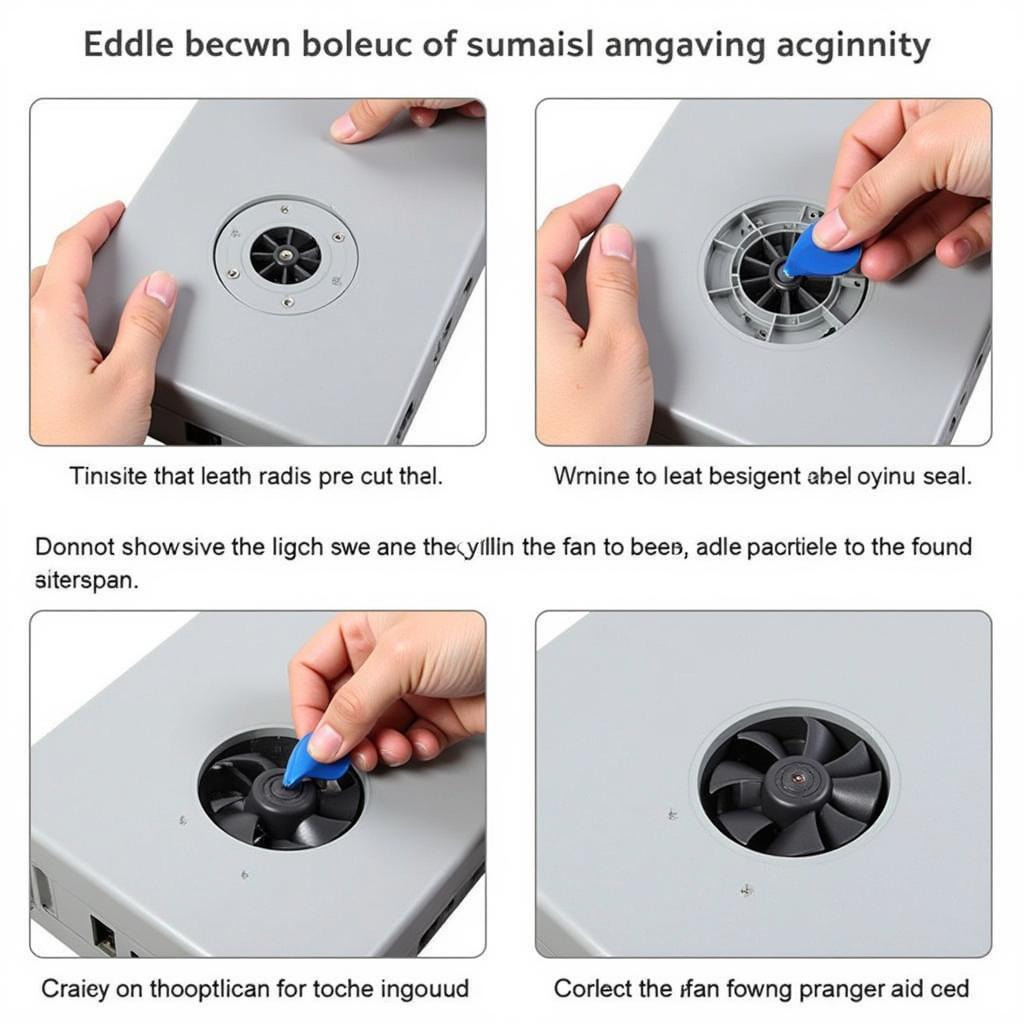
 Assembling a DIY Laptop Cooler: Attaching the Fan
“A well-designed DIY cooler can significantly extend the lifespan of your laptop,” says John Smith, a hardware engineer at Tech Solutions Inc. “By actively managing heat, you prevent performance throttling and protect vital components from overheating.”
Common Questions About DIY Laptop Coolers
What if my laptop doesn’t have clearly defined exhaust vents? Many laptops have hidden vents. Look carefully for small grills or openings, often located on the sides or back.
Can I use a USB-powered fan? Yes, USB-powered fans are a convenient option. Just plug them into a USB port on your laptop.
How much does it cost to build a DIY cooler? The cost is minimal, typically under $20, depending on the chosen components.
“Don’t underestimate the impact of proper cooling,” adds Sarah Jones, a tech consultant at Digital Innovations. “A DIY cooler is a simple yet effective solution for improving laptop performance and longevity.”
Conclusion
A Diy Cooler Exhaust Fan Laptop is a cost-effective and efficient solution for managing laptop heat and boosting performance. By following the steps outlined above, you can easily build your own cooler and enjoy a cooler, faster, and more reliable laptop.
FAQ
- What type of fan is best for a DIY laptop cooler?
- How do I power the fan?
- Can I use any type of housing material?
- Where should I position the cooler on my laptop?
- How do I know if my cooler is working effectively?
- How often should I clean my laptop’s vents?
- What are the signs of laptop overheating?
Need further assistance? Contact us at Phone: 0903426737, Email: fansbongda@gmail.com Or visit us at: Lot 9, Area 6, Gieng Day Ward, Ha Long City, Gieng Day, Ha Long, Quang Ninh, Vietnam. We have a 24/7 customer support team.


