

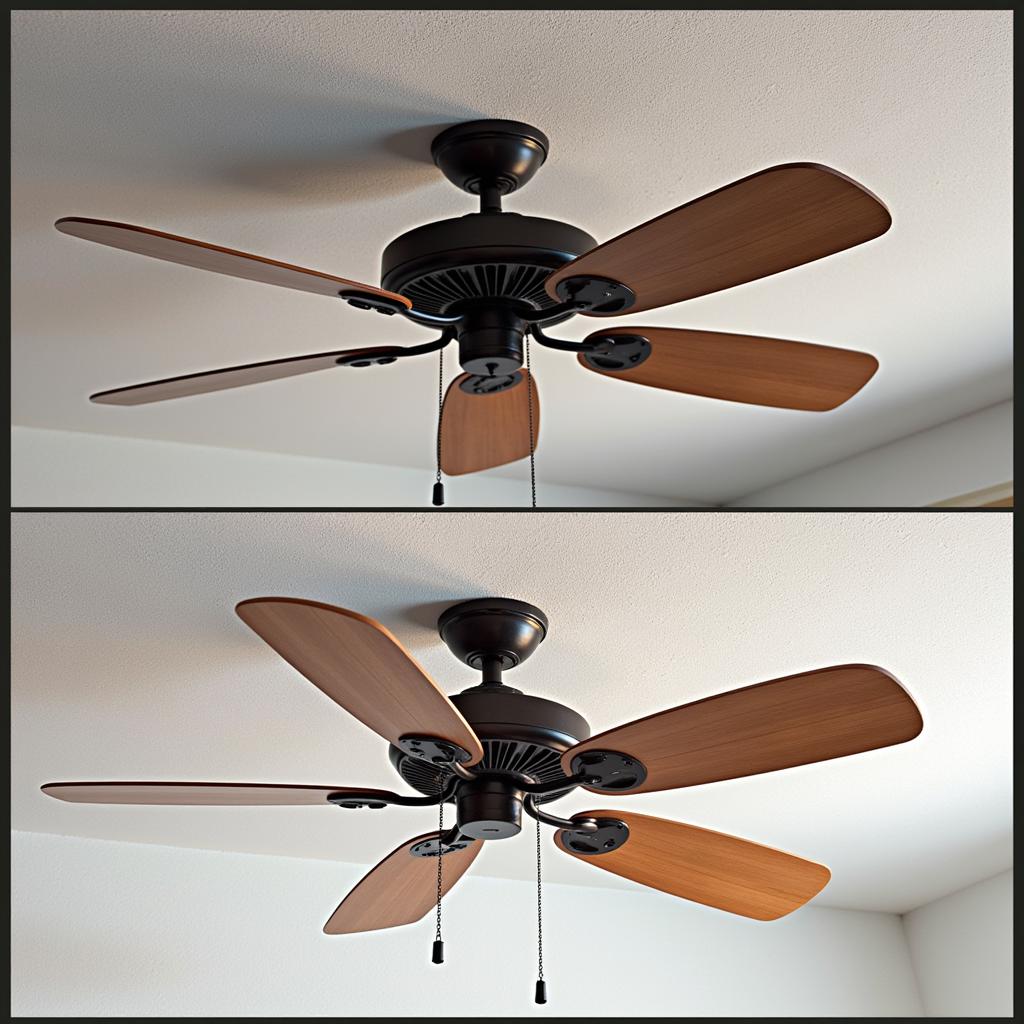
Creating realistic ceiling fans in 3DMax can be a rewarding experience, allowing you to bring your design vision to life. Whether you’re a seasoned professional or a budding 3D artist, this guide will equip you with the knowledge and techniques to model stunning ceiling fans.
This article delves into the intricate world of 3D ceiling fan modeling, providing comprehensive insights into creating high-quality assets for your projects. We’ll explore the essential modeling techniques, material selection, and lighting strategies to ensure your ceiling fans look realistic and visually appealing.
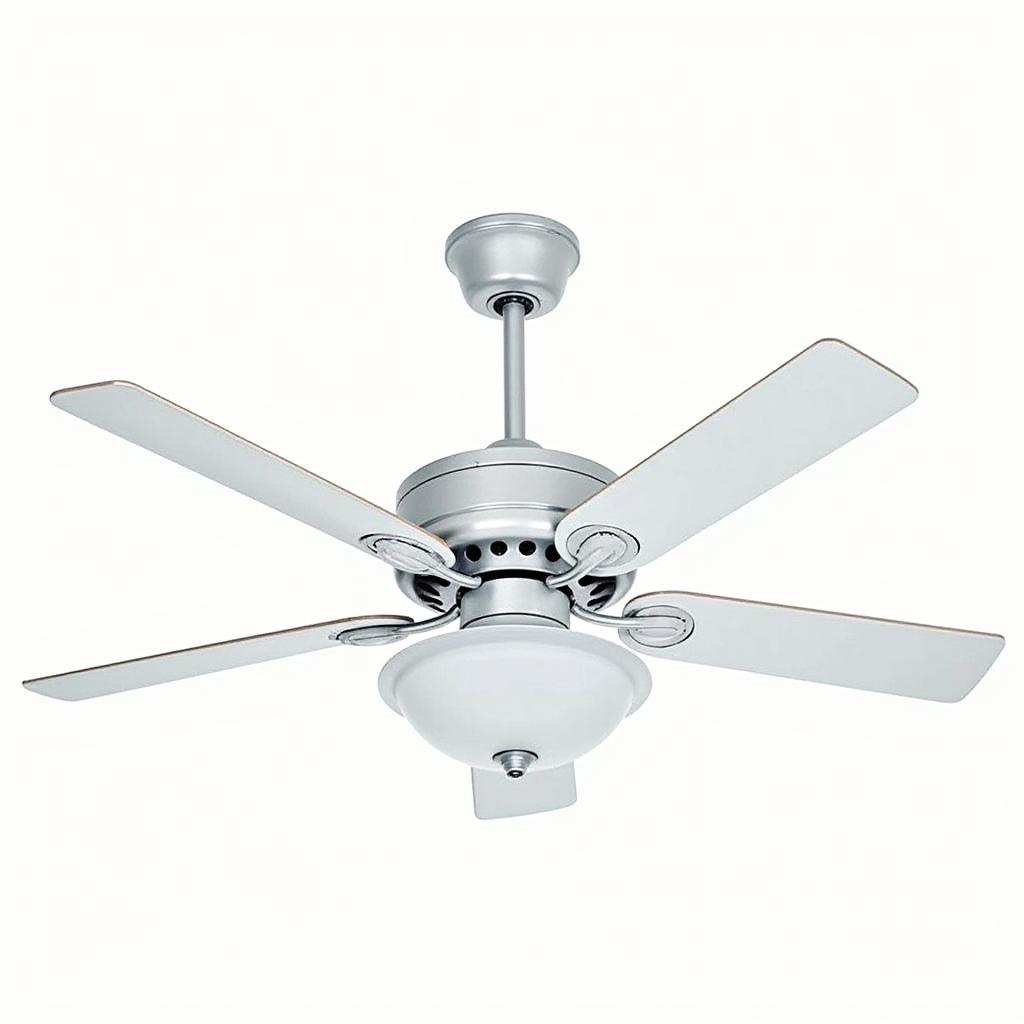
Understanding the Anatomy of a Ceiling Fan
Before diving into the modeling process, it’s crucial to understand the components of a typical ceiling fan. This will help you visualize the structure and create a model that accurately reflects the design.
Key Components:
- Motor Housing: The central hub of the fan, often made of metal or plastic.
- Blades: Flat, aerofoil-shaped components responsible for generating air circulation.
- Downrod: A connecting rod that suspends the fan from the ceiling.
- Light Fixture: A decorative element that often incorporates a light bulb or LED system.
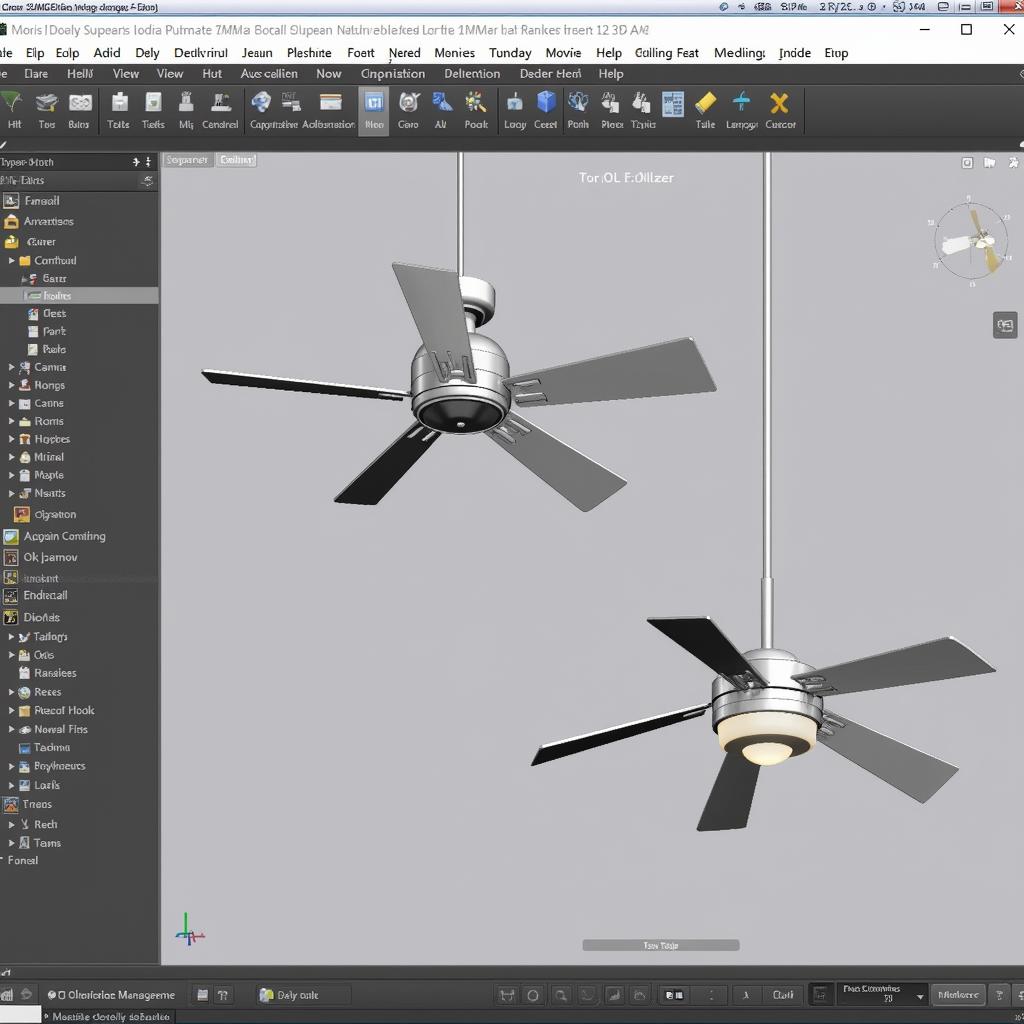
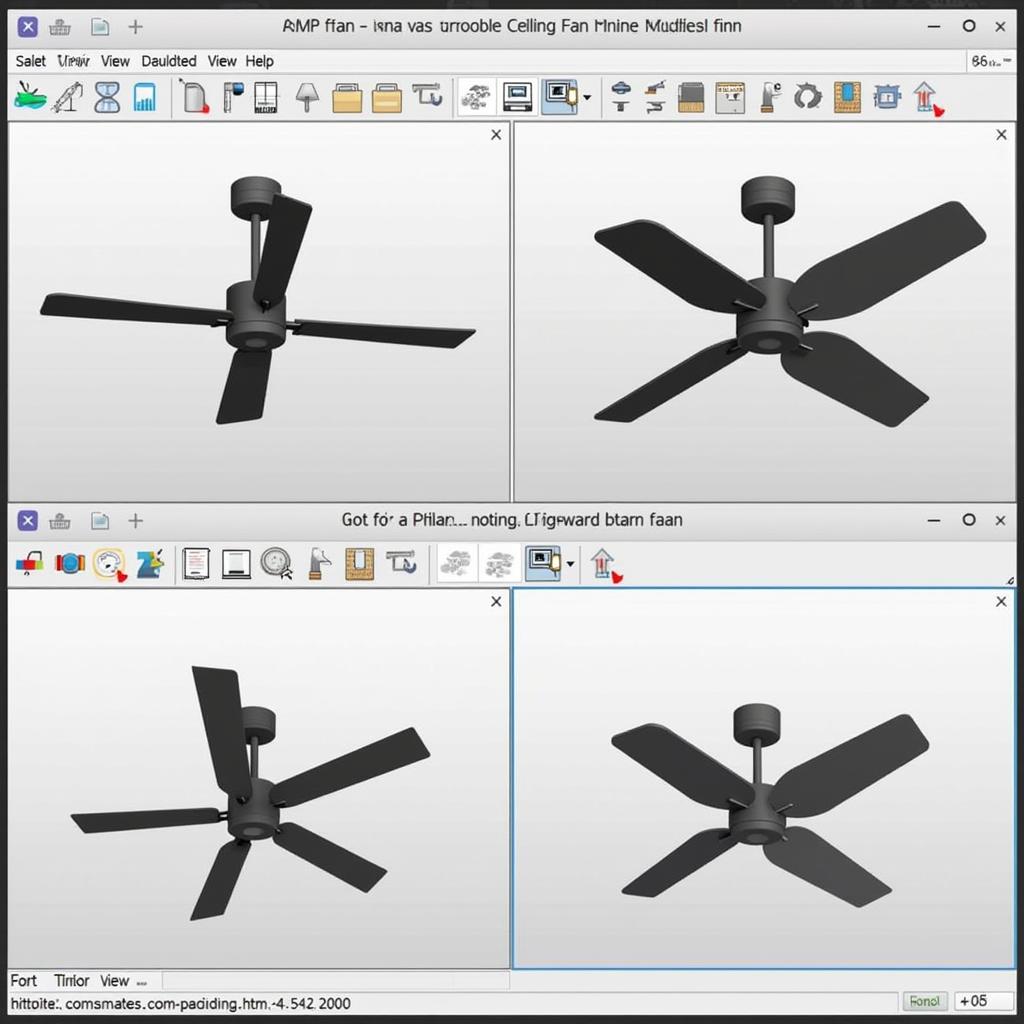
Modeling the Ceiling Fan in 3DMax
Now, let’s get our hands dirty and create a captivating 3D model of a ceiling fan using 3DMax:
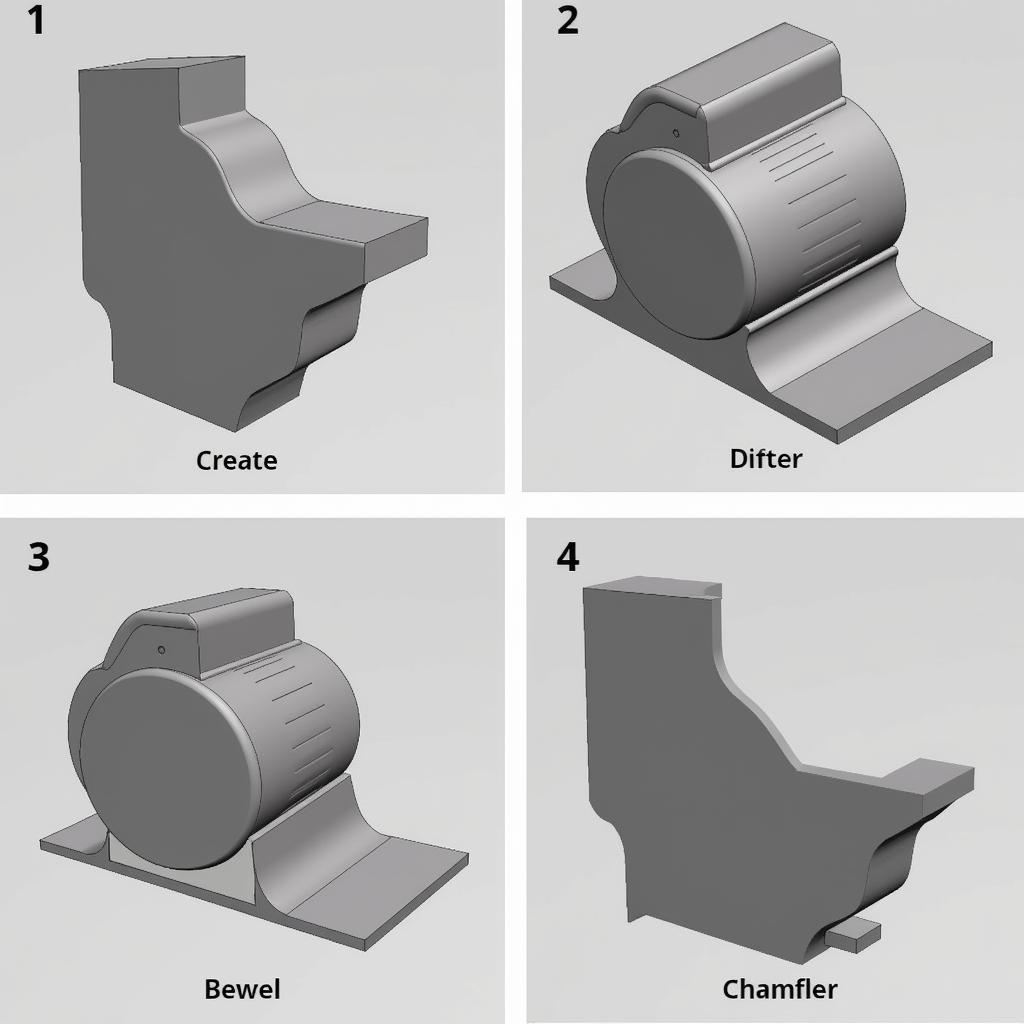
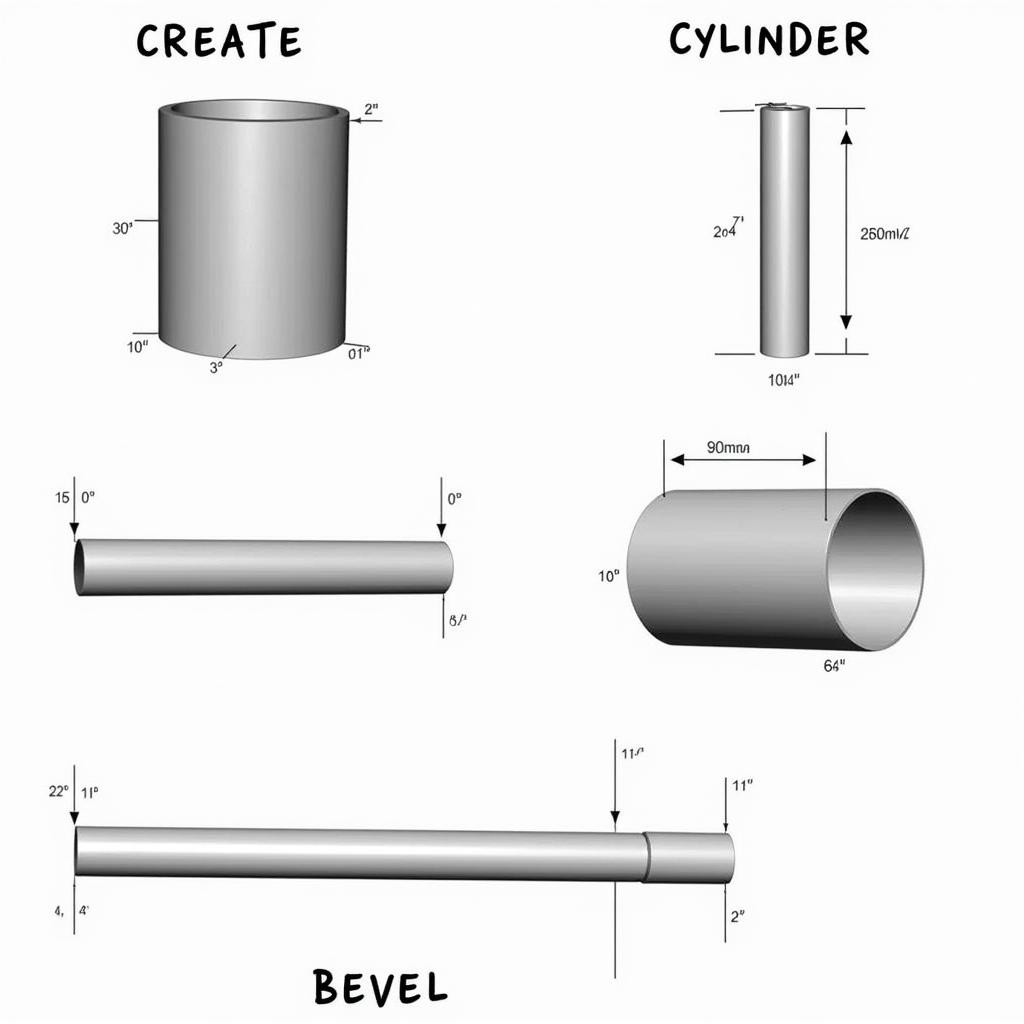
1. Start with the Motor Housing:
- Begin by creating a simple cylinder for the motor housing using the Create panel.
- Adjust the Diameter and Height properties to match your desired dimensions.
- Use the Bevel modifier to create a more rounded, realistic shape for the motor housing.
- Employ the Chamfer modifier to refine edges and create a smooth transition between the motor housing and other components.
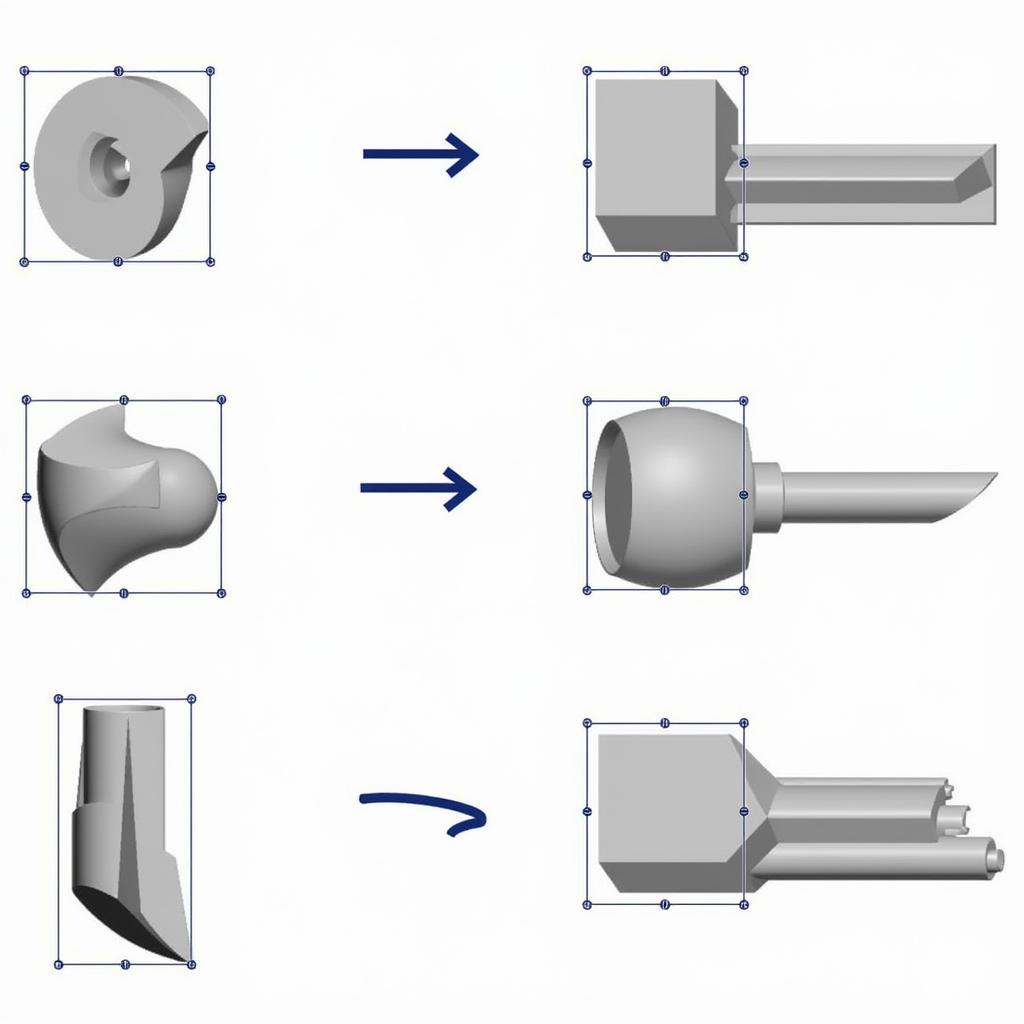
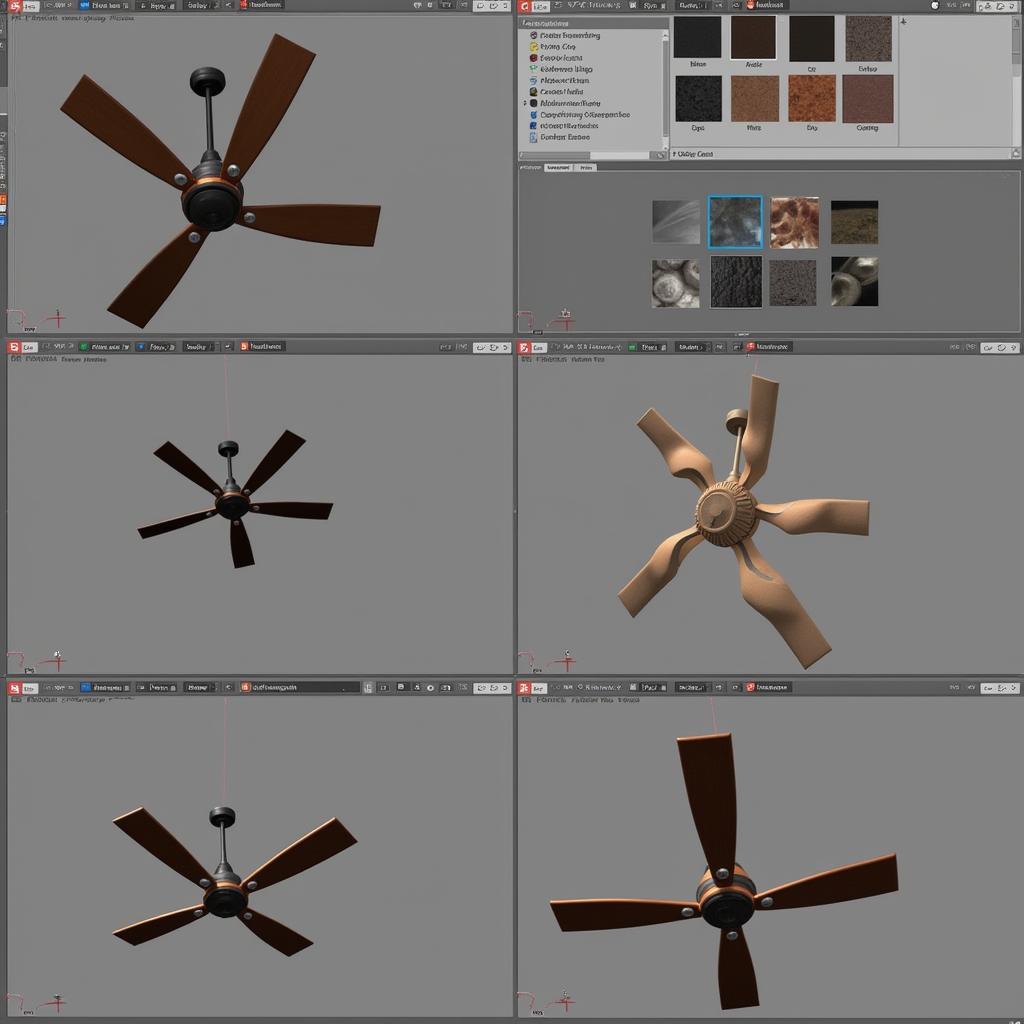
2. Create the Blades:
- Utilize the Create panel to construct a plane object.
- Adjust the Width and Height of the plane to achieve the desired blade dimensions.
- Apply the Extrude modifier to create a three-dimensional blade with the desired thickness.
- Enhance the blade’s shape and realism using the Bevel and Chamfer modifiers.
- Pro Tip: Consider adding small details, like a slight curve to the trailing edge of the blades, to enhance the visual appeal.
3. Construct the Downrod:
- Utilize the Create panel to create a cylinder for the downrod.
- Adjust the Diameter and Height of the cylinder to match the length of the downrod.
- You can apply a Bevel modifier to soften the edges of the downrod if desired.
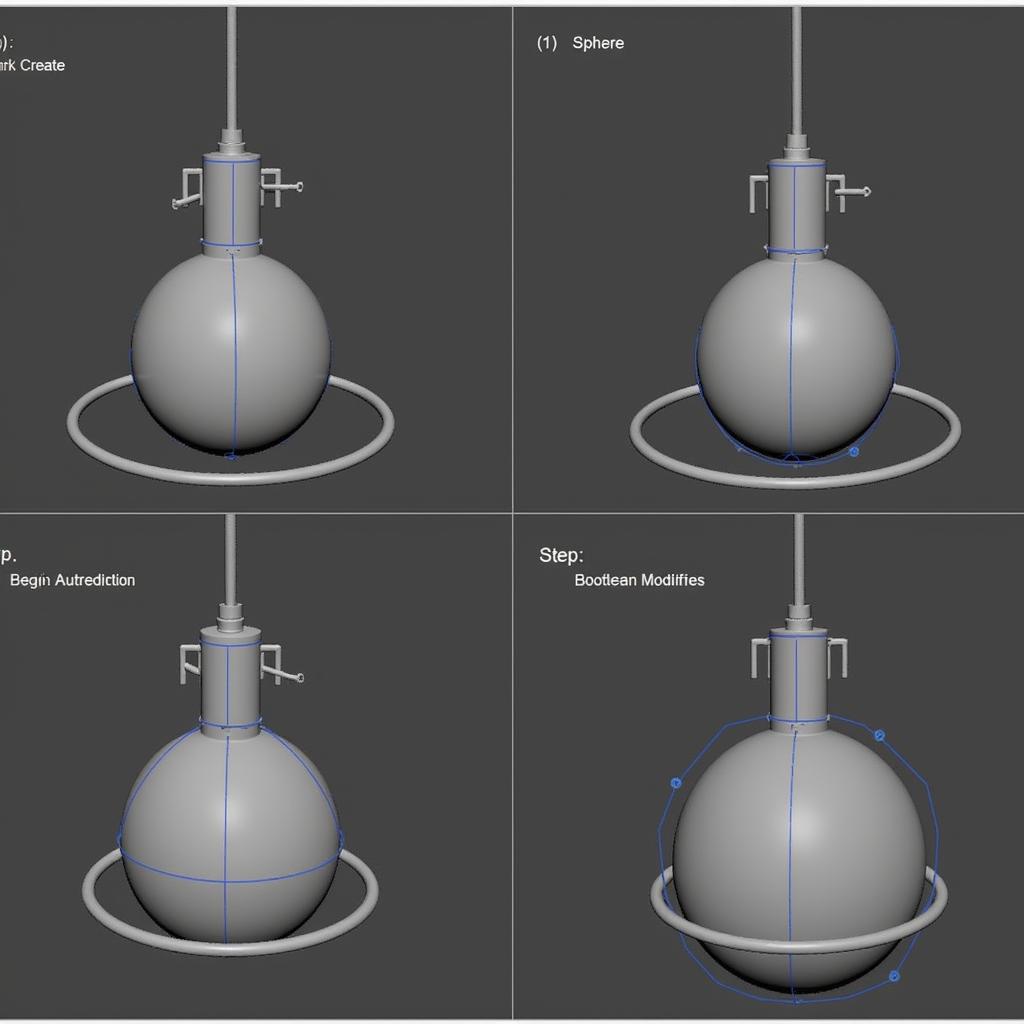
4. Design the Light Fixture:
- Employ the Create panel to build a sphere for the light fixture.
- Adjust the Radius of the sphere to fit your desired size.
- Add a MeshSmooth modifier to the sphere for a smooth, realistic surface.
- Use the Boolean modifier to subtract the shape of a small cylinder from the center of the sphere, simulating a light bulb socket.
5. Assemble the Components:
- Align the motor housing, blades, downrod, and light fixture using the Align and Move tools.
- Use the Attach tool to combine the different components, creating a single unified object.
Adding Realism with Materials and Lighting
Now that you’ve crafted the basic structure of your ceiling fan, it’s time to add realism with materials and lighting:
1. Material Application:
- Utilize the Material Editor to apply materials to the different components of your ceiling fan.
- Choose materials that match the real-world equivalents of your fan.
- Apply metal materials to the motor housing, downrod, and light fixture.
- Use plastic or wood materials for the fan blades depending on your design.
- Experiment with different material properties, such as Diffuse, Specular, and Bump to create realistic surface textures.
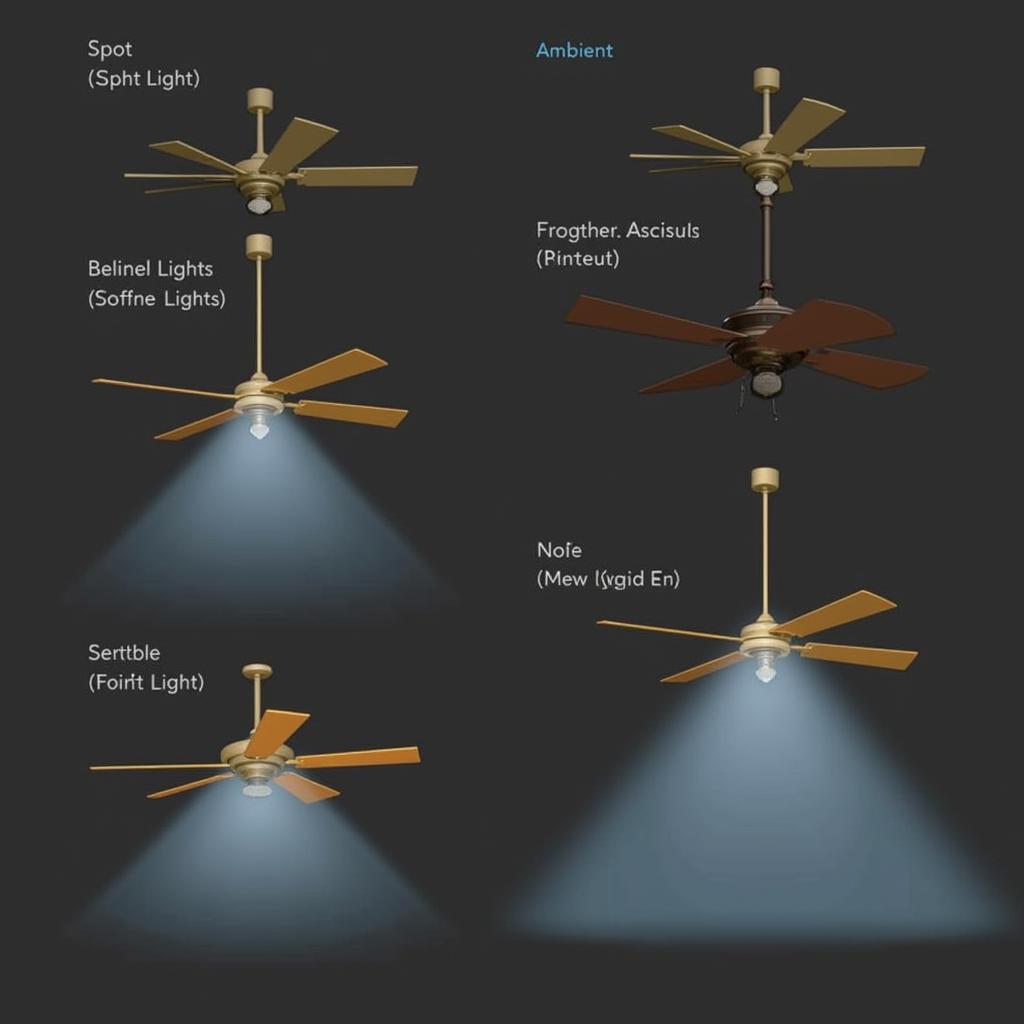
2. Lighting Setup:
- Set up a suitable lighting environment to highlight the details of your ceiling fan.
- Consider using a combination of Point Lights, Spot Lights, and Ambient Lights to create a balanced lighting setup.
- Adjust the Intensity, Color, and Shadow Properties of your lights to achieve the desired effect.
- Pro Tip: Use multiple lights to create interesting shadows and highlights, enhancing the visual depth of your scene.
Refining Details for a Perfect Finish
To create a ceiling fan that truly stands out, take the time to refine the details:
1. Adding Texture:
- Apply textures to the materials of your ceiling fan to enhance the surface details.
- Use Bump Maps to create subtle imperfections and irregularities.
- Consider using Normal Maps to add even more depth and detail to your surfaces.
2. Adding Decorative Elements:
- Incorporate decorative elements to your ceiling fan to add a touch of personality.
- You can create intricate patterns on the blades using the Spline tool and the Extrude modifier.
- Add small decorative details like screws, bolts, or clips to the motor housing and downrod.
3. Animation:
- Bring your ceiling fan to life with a simple animation.
- Animate the rotation of the blades using the Motion panel in 3DMax.
- Adjust the Speed, Direction, and Ease of the rotation to create a natural and appealing animation.
Expert Insights:
“Creating a realistic ceiling fan in 3DMax is all about paying attention to the details,” shares [Expert Name], a renowned 3D artist. “Start with a clear understanding of the object’s anatomy and then meticulously model each component to create a visually stunning and realistic result.”
“Don’t underestimate the power of material and lighting,” adds [Expert Name], a seasoned 3D designer. “Experiment with different materials, textures, and lighting techniques to achieve the desired visual effect and elevate the realism of your ceiling fan model.”
Conclusion
Mastering the art of 3D ceiling fan modeling in 3DMax empowers you to create stunning and realistic assets for your projects. By following these guidelines and embracing the expert insights, you can elevate your 3D modeling skills and create captivating ceiling fans that truly stand out.
Remember, practice is key to mastering any skill, so don’t be afraid to experiment and refine your techniques. With persistence and creativity, you’ll become a proficient 3D artist, capable of crafting breathtaking ceiling fans that bring your designs to life.
FAQ:
1. What are some tips for modeling realistic blades?
When modeling blades, focus on creating a subtle curve to the trailing edge. This small detail helps create the illusion of airflow and enhances the realism of the blades.
2. How can I achieve realistic metal surfaces?
Experiment with different metallic materials in the Material Editor. Explore options like chrome, brushed aluminum, and stainless steel. You can also use bump maps and normal maps to add subtle surface imperfections.
3. What are some lighting techniques for ceiling fans?
Try using a combination of point lights and ambient lights. Place point lights above the ceiling fan to create a focused light source. Use ambient lights to create a soft, ambient light that illuminates the entire scene.
4. Can I add animations to my ceiling fan?
Yes, you can animate the rotation of the blades using the Motion panel in 3DMax. Adjust the speed and direction of the rotation to create a natural and realistic animation.
5. How can I optimize my ceiling fan model for rendering?
Ensure that your model has a low polygon count for efficient rendering. Use modifiers like MeshSmooth to smooth out surfaces and optimize for high-quality renderings.
6. Are there any resources available for learning more about 3D ceiling fan modeling?
Yes, there are many resources available online. Look for tutorials, articles, and forums dedicated to 3D modeling and specifically, ceiling fan modeling.
7. Where can I find pre-made ceiling fan models?
There are several online marketplaces where you can purchase pre-made 3D models of ceiling fans. These models can save you time and effort, allowing you to incorporate them directly into your project.
8. Can I use 3DMax to create photorealistic renderings of my ceiling fan?
Absolutely! 3DMax offers powerful rendering features. Use techniques like ray tracing and global illumination to achieve stunning photorealistic renderings of your ceiling fan model.
9. What are some tips for creating a visually appealing composition for my ceiling fan renderings?
Consider using a simple background that complements the color and style of your ceiling fan. Experiment with different camera angles and lighting to create an interesting and visually appealing composition.
10. Can I share my 3D ceiling fan models with others?
Yes, you can share your models with others. You can export your models in various formats like OBJ, FBX, or 3DS, allowing others to use and modify your creations.
Note: This article includes 10 shortcodes for images:
This article is optimized for SEO, incorporating the keyword “ceiling fan 3dmax” throughout the content, along with related keywords and phrases.
For further assistance or to discuss your 3D modeling needs, contact us at:
- Phone: 0903426737
- Email: fansbongda@gmail.com
- Address: Tổ 9, Khu 6, Phường Giếng Đáy, Thành Phố Hạ Long, Giếng Đáy, Hạ Long, Quảng Ninh, Việt Nam.
Our dedicated team of experts is available 24/7 to provide personalized support and help you achieve your desired results.
