

Upgrading or replacing the cooling system of your HP Z620 workstation? One crucial aspect to consider is the compatibility of the fan with your motherboard. This guide will walk you through the steps of changing the real fan for your HP Z620 motherboard, ensuring optimal cooling performance for your valuable workstation.
Understanding Your HP Z620 Motherboard and Fan
Before diving into the replacement process, it’s crucial to identify the specific fan your HP Z620 motherboard requires. HP Z620 workstations often utilize proprietary fan connectors and designs, ensuring optimal airflow within the system’s unique chassis. Using an incompatible fan can lead to cooling issues or even damage to your motherboard.
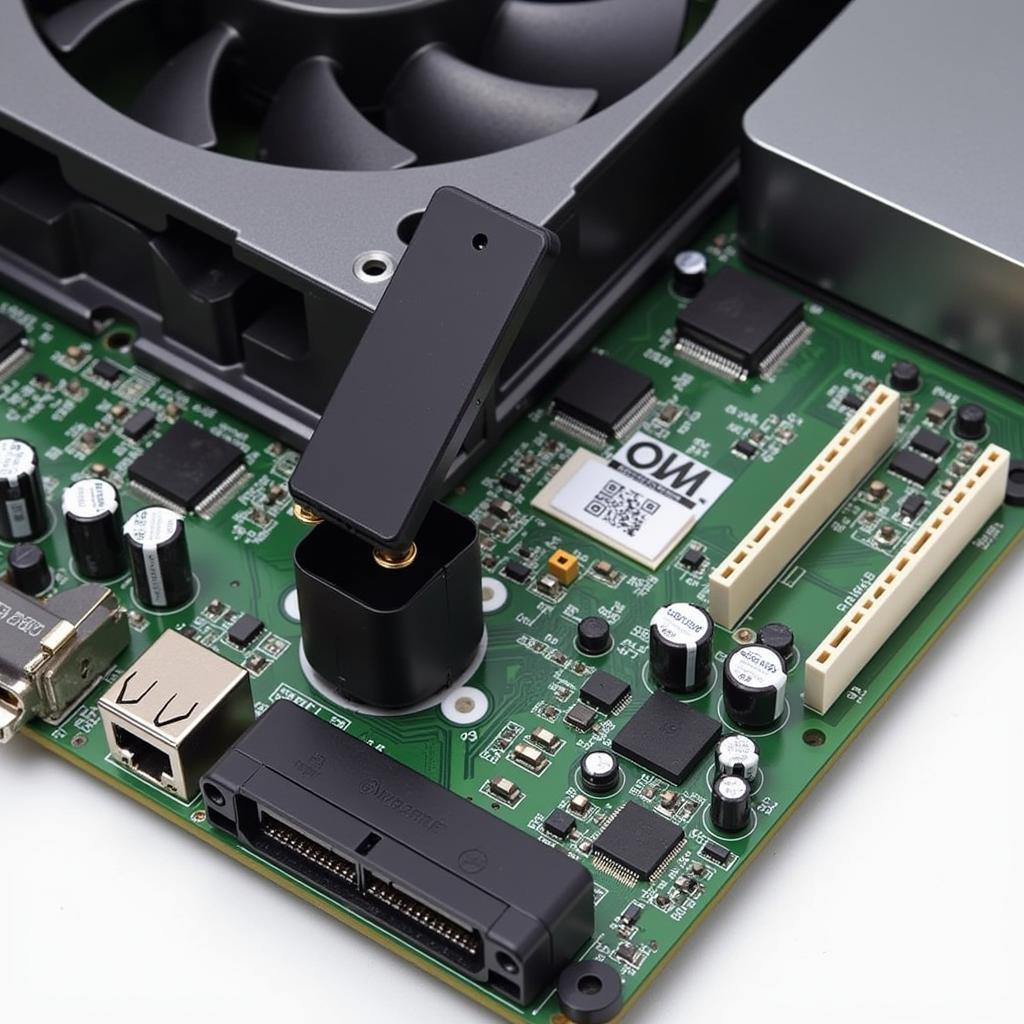 HP Z620 motherboard fan connector
Finding the Right Replacement Fan
1. Check Your HP Z620 Specifications: The most reliable way to find the correct fan part number is to consult your workstation’s documentation or HP’s official website. Look for the “Maintenance and Service Guide” or search for your specific Z620 model number.
2. Examine the Existing Fan: If you still have the original fan, carefully inspect it for any labels or part numbers printed on the fan itself or the fan connector. This information can be helpful when searching for a replacement.
3. Consult a Hardware Specialist: If you’re unsure about the compatibility of a particular fan, don’t hesitate to reach out to a qualified hardware specialist or HP support for assistance. They can provide expert guidance based on your motherboard’s specifications.
Changing the Real Fan: Step-by-Step Guide
Tools you’ll need:
- Phillips head screwdriver
- Anti-static wrist strap
- Compressed air (optional)
Steps:
- Power Down and Unplug: Completely shut down your HP Z620 workstation and disconnect it from the power source.
- Open the Case: Refer to your workstation’s documentation for instructions on how to open the case safely. This usually involves loosening screws or releasing latches.
- Ground Yourself: Before handling any internal components, use an anti-static wrist strap to prevent electrostatic discharge (ESD) from potentially damaging sensitive electronics.
- Locate the Fan: The fan is usually located near the CPU heatsink or in a dedicated fan bay.
- Disconnect the Fan Cable: Carefully unplug the fan cable from its connector on the motherboard. The connector may have a small clip that needs to be gently released before pulling the cable.
- Remove the Fan: Depending on your HP Z620 model, the fan might be secured with screws or clips. Carefully remove these fastenings.
- Clean the Area (Optional): While the fan is removed, you can use compressed air to gently remove any dust buildup in the fan area and surrounding components.
- Install the New Fan: Align the new fan with the mounting holes and secure it using the appropriate screws or clips.
- Reconnect the Fan Cable: Connect the fan cable to the corresponding connector on the motherboard. Ensure a secure connection.
- Close the Case: Once the new fan is securely installed, close the workstation case and tighten any screws or latches.
- Power On and Test: Plug your HP Z620 back into the power source and power it on. Monitor the system to ensure the new fan is running correctly and providing adequate cooling.
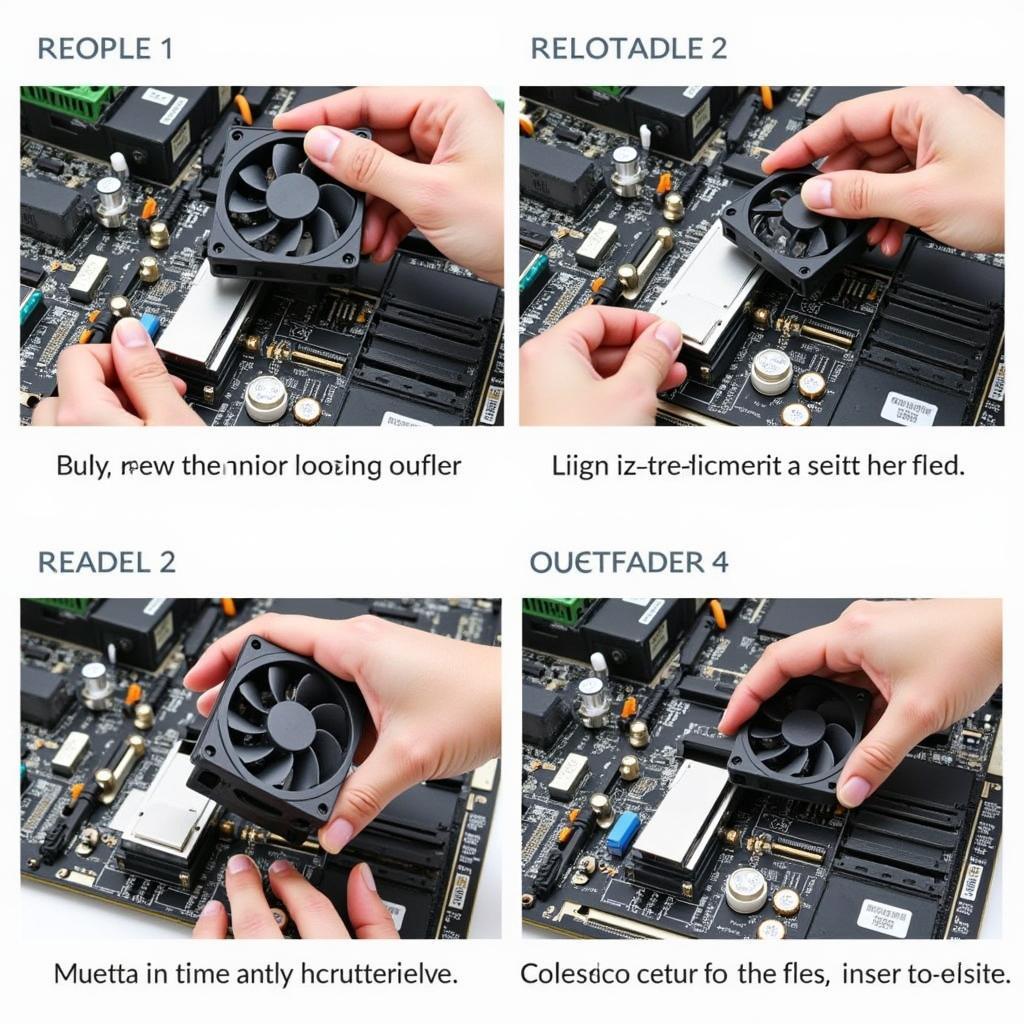 Installing a new fan on an HP Z620 motherboard
Conclusion
Changing the real fan for your HP Z620 motherboard is an essential maintenance task to keep your workstation running smoothly and prevent overheating issues. By following these steps and ensuring compatibility, you can maintain optimal cooling performance and prolong the lifespan of your valuable hardware. Remember to consult your workstation’s documentation for specific instructions related to your model, and don’t hesitate to seek assistance from a hardware professional if needed.
