Creating your own punkah fan can be a rewarding project, allowing you to enjoy a unique and charming piece of history in your own home. While traditionally used in India and other hot climates for centuries, punkah fans are making a comeback as a stylish and eco-friendly alternative to modern cooling systems. This comprehensive guide will provide you with all the information you need to successfully build your own punkah fan, from choosing the right materials to mastering the construction techniques.
 Constructing the Wooden Frame of a Punkah Fan
Choosing the Right Materials
The first step in making your own punkah fan is gathering the necessary materials. The key components include:
- Frame: The frame is the backbone of the fan and needs to be sturdy and lightweight. You can use wood, bamboo, or even PVC pipes depending on your preference and budget.
- Fabric: A lightweight and breathable fabric is ideal for the fan’s sail. Cotton, linen, or muslin are excellent choices.
- Cord or Rope: This is used to operate the fan. Choose a strong and durable material like nylon or hemp rope.
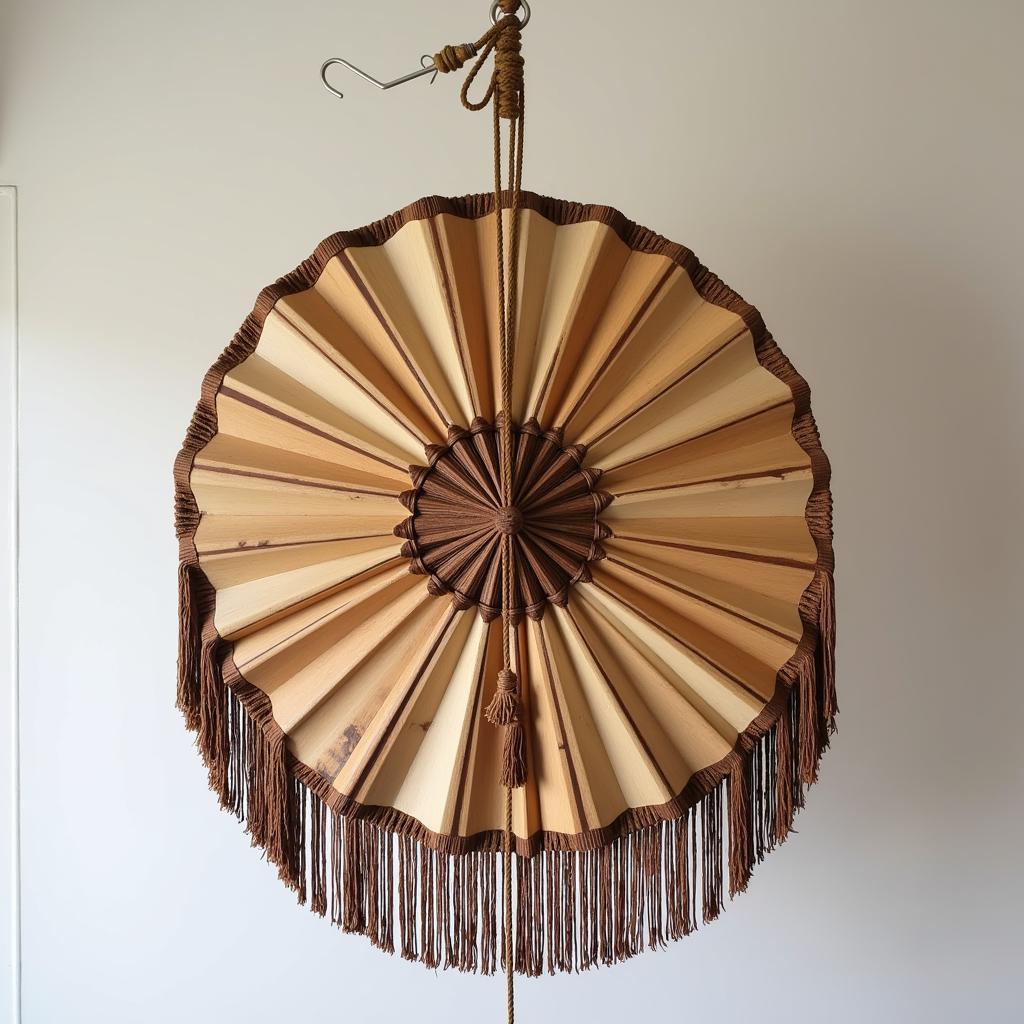
- Hanging Mechanism: You’ll need a secure way to suspend the fan from the ceiling. This could be a hook, chain, or a combination of both.
- Decorative Elements (Optional): Once the fan is functional, you can personalize it with decorative elements like tassels, beads, or intricate carvings.
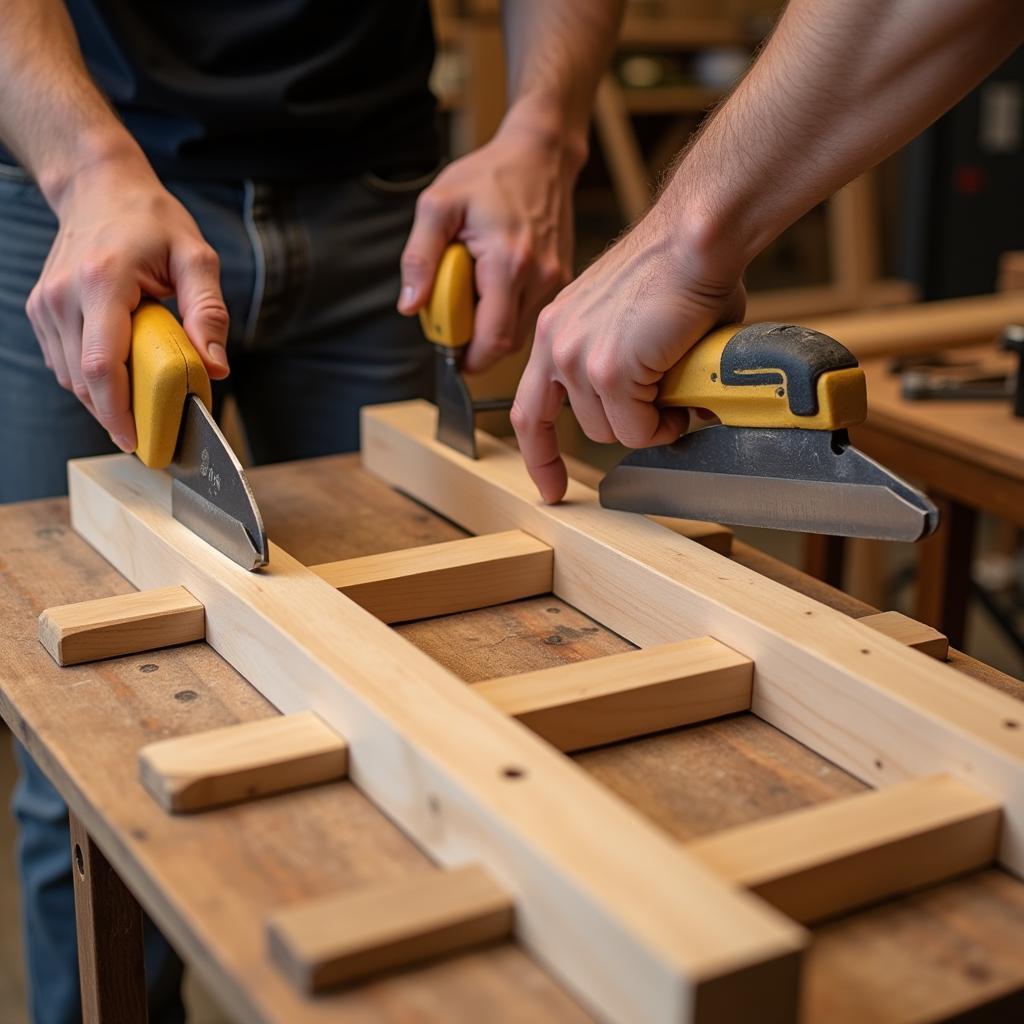
Constructing the Fan Frame
- Measure and Cut: Start by measuring and cutting the material you’ve chosen for the frame to your desired dimensions. Remember, a larger fan will move more air but require a sturdier frame.
- Assemble the Frame: If using wood or bamboo, use screws or nails to join the pieces together to form a rectangular frame. For PVC pipes, use PVC connectors.
- Reinforce the Frame: To ensure stability, add diagonal supports across the back of the frame using additional wood, bamboo, or PVC pipe.
Creating the Fan Sail
- Measure and Cut the Fabric: Measure the dimensions of your frame and add an extra 6-8 inches on all sides to allow for folding and securing to the frame.
- Hem the Edges: Hem the edges of the fabric to prevent fraying and create a clean finish.
- Attach the Fabric to the Frame: Use staples, tacks, or glue to secure the fabric to the frame. Make sure the fabric is taut and evenly stretched across the frame.
Adding the Hanging Mechanism and Operation Cord
 Installing a Completed Punkah Fan
- Attach the Hanging Mechanism: Securely attach your chosen hanging mechanism to the ceiling. Ensure it can support the weight of the fan.
- Attach the Cord: Tie a strong knot at one end of the cord and attach it to the center of the top edge of the fan frame.
- Thread the Cord: Thread the other end of the cord through the hanging mechanism on the ceiling.
Putting it All Together
With all the components assembled, hang the fan from the ceiling. You can then operate the fan by pulling the cord rhythmically, creating a soothing breeze. Experiment with different pulling rhythms and cord lengths to find the optimal airflow for your space.
Conclusion
Building your own punkah fan is a fulfilling project that blends history, sustainability, and craftsmanship. By following these steps and adding your personal touch, you can create a unique and functional piece of art that will keep you cool for years to come.