Bladeless fans have become increasingly popular in recent years, known for their sleek design and unique airflow mechanism. While commercially available options abound, building your own Diy Bladeless Fan can be a rewarding project, allowing for customization and a deeper understanding of the technology. This comprehensive guide will walk you through everything you need to know about DIY bladeless fans, from understanding the technology to sourcing materials and assembling your very own.
Understanding Bladeless Fan Technology
Before diving into the construction process, it’s essential to grasp how bladeless fans operate. Unlike traditional fans that use spinning blades to generate airflow, bladeless fans employ a more sophisticated approach. They draw air in through a base intake and channel it through a hollow ring, creating an amplified stream of smooth, consistent air. This mechanism not only eliminates the choppy air associated with traditional fans but also offers a safer and quieter operation.
Gathering Your Materials
Creating your own DIY bladeless fan requires readily available materials and basic tools. Here’s a comprehensive list to get you started:
- Base: A sturdy base, such as a wooden plank or a plastic container, to house the fan’s components.
- Motor: A DC motor with appropriate voltage and RPM for optimal airflow.
- Impeller: A small fan or blower fan to draw air into the base.
- Tube or Ring: A hollow tube or ring, preferably made of PVC pipe or a similar material, to shape the airflow.
- Air Multiplier: A thin, curved sheet of plastic or acrylic to act as the air multiplier, amplifying the airflow.
- Power Supply: An AC adapter or batteries to power the motor.
- Switch: An on/off switch to control the fan’s operation.
- Tools: Basic tools like a saw, drill, glue gun, soldering iron (if necessary), and measuring tape.
Step-by-Step Construction Guide
Follow these steps to assemble your DIY bladeless fan:
-
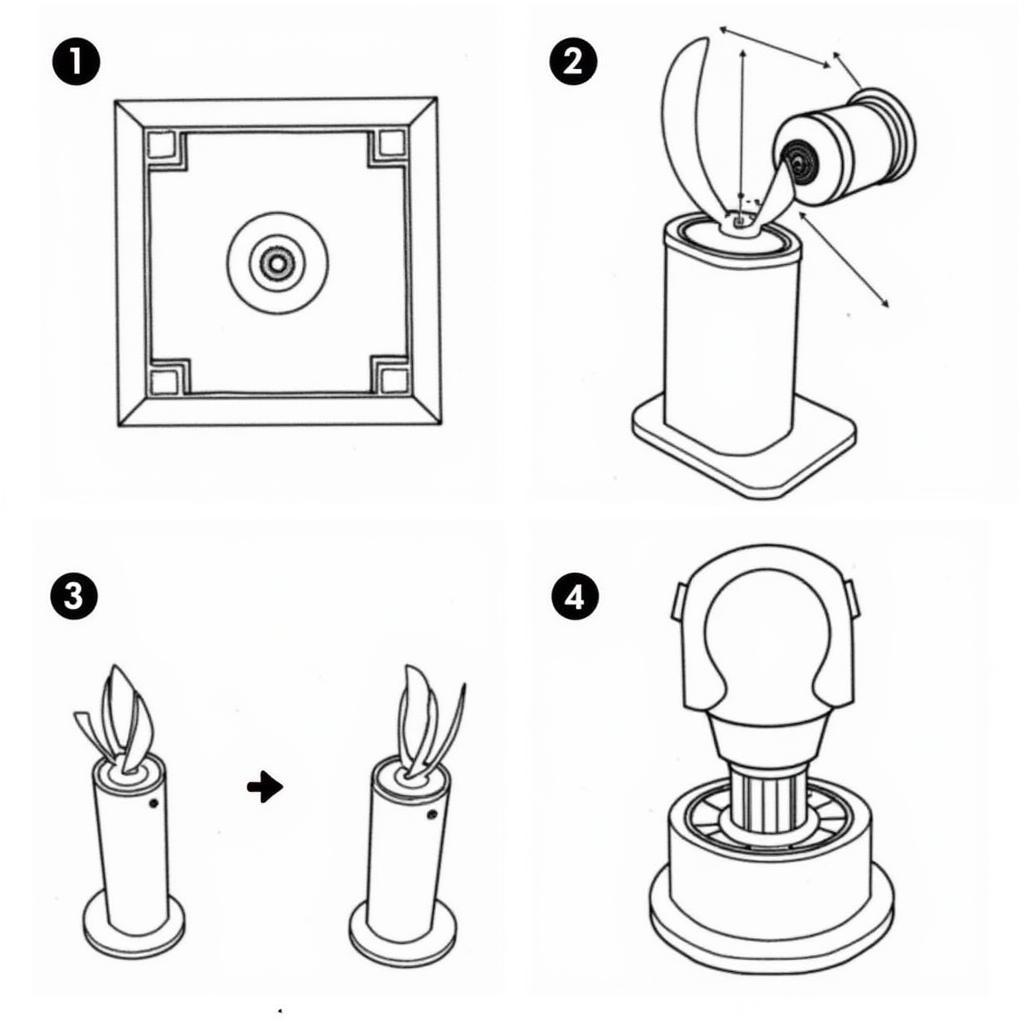
Prepare the Base: Cut and shape the base material to your desired size and design. Drill holes for the motor, power supply, and switch.
-
Mount the Motor and Impeller: Securely mount the motor inside the base and attach the impeller to its shaft.
-
Create the Airflow Channel: Cut the tube or ring to the desired height and diameter. Attach it to the base, ensuring a tight seal around the impeller’s output.
-
Shape the Air Multiplier: Carefully cut and shape the air multiplier material into a thin, curved sheet. This component is crucial for amplifying the airflow, so ensure its shape is optimized for smooth flow.
-
Attach the Air Multiplier: Securely attach the air multiplier to the top edge of the airflow channel, leaving a small gap for air intake.
-
Wiring and Connections: Connect the motor to the power supply and switch, ensuring proper polarity.
-
Testing and Adjustments: Once assembled, test the fan’s operation. Adjust the air multiplier’s shape and position for optimal airflow and minimal noise.
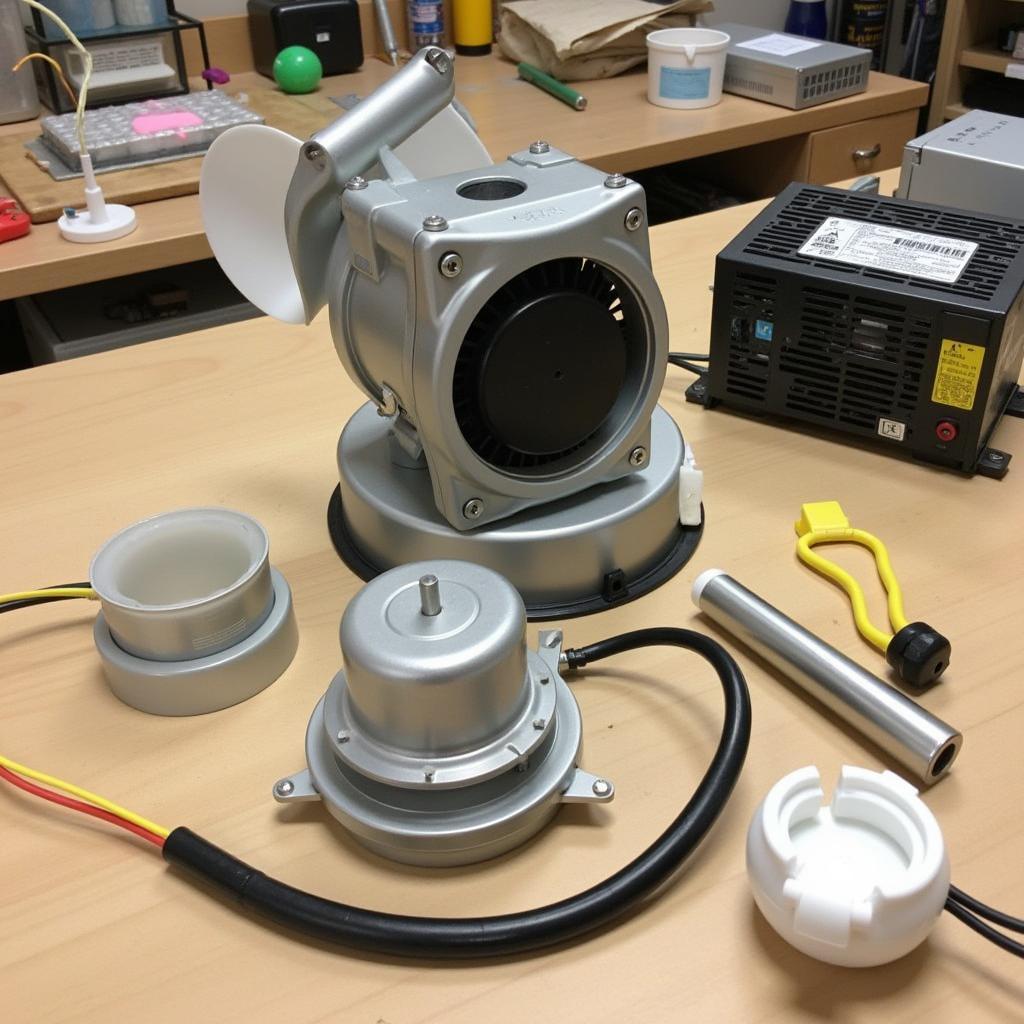
 DIY Bladeless Fan Components
Advantages of Building Your Own Bladeless Fan
- Cost-Effectiveness: DIY bladeless fans can be significantly cheaper than commercial models, especially if you already have some materials on hand.
- Customization: Building your own allows for complete control over the design, size, and airflow characteristics, tailoring the fan to your specific needs and preferences.
- Educational Value: The process offers valuable insights into airflow dynamics, basic electronics, and problem-solving skills.
- Unique Project: It’s a rewarding and impressive project that can spark conversations and showcase your creativity.
Tips for Optimization and Safety
- Motor Selection: Choose a motor with appropriate power and RPM for your desired airflow strength.
- Air Multiplier Design: Experiment with different shapes and curvatures of the air multiplier to optimize airflow amplification.
- Secure Attachments: Ensure all components are securely attached to prevent vibrations and potential hazards.
- Electrical Safety: Double-check all wiring connections and use appropriate safety precautions when working with electricity.
 DIY Bladeless Fan Assembly
Conclusion
Building a DIY bladeless fan is an achievable and rewarding project for anyone with an interest in technology and a knack for hands-on creativity. By following this guide and paying attention to safety precautions, you can enjoy the benefits of a unique, cost-effective, and customizable bladeless fan tailored to your preferences.
FAQs
1. What are the safety considerations when building a DIY bladeless fan?
When building a DIY bladeless fan, prioritize electrical safety by ensuring proper wiring connections and using appropriate safety gear. Additionally, secure all components tightly to prevent vibrations and potential hazards during operation.
2. Can I use materials other than PVC pipe for the airflow channel?
Yes, you can experiment with other materials like cardboard tubes, plastic bottles, or even flexible ductwork for the airflow channel. Ensure the chosen material is sturdy, lightweight, and can be shaped and secured effectively.
3. How do I determine the right motor power for my DIY bladeless fan?
The motor power you need depends on your desired airflow strength. For smaller fans, a lower voltage DC motor will suffice, while larger fans might require a more powerful motor. Consider the size of the air multiplier and the overall design when choosing a motor.
If you need further assistance with building your DIY bladeless fan, feel free to contact us.
Need help with controlling your laptop fan speed? Check out our articles on download notebook fan control and dell g7 fan speed control.
Looking for a stand for your laptop? We’ve got you covered with our article on laptop fan stand.
Having trouble with your K501LX fan? We have a dedicated article on k501lx fan to help you troubleshoot the issue.
Need information on the Elitebook 8740w fan? Our article on elitebook 8740w fan provides comprehensive details.
Contact us for support at Phone Number: 0903426737, Email: fansbongda@gmail.com or visit us at Address: Lot 9, Area 6, Gieng Day Ward, Ha Long City, Gieng Day, Ha Long, Quang Ninh, Vietnam. We have a dedicated customer support team available 24/7.


