

Creating realistic fan blades in Maya 2013 is an excellent way to hone your 3D modeling skills. This tutorial, based on the popular Digital Tutors series, will guide you through the process step-by-step, explaining the key concepts and techniques involved. Whether you’re a beginner or have some experience with Maya, this guide will provide valuable insights into modeling efficient and visually appealing fan blades.
Understanding the Basics
Before diving into Maya, it’s crucial to understand the basic structure of a fan blade. Typically, a fan blade consists of an airfoil shape that tapers from the root to the tip. The airfoil ensures efficient airflow and generates the desired thrust or lift. Familiarizing yourself with terms like chord length, angle of attack, and twist will be beneficial as you progress through the modeling process.
Setting Up Your Workspace
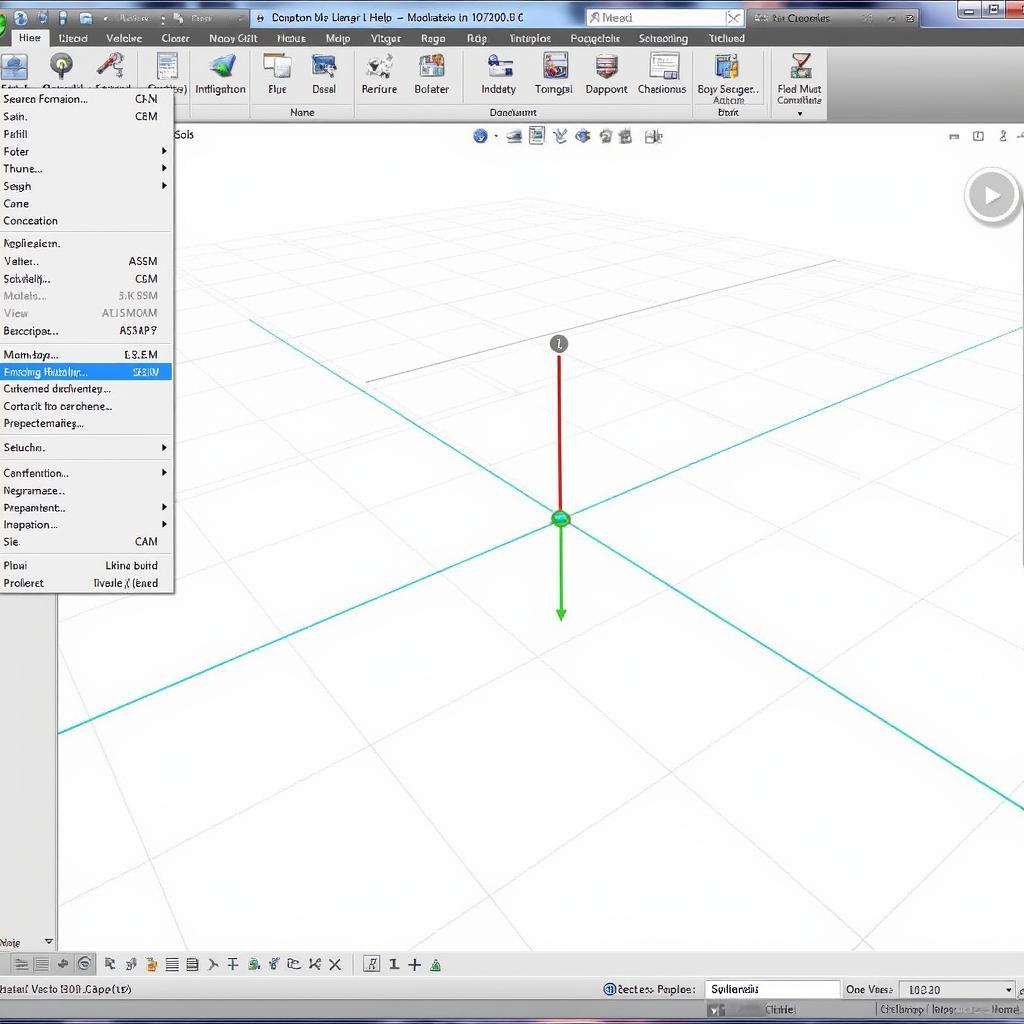 Setting up the Maya 2013 workspace
Once you have a basic understanding of fan blade anatomy, launch Maya 2013 and set up your workspace. Choose a suitable grid size and ensure you have access to the necessary modeling tools, such as the Create Polygon tool, Extrude tool, and Insert Edge Loop tool. Digital Tutors’ Maya 2013 interface is user-friendly, making navigation straightforward.
Creating the Base Shape
Start by creating the base profile of your fan blade using the CV Curve tool in Maya. You can either trace over a reference image or create your own shape based on your desired design. Ensure that your profile curve is smooth and has sufficient control vertices for later adjustments.
Extruding and Shaping the Blade
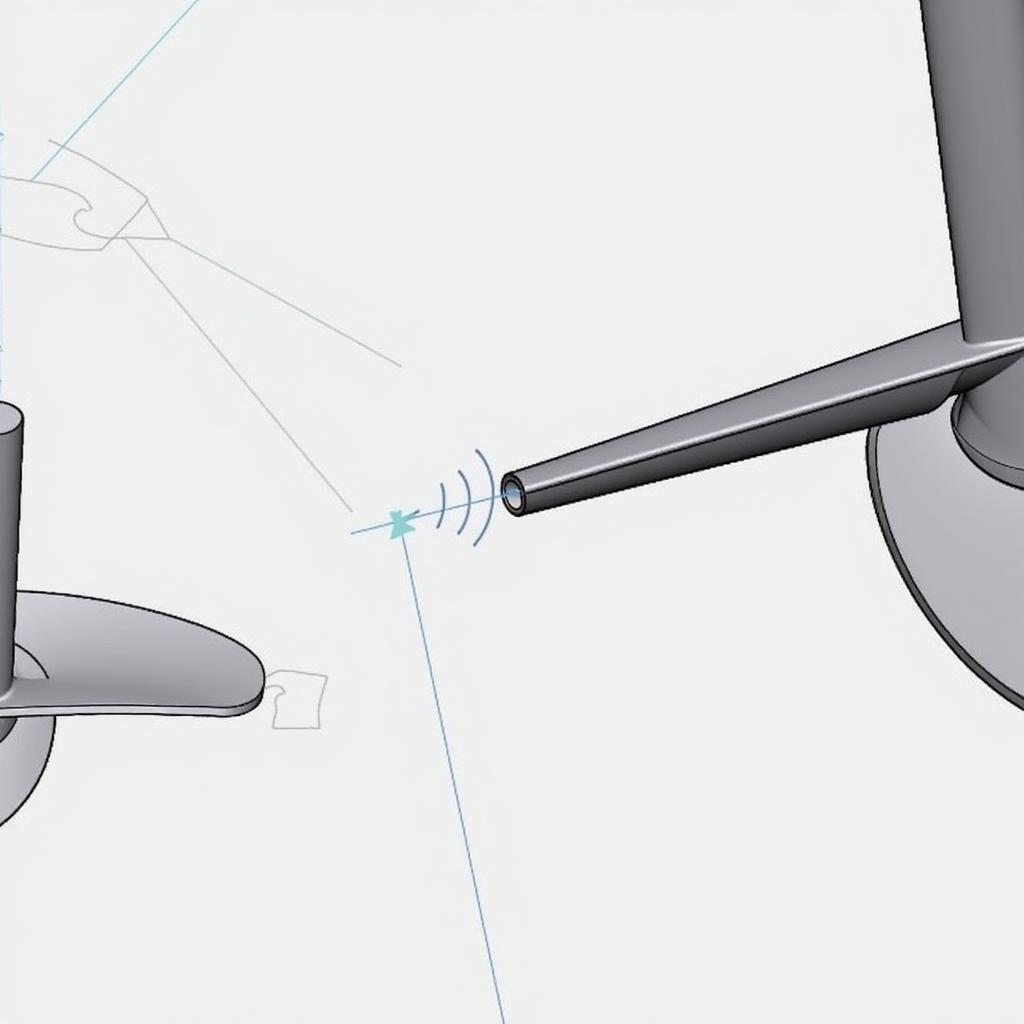 Extruding the fan blade profile in Maya 2013
With the profile curve ready, extrude it along an axis to create the initial 3D shape of the fan blade. Digital Tutors emphasizes the importance of using a slight curve for the extrusion path to mimic the natural twist found in many fan blade designs.
Refining the Blade Geometry
Use a combination of Maya’s modeling tools to refine the shape of your fan blade. Add edge loops to control the curvature and define the airfoil more accurately. Manipulate vertices and edges to achieve the desired smoothness and aerodynamic profile.
Adding Detail and Final Touches
Once you’re satisfied with the overall shape of your fan blade, you can add details like surface imperfections, subtle curves, and edge bevels to enhance realism. Remember that even minor details can significantly impact the final appearance of your model.
Conclusion
Following this step-by-step guide, inspired by Digital Tutors’ comprehensive tutorials, you can create impressive fan blades in Maya 2013. Remember to experiment with different techniques and settings to achieve unique and visually appealing results. As you become more comfortable with the process, you can explore advanced modeling methods and incorporate your own design elements.
