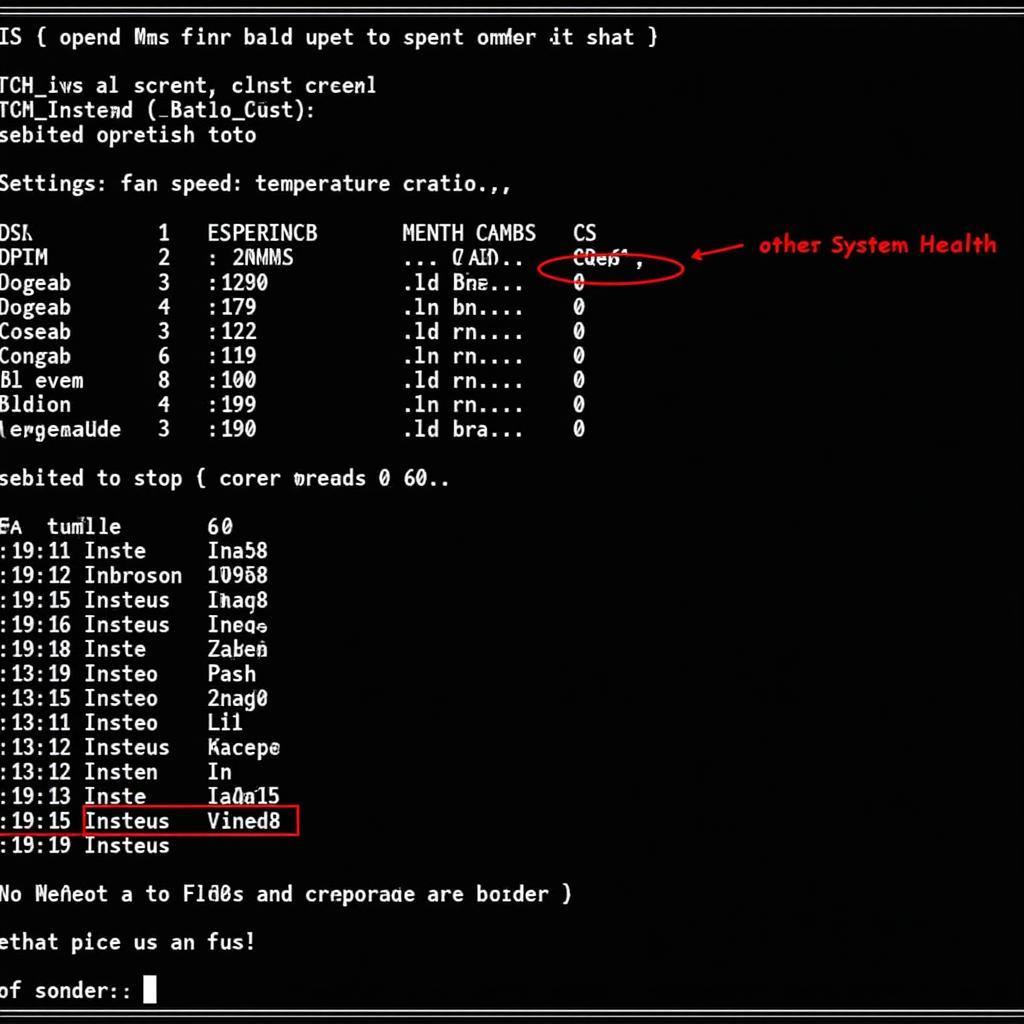
Knowing how to check fan speed on Windows 10 can be crucial for maintaining your PC’s performance and longevity. Overheating can lead to reduced lifespan, performance throttling, and even permanent hardware damage. This guide will walk you through various methods to monitor your fan speed, allowing you to identify potential issues and keep your system running cool.
 Checking Fan Speed in BIOS
Why is Checking Fan Speed Important?
Monitoring your fan speed isn’t just about satisfying your inner techie, it’s about ensuring your PC’s well-being. Here’s why:
- Overheating Prevention: Fans are your first line of defense against overheating. Knowing their speed can alert you to potential cooling issues before they escalate.
- Performance Optimization: If your fans aren’t spinning at optimal speeds, your components might be throttling their performance to avoid overheating. This can lead to lag and decreased responsiveness.
- Hardware Longevity: Consistently high temperatures can shorten the lifespan of your components. Monitoring fan speed helps you create a cooler environment and potentially prolong your hardware’s lifespan.
- Noise Reduction: Unnecessary high fan speeds can lead to annoying noise. By monitoring and adjusting fan curves, you can find a balance between cooling and quiet operation.
Methods to Check Fan Speed on Windows 10
There are several ways to monitor your fan speed in Windows 10. Each method offers a different level of detail and control:
1. Checking Fan Speed Through BIOS
Your computer’s BIOS (Basic Input/Output System) often provides real-time information about your system’s hardware, including fan speeds.
- Restart your computer.
- Press the designated key during bootup to enter BIOS. This key varies by manufacturer but is often Del, F2, F10, or Esc.
- Navigate to the System Health, Hardware Monitor, or a similarly named section.
- Look for Fan Speed, CPU Fan, or Chassis Fan readings.
Note: BIOS interfaces vary significantly between manufacturers. Refer to your motherboard’s manual for specific instructions.
2. Using Third-Party Monitoring Software
Numerous free and paid software options provide detailed hardware monitoring, including fan speed readings. Popular choices include:
- HWMonitor: A lightweight and user-friendly option that displays real-time sensor data.
- SpeedFan: Offers fan control options and temperature monitoring for various components.
- Open Hardware Monitor: An open-source alternative that provides comprehensive hardware monitoring.
These programs typically display fan speeds in RPM (Revolutions Per Minute).
3. Utilizing the Command Prompt
For those comfortable with the command line, Windows Management Instrumentation (WMI) offers a way to check fan speed:
- Press the Windows key and type cmd.
- Right-click Command Prompt and select Run as administrator.
- Type the following command and press Enter:
wmic /namespace:\rootwmi PATH MSAcpi_ThermalZoneTemperature get CurrentTemperature,InstanceName - Look for entries related to your CPU or system fans.
Note: The output of this command may not always be user-friendly or directly indicate fan speed.
Understanding Fan Speed Readings
Once you’ve accessed your fan speed information, it’s important to understand what the numbers mean.
- RPM (Revolutions Per Minute): This is the standard unit for measuring fan speed. A higher RPM generally indicates faster fan rotation and potentially more cooling.
- Normal Fan Speed Ranges: Fan speeds can vary significantly depending on the component, fan model, and system load. However, typical idle speeds for CPU fans range from 800 to 1500 RPM. Under load, these speeds can increase to 2000 RPM or higher.
Tips for Managing Fan Speed
- Keep Your System Clean: Dust accumulation can hinder airflow and force your fans to work harder. Regularly clean your PC’s interior, especially the fan blades and heatsinks.
- Adjust Fan Curves: Many BIOS and third-party software options allow you to adjust fan speed curves based on temperature thresholds. This can optimize cooling while minimizing noise.
- Consider Additional Cooling: If you’re consistently experiencing high temperatures, consider adding more case fans or upgrading to a more efficient CPU cooler.
Conclusion
Knowing how to check your fan speed on Windows 10 is a simple yet vital aspect of PC maintenance. By regularly monitoring your fan speed, you can proactively address potential cooling issues, ensure optimal performance, and extend the life of your valuable hardware.
Do you have other questions about managing your PC’s cooling system? Contact our team at 0903426737, email us at [email protected], or visit us at [our address]. We are available 24/7 to assist you.


