A malfunctioning kitchen exhaust fan can be a major inconvenience, impacting your indoor air quality and potentially posing safety hazards. If your current fan is nearing the end of its lifespan or exhibiting persistent issues, a Kitchen Exhaust Fan Replacement might be the optimal solution. This comprehensive guide will delve into the intricacies of replacing your kitchen exhaust fan, empowering you to make informed decisions throughout the process.
When to Consider Kitchen Exhaust Fan Replacement
While regular cleaning and maintenance can prolong the life of your exhaust fan, certain signs indicate it’s time for a replacement:
- Decreased Efficiency: If you notice a significant decline in your fan’s ability to remove smoke, steam, or odors, it might be struggling to function optimally.
- Unusual Noises: Grinding, rattling, or humming sounds emanating from the fan often suggest mechanical issues or motor wear, signaling a potential need for replacement.
- Visible Damage: Rust, cracks, or loose parts on the fan housing or blades can compromise its performance and safety.
- Frequent Cycling: If your fan constantly turns on and off without apparent reason, it could indicate a malfunctioning switch or motor.
- Old Age: Most kitchen exhaust fans have an expected lifespan of 10-15 years. If yours is approaching or exceeding this mark, a replacement can prevent future breakdowns.
Choosing the Right Kitchen Exhaust Fan
Selecting the right replacement fan is crucial for optimal performance and efficiency. Consider these factors:
1. Fan Type
- Under-Cabinet Hoods: Installed under cabinets, these are compact and suitable for smaller kitchens.
- Wall-Mounted Hoods: Mounted on the wall above the range, these offer a stylish alternative to under-cabinet models.
- Island Hoods: Designed for kitchens with island cooktops, these hang from the ceiling and provide ventilation from above.
2. Fan Size and Power
The fan’s size should correspond with your stovetop dimensions and cooking habits. A general rule of thumb is to choose a fan with a CFM (cubic feet per minute) rating of at least 100 CFM for every linear foot of stovetop.
3. Ductwork Considerations
Ensure your existing ductwork is compatible with the new fan’s size and CFM rating. Inadequate ductwork can hinder ventilation and reduce efficiency.
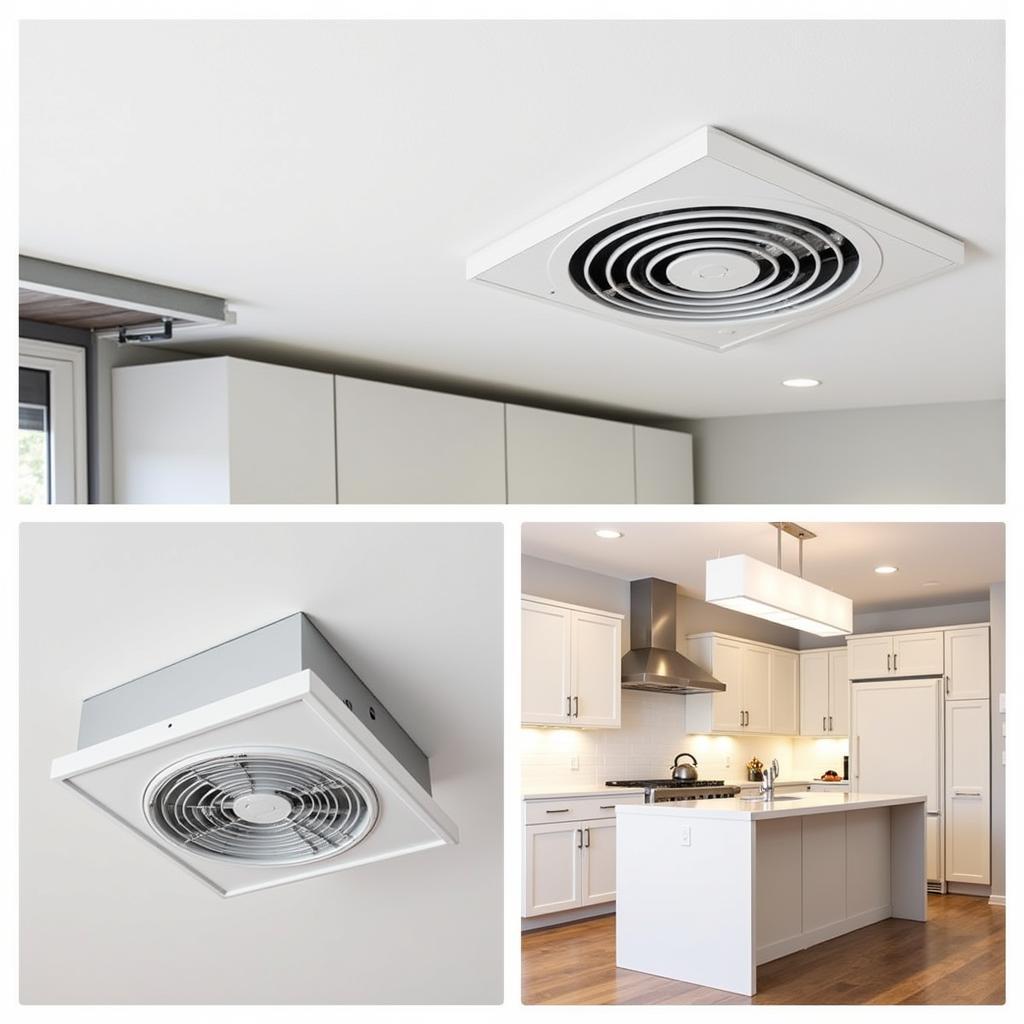
 Different Types of Kitchen Exhaust Fans
Kitchen Exhaust Fan Replacement Process
While it’s possible to replace your kitchen exhaust fan yourself, enlisting a qualified electrician is recommended, especially if you’re unfamiliar with electrical wiring.
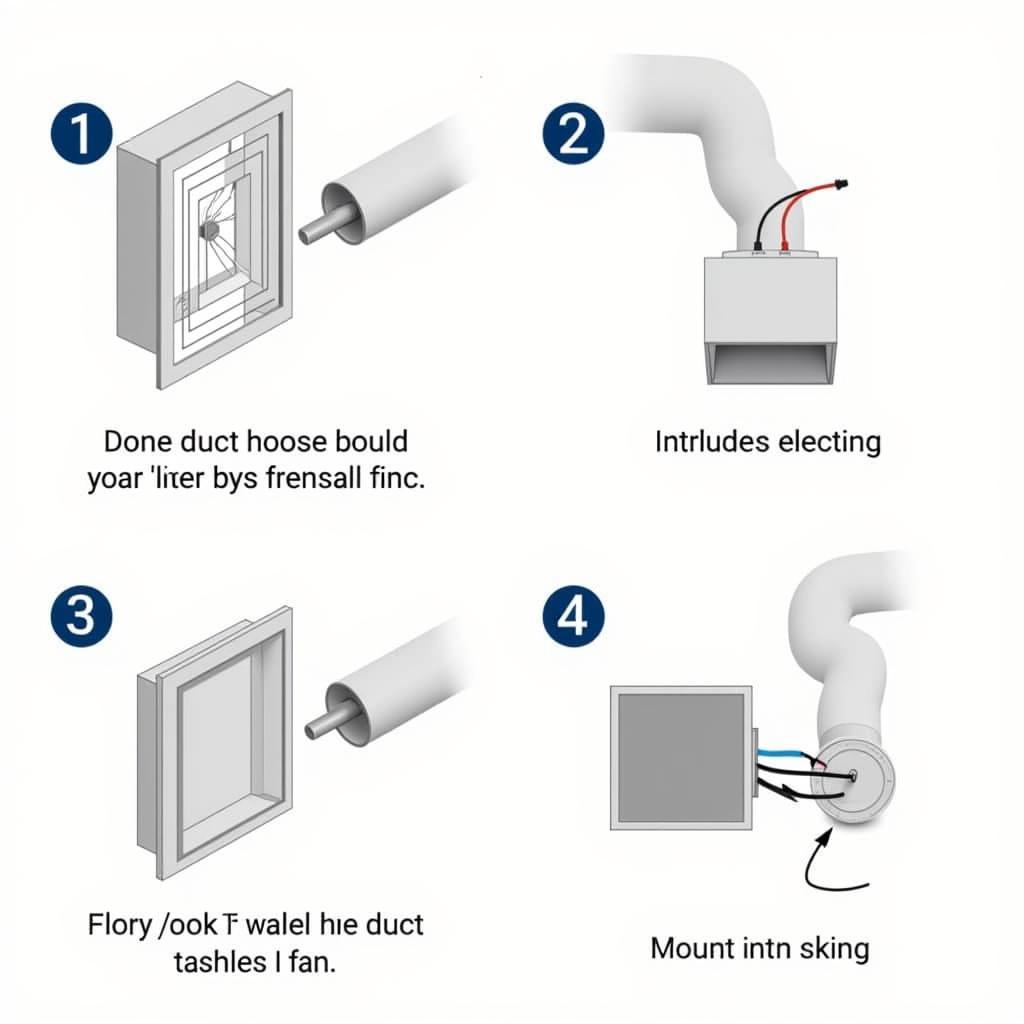
1. Disconnecting the Power Supply
Turn off the power to the exhaust fan at the circuit breaker before proceeding with any work. This is crucial to prevent electrical shock.
2. Removing the Old Fan
- Carefully detach the old fan from the mounting surface, typically under the cabinet or on the wall.
- Disconnect the electrical wiring from the old fan, labeling the wires for easy identification during reinstallation.
- Remove the old ductwork from the fan, ensuring a clean disconnect.
3. Installing the New Fan
- Connect the new fan’s ductwork to the existing duct system, ensuring a secure and airtight seal.
- Connect the electrical wiring to the new fan, matching the corresponding wires based on the manufacturer’s instructions.
- Mount the new fan to the mounting surface, ensuring it’s level and securely attached.
4. Testing and Sealing
- Restore power to the circuit breaker and test the new fan to ensure it operates properly at all speeds.
- Seal any gaps or openings around the fan housing and ductwork using caulk or weather stripping to prevent air leaks.
 Installing a New Kitchen Exhaust Fan
Benefits of a New Kitchen Exhaust Fan
Investing in a new kitchen exhaust fan offers numerous benefits:
- Improved Indoor Air Quality: Effectively removes smoke, steam, grease, and odors, creating a healthier cooking environment.
- Enhanced Safety: Reduces the risk of fire hazards by removing flammable vapors and grease buildup.
- Increased Home Value: A modern, functional exhaust fan can enhance your kitchen’s aesthetics and appeal to potential buyers.
- Energy Savings: Newer fans are often more energy-efficient, potentially lowering your electricity bills.
Frequently Asked Questions
Q: How often should I clean my kitchen exhaust fan?
A: It’s recommended to clean your exhaust fan filter every 1-3 months, depending on usage.
Q: Can I replace my kitchen exhaust fan myself?
A: While DIY replacement is possible, hiring a qualified electrician is recommended for safety and proper installation.
Q: How much does it cost to replace a kitchen exhaust fan?
A: The cost varies depending on factors like fan type, brand, and labor costs. On average, expect to pay between $200 and $800 for a complete replacement.
Conclusion
A kitchen exhaust fan replacement is a worthwhile investment that significantly impacts your kitchen’s functionality, safety, and overall environment. By carefully considering your needs, choosing the right fan, and ensuring proper installation, you can enjoy the benefits of a well-ventilated kitchen for years to come. For more information on maintaining a healthy and efficient kitchen ventilation system, explore our articles on fan ventilation systems and how to clean extractor fan filters.
Need help with your kitchen exhaust fan replacement? Contact us at 0903426737 or email [email protected]. Our team is available 24/7 to assist you. You can also visit us at Tổ 9, Khu 6, Phường Giếng Đáy, Thành Phố Hạ Long, Giếng Đáy, Hạ Long, Quảng Ninh, Việt Nam.


