Mounting a turkey fan is a rewarding way to preserve a trophy from a successful hunt. It allows you to display the fan’s intricate detail and vibrant colors, serving as a striking reminder of the experience. Whether you’re a seasoned hunter or a beginner taxidermist, this comprehensive guide will provide you with all the information you need to successfully mount your turkey fan.
Gathering Your Materials
Before you begin the mounting process, it’s crucial to gather all the necessary materials. Having everything on hand will streamline the process and prevent interruptions. Here’s a list of what you’ll need:
- Turkey Fan: This is the centerpiece of your project. Ensure the fan is dry and free from any debris.
- Mounting Board: Choose a board that complements the fan’s size and color. Popular choices include cedar, oak, or walnut.
- Taxidermy Foam: This will be used to shape the body of the mount.
- Epoxy Adhesive: A strong adhesive is crucial for securing the fan to the board and attaching the foam.
- Wire: Use a sturdy wire to create a hanger on the back of the board.
- Scissors or Wire Cutters
- Pencil or Marker
- Tape Measure
- Sandpaper
- Optional: Wood Stain, Varnish
Preparing the Fan and Board
Cleaning and Prepping the Turkey Fan
- Clean the Fan: Gently remove any dirt, feathers, or debris from the fan using a soft brush or cloth. Avoid using water as it can damage the feathers.
- Spread the Fan: Carefully spread the fan to your desired width. Use pins to hold the feathers in place while they dry.
Preparing the Mounting Board
- Cut the Board: Determine the desired size and shape of your mounting board. Using a saw, carefully cut the board to your specifications.
- Sand the Edges: Smooth out any rough edges on the board using sandpaper.
Attaching the Fan to the Board
- Position the Fan: Place the fan on the mounting board, ensuring it’s centered and positioned how you want it displayed.
- Mark the Position: Use a pencil or marker to lightly trace the outline of the fan onto the board.
- Apply Adhesive: Apply a generous amount of epoxy adhesive to the back of the fan, ensuring it covers the entire surface area that will be attached to the board.
- Secure the Fan: Carefully place the fan onto the marked area on the board, pressing firmly to ensure a strong bond. Use weights or clamps to hold the fan in place while the adhesive dries.
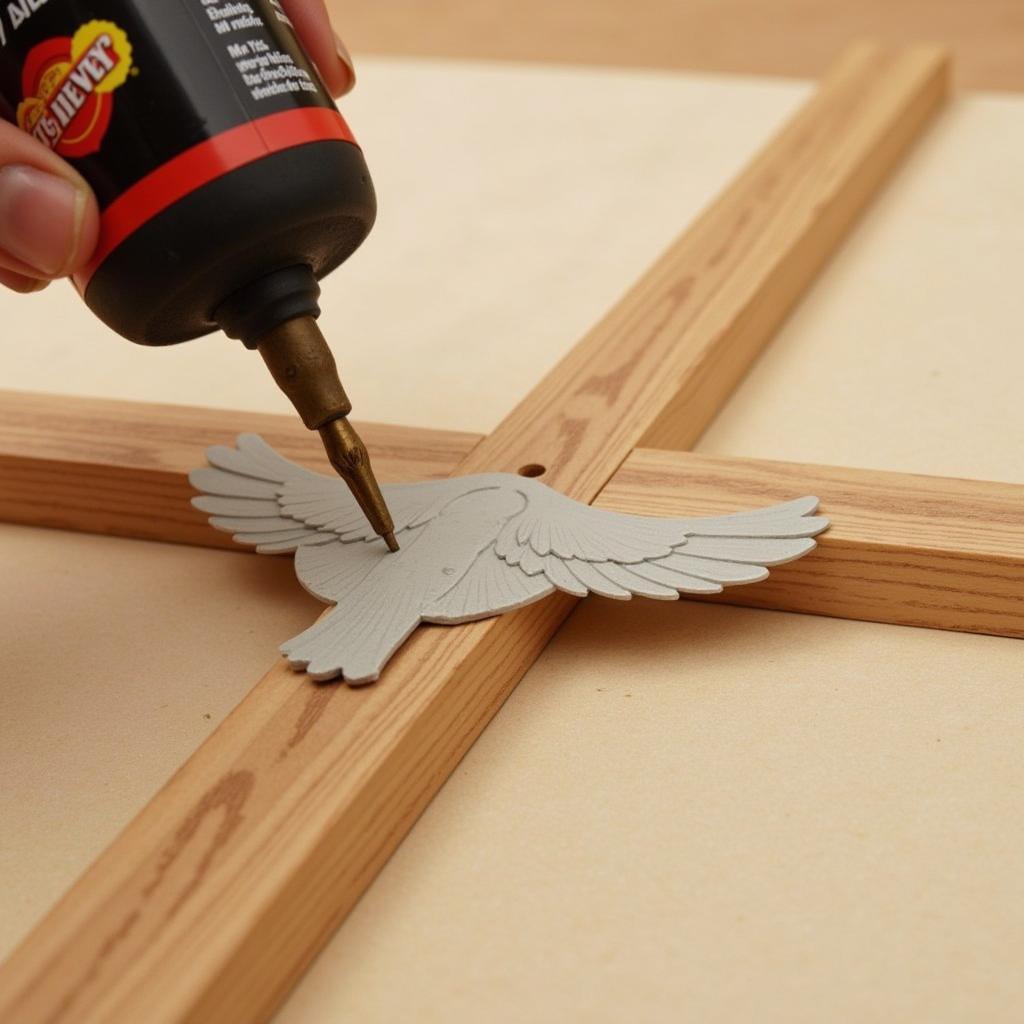 Attaching Turkey Fan to Board
Shaping the Foam Body
- Cut the Foam: Cut a piece of taxidermy foam to roughly match the shape and size of the turkey’s body.
- Shape the Foam: Use a sharp knife or carving tools to shape the foam into a realistic turkey body. Refer to pictures or videos for guidance.
- Attach the Foam: Apply epoxy adhesive to the back of the foam and firmly press it onto the board, just below the attached fan.
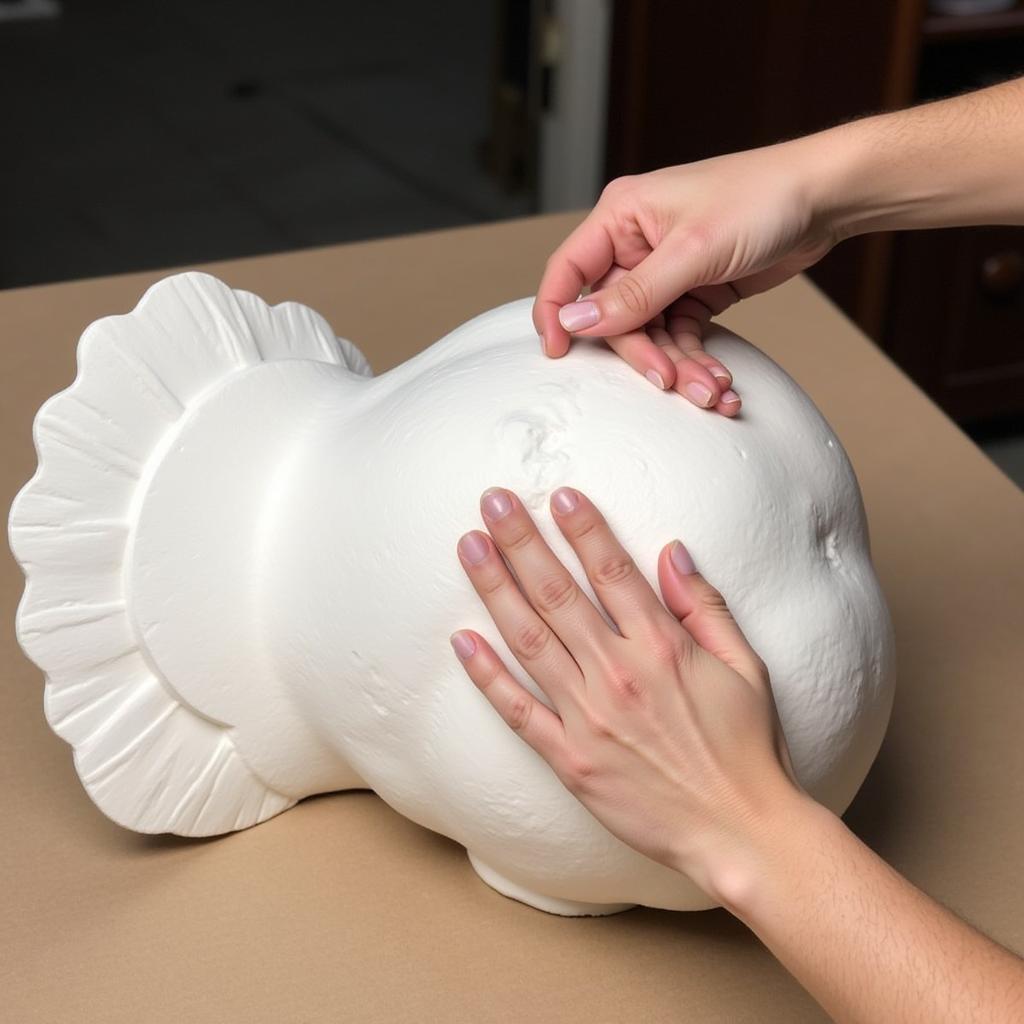 Shaping Foam Body for Turkey Fan Mount
Finishing Touches
- Attach a Hanger: Cut a piece of wire and bend it into a U-shape. Secure the ends of the wire to the back of the board using epoxy or small nails.
- Staining and Varnishing (Optional): Enhance the appearance of your mount by staining or varnishing the board to your preference. Allow ample drying time.
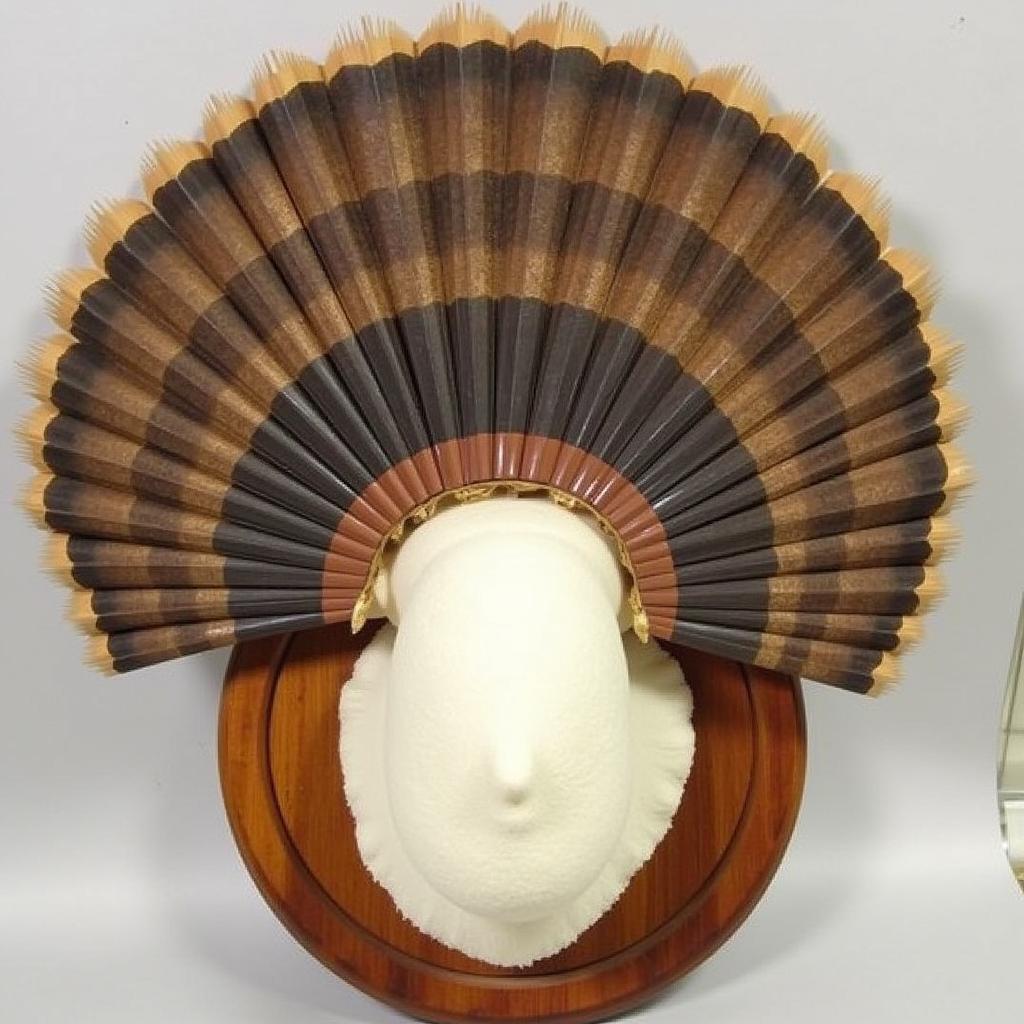 Finished Turkey Fan Mount
Conclusion
Mounting a turkey fan is a fulfilling project that allows you to create a lasting tribute to your hunting adventures. By following these steps and exercising patience, you can create a stunning display piece that will be treasured for years to come.