

An exhaust fan belt might seem like a small component, but its failure can lead to a stuffy and uncomfortable environment. Knowing how to replace it can save you from sweating it out and keep your exhaust fan running smoothly. This guide will walk you through everything you need to know about Exhaust Fan Belt Replacement, from identifying the signs of wear and tear to choosing the right replacement belt.
When Does Your Exhaust Fan Belt Need Replacing?
Like any other belt, an exhaust fan belt is prone to wear and tear over time. Identifying the signs early can save you from bigger problems down the line.
Common Signs You Need an Exhaust Fan Belt Replacement:
- Squealing noises: A loud, high-pitched squealing sound, particularly when the fan is first turned on, is a telltale sign of a slipping or worn-out belt.
- Reduced airflow: If you notice that your exhaust fan isn’t moving as much air as it used to, a worn-out belt could be the culprit.
- Visible wear and tear: Inspect the belt visually for cracks, fraying, or glazing.
- Overheating: If the fan motor feels excessively hot to the touch, it could indicate a problem with the belt, causing the motor to overwork.
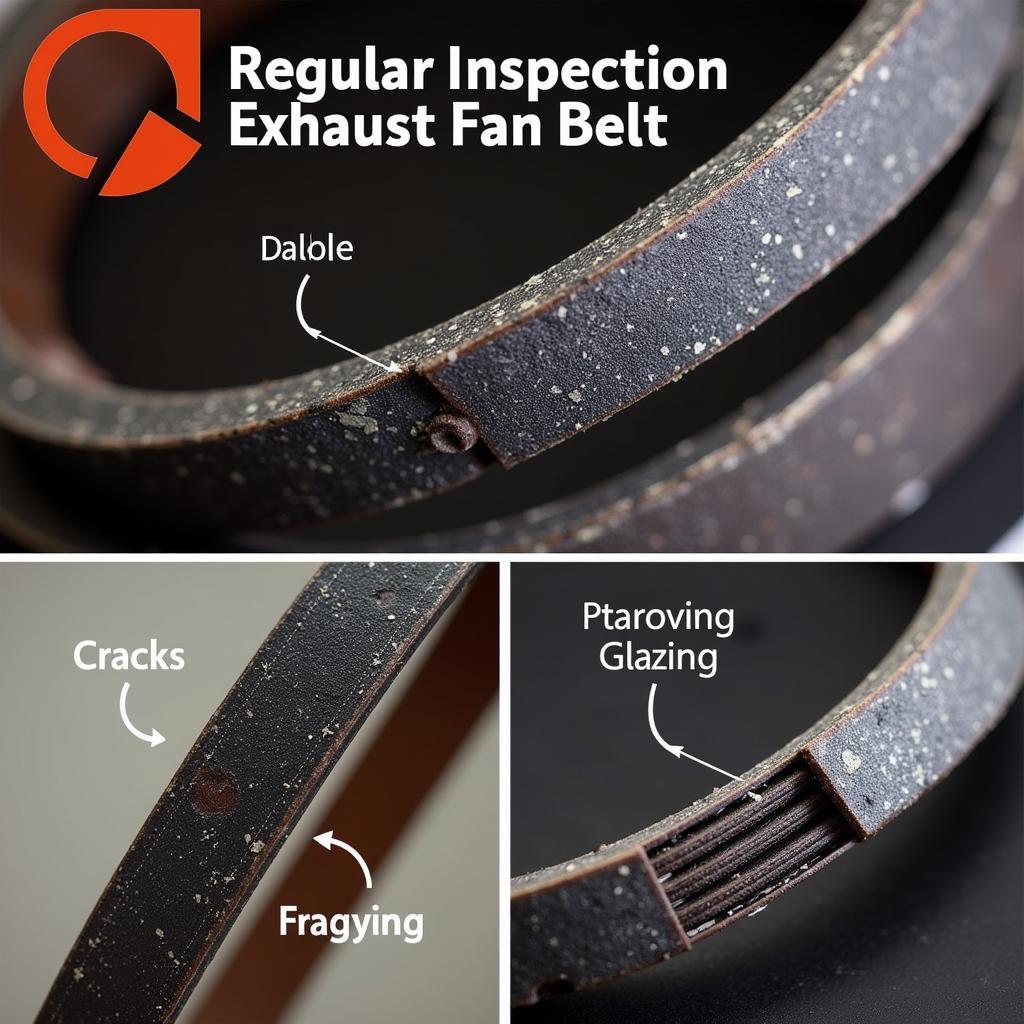 Worn-Out Exhaust Fan Belt
Choosing the Right Exhaust Fan Belt
Selecting the right replacement belt is crucial for the optimal performance of your exhaust fan. Here’s what to consider:
- Belt type: Exhaust fans typically use V-belts, but the specific type (e.g., 3L, 4L) varies. Refer to your fan’s manual or check the old belt for markings.
- Belt length: An incorrect belt length can affect fan speed and efficiency. Measure the old belt or consult the fan’s documentation for the correct size.
- Belt material: Exhaust fan belts are typically made of rubber or neoprene. Neoprene belts offer better heat and wear resistance.
A Step-by-Step Guide to Exhaust Fan Belt Replacement
Replacing an exhaust fan belt is a manageable DIY project with the right tools and guidance. Here’s a step-by-step approach:
1. Safety First: Disconnect the exhaust fan from its power source before you begin.
2. Access the Fan: Depending on your fan’s location, you might need to remove a cover or access panel to reach the belt.
3. Document the Belt Route: Before removing the old belt, take a picture or make a diagram of how it’s routed around the motor and fan pulleys.
4. Release the Belt Tension: Loosen the motor mounting bolts to relieve tension on the belt.
5. Remove the Old Belt: Carefully slide the old belt off the pulleys.
6. Install the New Belt: Align the new belt onto the pulleys, following the diagram you made earlier.
7. Adjust Belt Tension: Ensure the belt has the correct amount of tension. It should deflect slightly when pressed with your thumb.
8. Tighten and Secure: Tighten the motor mounting bolts and reinstall any covers or panels.
9. Test the Fan: Reconnect the power supply and test the fan to ensure it’s running smoothly and quietly.
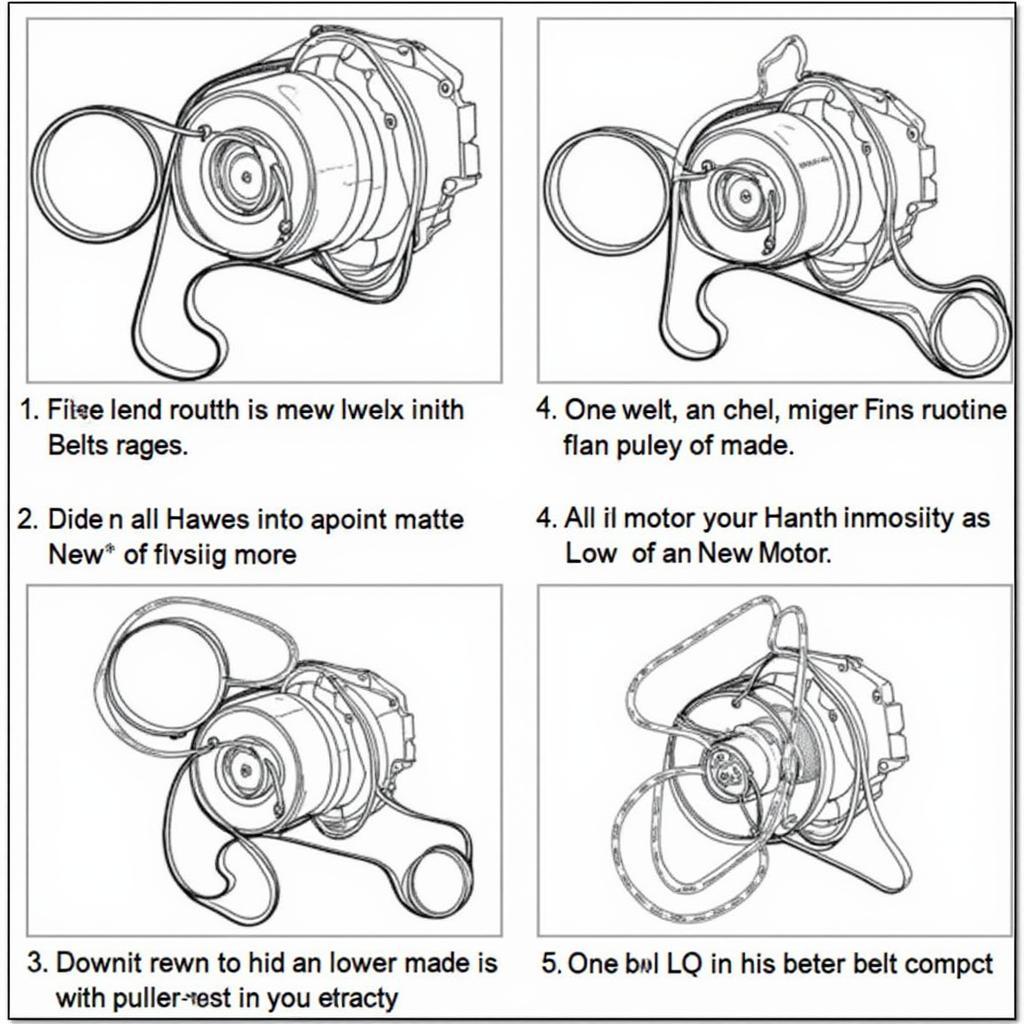 Exhaust Fan Belt Installation
Tips for a Smooth Exhaust Fan Belt Replacement
- Keep it clean: While replacing the belt, take the opportunity to clean the fan blades and housing to improve efficiency.
- Invest in quality: Choose a high-quality replacement belt from a reputable brand to ensure durability and performance.
- Consult a professional: If you’re uncomfortable with any part of the process, don’t hesitate to contact a qualified electrician or appliance repair technician.
Conclusion
A properly functioning exhaust fan is essential for a comfortable and healthy indoor environment. By understanding the signs of wear and tear and following the steps outlined in this guide, you can successfully replace your exhaust fan belt and keep the air fresh and circulating. Remember, regular maintenance is key to prolonging the lifespan of your exhaust fan and ensuring its optimal performance.
