

Are you looking to add a splash of color and personality to your PC build? Connecting your system fans to a 4-pin RGB header is a fantastic way to achieve mesmerizing lighting effects. This guide delves into the world of RGB headers, system fans, and how to seamlessly connect them for a visually stunning setup.
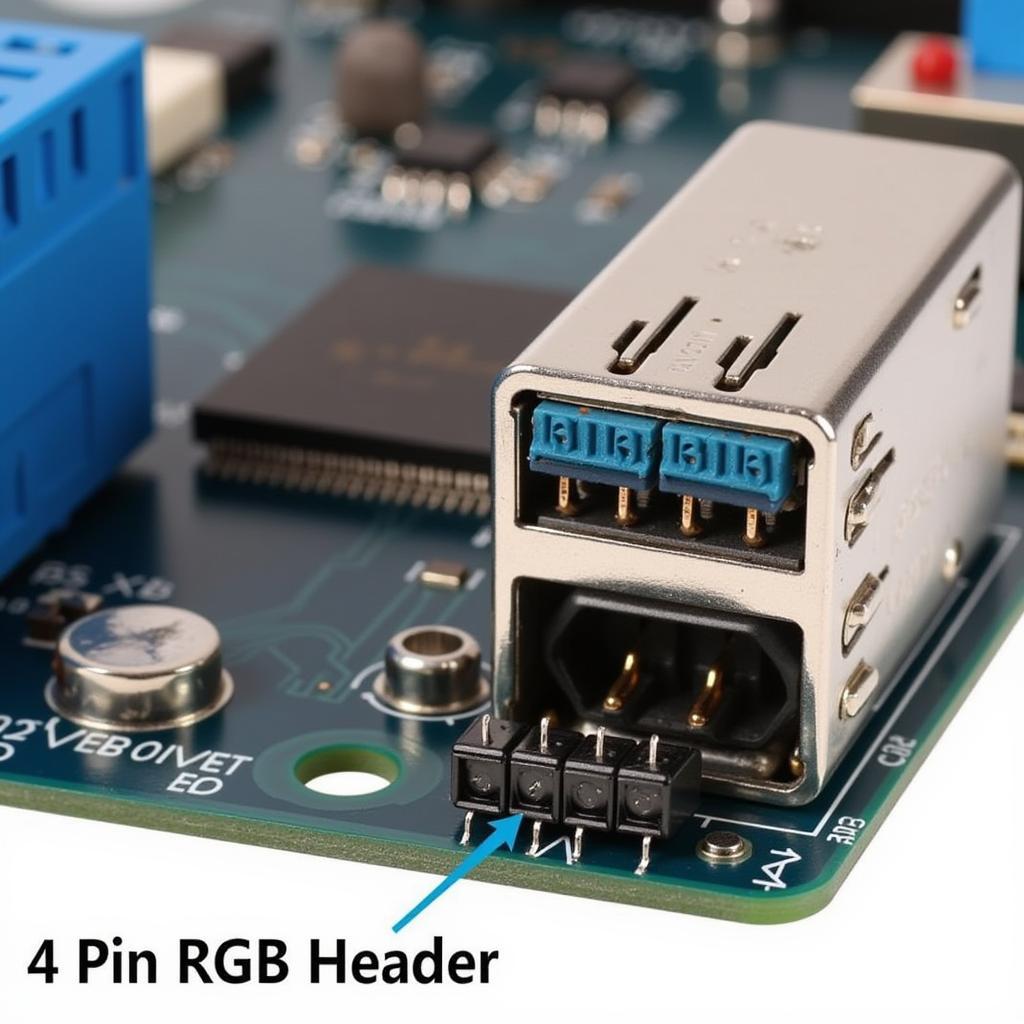 4-Pin RGB Header on a Motherboard
Understanding the 4-Pin RGB Header
The 4-pin RGB header, often labeled as “RGB” or “ARGB” on your motherboard, is the gateway to controlling addressable RGB lighting. Unlike standard 3-pin RGB headers, which offer limited color customization, the 4-pin variant allows for individual control over each LED on a connected device. This granular control opens up a world of possibilities, enabling you to create intricate lighting patterns and effects.
Choosing the Right System Fans
Before diving into the connection process, it’s crucial to select system fans compatible with your motherboard’s RGB ecosystem. Most modern RGB fans utilize either ASUS Aura Sync, MSI Mystic Light Sync, Gigabyte RGB Fusion, or ASRock Polychrome Sync. Ensure your chosen fans align with your motherboard’s supported technology for seamless integration.
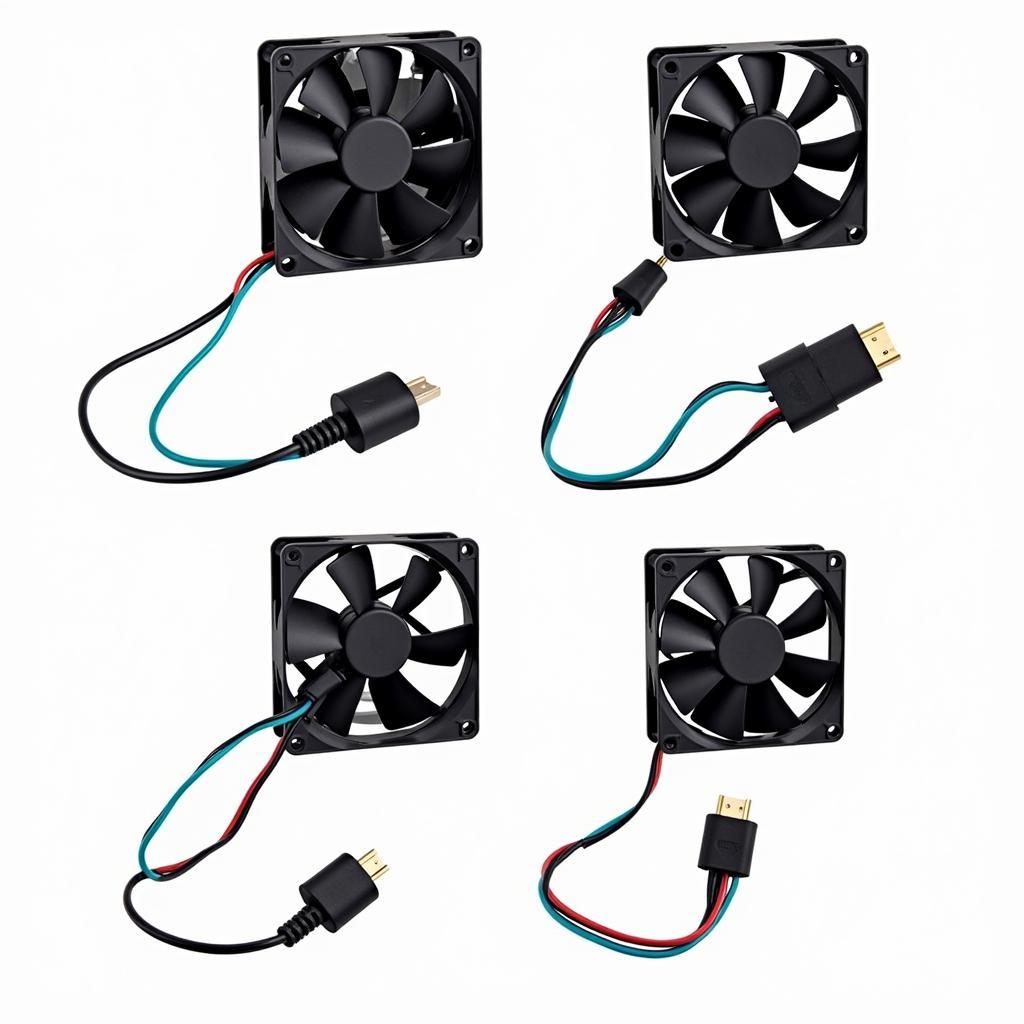 RGB System Fans with Different Connectors
Making the Connection
Connecting your system fans to the 4-pin RGB header is a straightforward process:
- Power Down Your PC: Always ensure your PC is entirely powered off and unplugged before handling any internal components.
- Locate the 4-Pin RGB Header: Refer to your motherboard’s manual to identify the precise location of the 4-pin RGB header.
- Connect the Fan’s RGB Cable: Gently align the arrow mark on the fan’s RGB cable with the +5V pin on the header (usually denoted by an arrow or marking on the motherboard).
- Secure the Connection: Once properly aligned, carefully press down on the connector until it’s firmly seated in the header.
- Connect the Fan’s Power Cable: Connect the fan’s power cable (usually a 3-pin or 4-pin connector) to the corresponding fan header on your motherboard.
Software Control and Customization
After connecting your fans, power on your PC and install the necessary RGB control software provided by your motherboard manufacturer (e.g., ASUS Aura Sync). This software empowers you to:
- Choose from Preset Lighting Effects: Select from a plethora of pre-configured lighting patterns, such as rainbow waves, breathing effects, and color cycles.
- Customize Colors and Speeds: Fine-tune the colors, brightness, and speed of your lighting effects to match your preferences.
- Synchronize with Other Components: Synchronize your fan lighting with other compatible RGB components in your system, such as RAM modules, CPU coolers, and keyboards, for a cohesive and immersive visual experience.
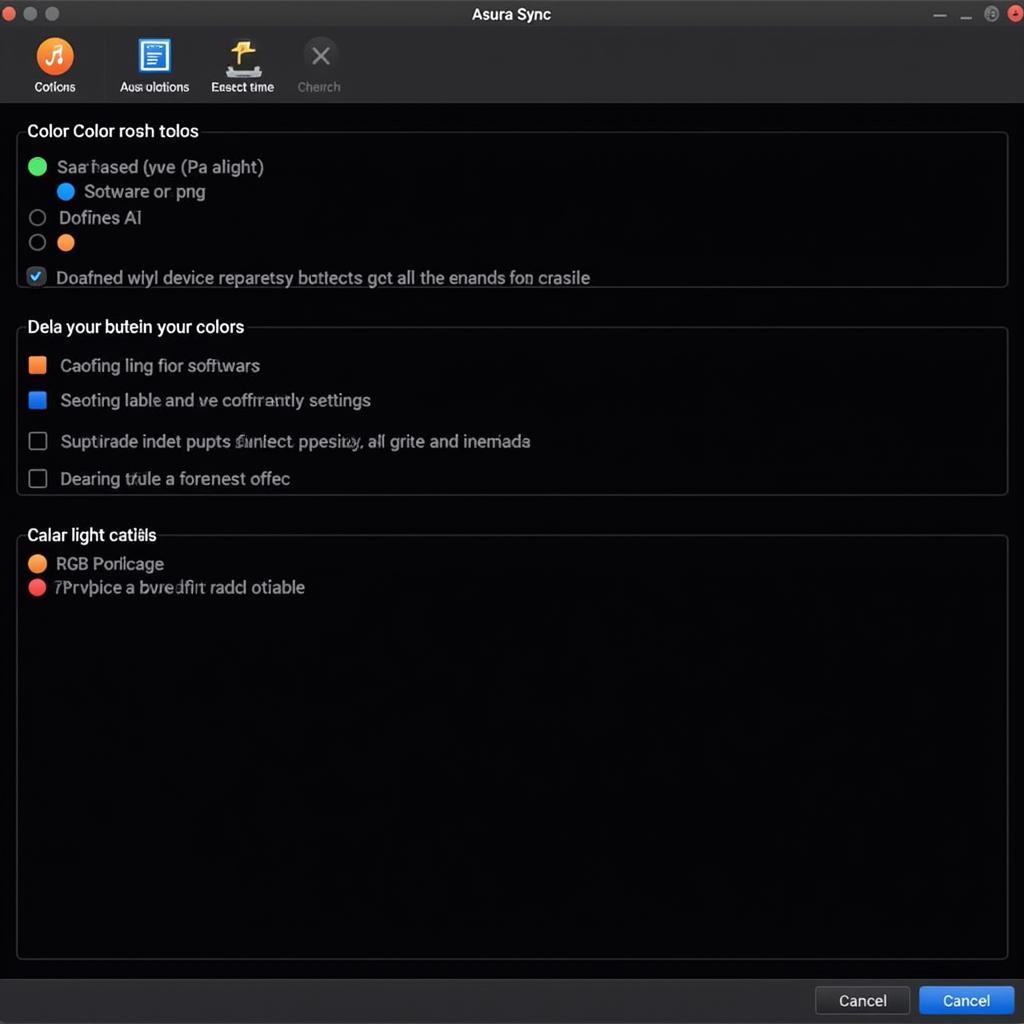 RGB Control Software Interface
Troubleshooting Tips
Encountering issues? Here are a few troubleshooting tips:
- Double-Check Connections: Ensure all cables are securely connected to the correct headers.
- Update Drivers and Software: Make sure your motherboard’s chipset drivers and RGB control software are up to date.
- Consult Your Motherboard Manual: Refer to your motherboard’s manual for specific instructions and troubleshooting steps related to RGB lighting.
Conclusion
Connecting your system fans to a 4-pin RGB header is a simple yet effective way to elevate the aesthetics of your PC build. By following the steps outlined in this guide, you can unlock a world of customization options and create a visually stunning masterpiece that reflects your style.
FAQs
Q1: Can I connect a 3-pin RGB fan to a 4-pin RGB header?
No, 3-pin RGB fans are not compatible with 4-pin RGB headers. Attempting to connect incompatible devices can potentially damage your hardware.
Q2: My RGB fans are not lighting up. What should I do?
Ensure that all connections are secure, your motherboard’s RGB control software is installed and running, and that your fans are receiving power.
Q3: Can I control the fan speed and RGB lighting independently?
Yes, you can typically control fan speed and RGB lighting independently. Fan speed is controlled through your motherboard’s BIOS or fan control software, while RGB lighting is managed through the dedicated RGB control software.
Remember, if you encounter any difficulties or have further questions, our team at Fans Bóng Đá is here to assist you. Contact us at 0903426737 or fansbongda@gmail.com. You can also visit us at Tổ 9, Khu 6, Phường Giếng Đáy, Thành Phố Hạ Long, Giếng Đáy, Hạ Long, Quảng Ninh, Việt Nam. We have a dedicated customer support team available 24/7.
